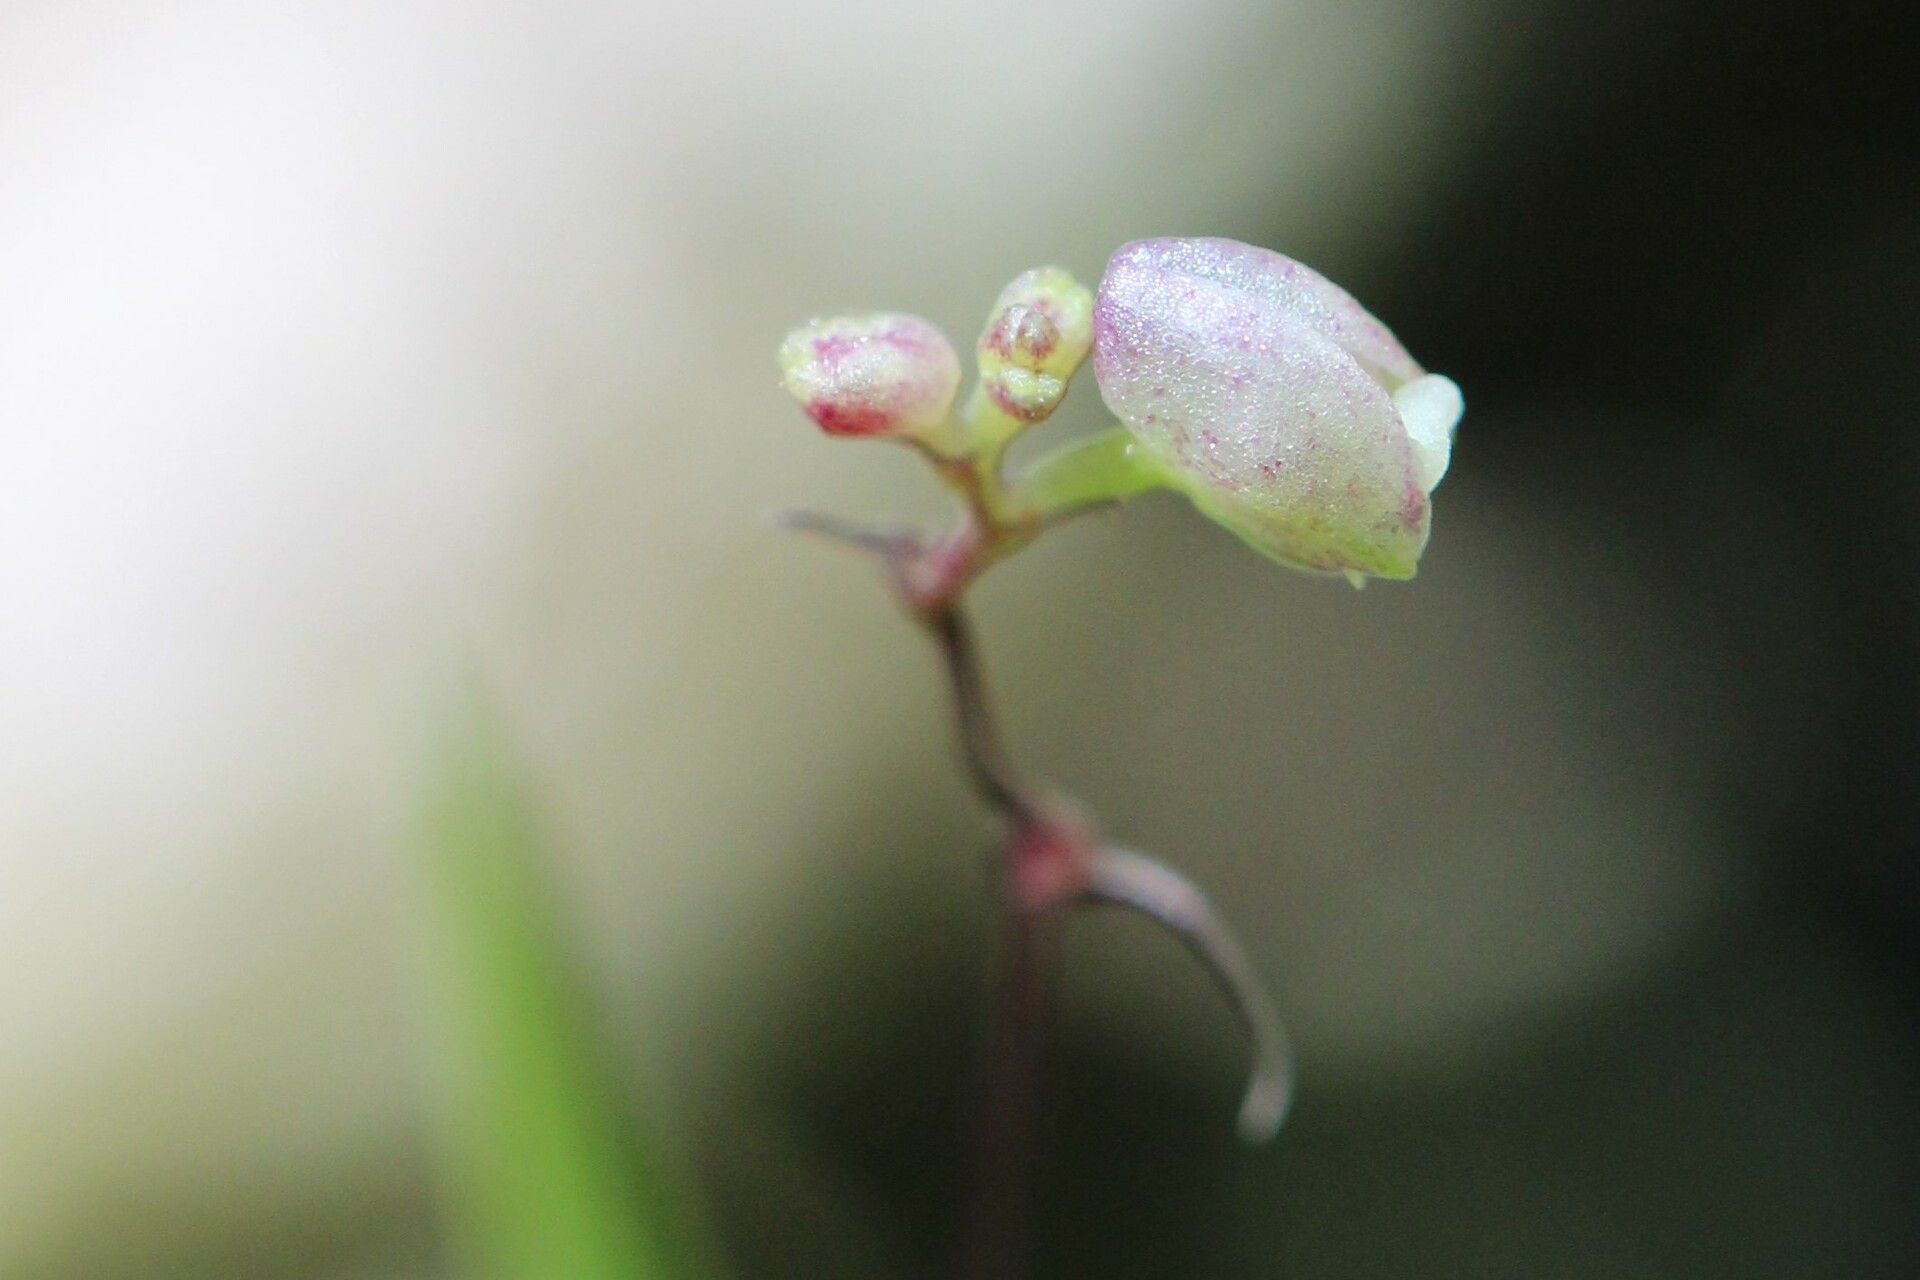
Hey there, fellow plant lovers! I’m so excited to talk about one of my absolute favorites today: Polystachya seticaulis. If you’re looking for an orchid that brings a little bit of magic to your collection, this is it. Its delicate blooms, often in shades of yellow, green, and sometimes with a hint of lavender, are utterly charming. And the best part? Bringing more of these beauties into existence through propagation is incredibly rewarding. Now, for those of you just starting out on your orchid journey, Polystachya seticaulis can be a little finicky. It’s not impossible, but it does appreciate a bit of attention and the right conditions. Think of it as a plant that will truly bloom when you get its preferences just right!
The Best Time to Start
For Polystachya seticaulis, I find the absolute sweet spot for propagation is during its active growing season. This usually means spring and early summer. You’ll know this is happening when you see new growth emerging – little pseudobulbs or fresh leaves. They’re full of energy then and much more likely to produce roots and take hold. Avoid trying to propagate when the plant is dormant or stressed.
Supplies You’ll Need
Here’s what I always have on hand when I’m ready to multiply my Polystachya seticaulis:
- Sharp, sterile pruning shears or a clean knife: For making clean cuts.
- Sphagnum moss: High-quality, long-fibered sphagnum is excellent for retaining moisture.
- Orchid bark mix: A fine to medium grade mix is usually best.
- Perlite or pumice: To improve drainage if you’re making your own mix.
- Small pots or net pots: Enough to house your new divisions or cuttings.
- Rooting hormone (optional but helpful): A mild one specifically for orchids is ideal.
- Clear plastic bags or a propagation dome: To create a humid environment.
- Watering can with a fine rose: For gentle watering.
Propagation Methods
My go-to method for Polystachya seticaulis is division. These orchids tend to form nice clumps, making them perfect candidates for this.
Division:
- Gently remove the plant from its pot. If it’s stuck, a little squeeze around the pot or a gentle tap might help. You can also use a sharp knife to carefully loosen the root ball from the sides.
- Clean off as much of the old potting medium as you can. This helps you see where to make your cuts and allows you to inspect the roots for any issues.
- Inspect the plant. Look for natural divisions where there are multiple pseudobulbs, each with its own set of healthy roots.
- Using your sterile shears or knife, make a clean cut through the rhizome (the creeping stem) to separate the divisions. Aim for divisions that have at least 2-3 healthy pseudobulbs and a good root system.
- If using rooting hormone, dip the cut surface of each division into the powder. Tap off any excess.
- Pot each division into its own small pot. I like to use a mix of about 70% fine orchid bark and 30% sphagnum moss, or a standard orchid mix that drains well. Place the division so the base of the pseudobulbs are sitting just at the surface of the new medium.
- Water gently after potting. You don’t want to disturb the roots too much.
For very small divisions or if you’re looking to experiment, stem cuttings from the rhizome can also work, though they take longer. You’d take a piece of rhizome with at least one healthy pseudobulb and a few leaves, and treat it similarly to a division.
The “Secret Sauce” (Pro Tips)
Here are a few things I’ve learned over the years that really make a difference:
- Don’t overwater immediately after dividing. Give the cuts a chance to callous over for a day or two before you water. This helps prevent rot, which is the biggest enemy of new divisions.
- Mimic the humidity they love. Even after planting, place the pots in clear plastic bags or cover them with a propagation dome. Make sure the leaves don’t touch the plastic if possible, as this can also encourage rot. Open the bag for a bit of air exchange daily, or lift the dome to prevent mold.
- Bottom heat is your friend! If you have a seedling heat mat, placing your pots on it provides gentle warmth that encourages root development. This is especially helpful during cooler months or if your propagation area is a bit drafty.
Aftercare & Troubleshooting
Once your Polystachya seticaulis divisions are potted up, keep them in bright, indirect light and maintain that high humidity. Water when the potting medium is starting to feel dry to the touch, usually every few days. Be gentle – you don’t want to dislodge those tentative new roots.
The most common sign of failure is rot. If a pseudobulb starts to look mushy, dark, and shriveled, that’s a sign of trouble. This is usually due to too much moisture and not enough air circulation. If you see this, try to remove the affected part with your sterile knife and let the rest of the division air out. You might also see a lack of growth or wrinkling pseudobulbs, which can indicate the plant isn’t getting enough water or humidity.
A Encouraging Closing
Propagating Polystachya seticaulis is a journey, and like all good gardening endeavors, it requires a bit of patience. Don’t get discouraged if your first few attempts aren’t perfect. Every plant is a learning experience. Watch for those signs of new root growth, and celebrate each tiny victory! Enjoy the process of creating more beauty for your home. Happy growing!
Resource:
https://identify.plantnet.org/k-world-flora/species/Polystachya%20seticaulis%20Rendle/data