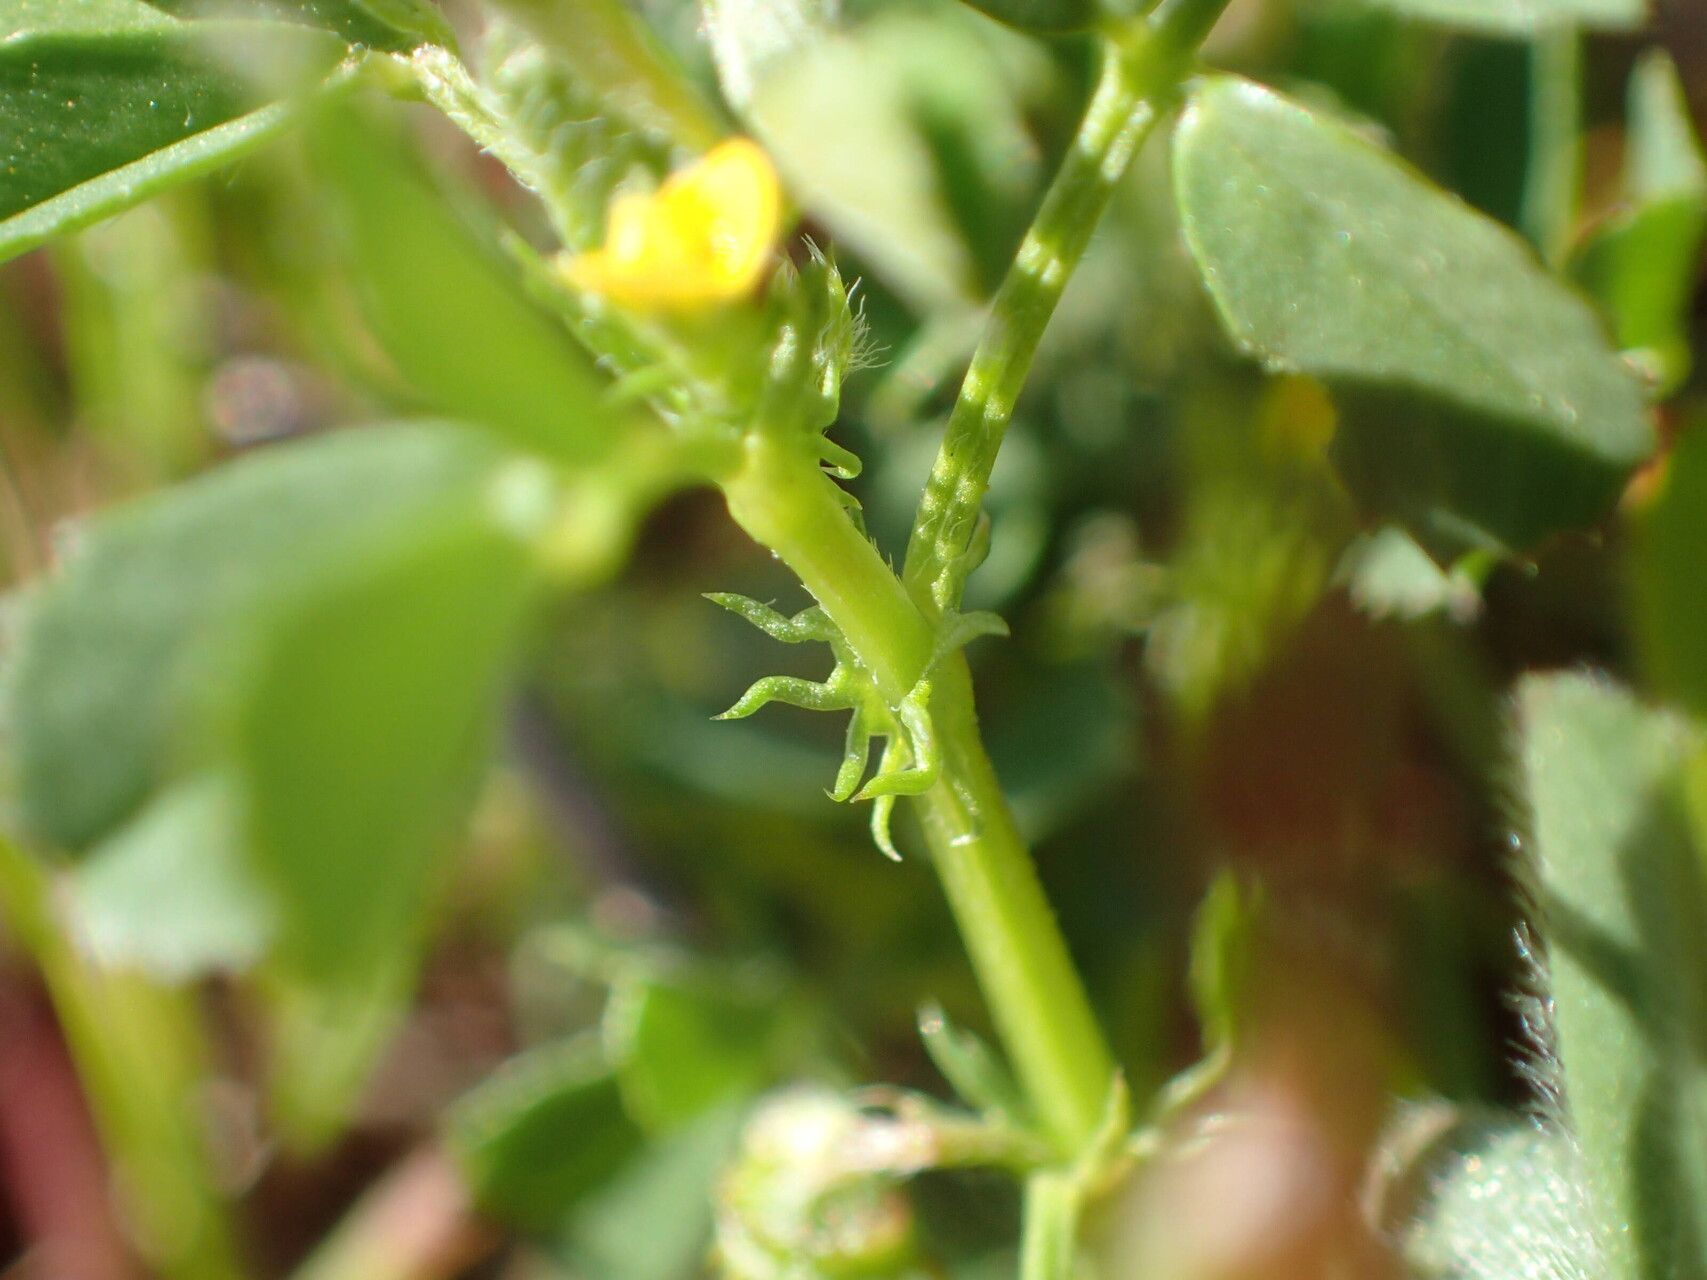
Hello there, fellow green thumbs! Today, we’re diving into the delightful world of Medicago praecox, a plant that’s been catching a lot of eyes lately. Its delicate, clover-like foliage and cheerful, tiny yellow flowers are such a sweet addition to any garden. Plus, there’s something incredibly satisfying about growing a whole new plant from just a piece of an old one, right? If you’re relatively new to propagation, I’ve got good news – Medicago praecox is a pretty forgiving plant to start with. You’ll be sharing your new babies with friends in no time!
The Best Time to Start
For the most bountiful results with Medicago praecox, I always find late spring to early summer to be the sweet spot. This is when the plant is actively growing and has plenty of energy to put into developing new roots. You’ll want to take cuttings from healthy, non-flowering stems. Think of it as harvesting at the peak of its vigor.
Supplies You’ll Need
Before we get our hands dirty, let’s gather our toolkit:
- Sharp Pruning Shears or a Clean Knife: For making clean cuts.
- Rooting Hormone (Optional but Recommended): A dusting of this can really give your cuttings a boost.
- A Well-Draining Potting Mix: I like a blend of equal parts peat moss, perlite, and coarse sand. Regular potting soil can be a bit too heavy.
- Small Pots or Seed Trays: For your cuttings to root in. Make sure they have drainage holes!
- A Spray Bottle: For keeping your cuttings hydrated.
- Plastic Bags or a Propagation Dome: To create a humid environment.
Propagation Methods
We’ll focus on the easiest and most effective ways to multiply your Medicago praecox.
1. Stem Cuttings: Our Go-To Method
This is usually the most straightforward way to get more Medicago praecox.
- Select Your Cuttings: Look for healthy, new growth on your mature plant. You want stems that are somewhat firm but still flexible, about 4-6 inches long. Gently twist or cut them from the parent plant.
- Prepare the Cuttings: Remove the lower leaves from your cuttings, leaving just a few at the very top. This prevents them from rotting in the soil. If your cuttings are particularly long, you can cut them in half to make multiple smaller ones.
- Apply Rooting Hormone (Optional): Dip the cut end of each stem into a small amount of rooting hormone powder. Tap off any excess.
- Plant Your Cuttings: Make a small hole in your prepared potting mix with your finger or a pencil. Gently insert the cut end of the cutting into the hole. Firm the soil around the base to ensure good contact.
- Water Gently: Water your newly planted cuttings lightly. You don’t want to drown them, just make the soil nicely moist.
- Create Humidity: This is crucial! Cover the pots with a plastic bag (making sure the bag doesn’t touch the leaves) or place them under a propagation dome. This traps moisture and creates the humid microclimate that cuttings crave.
- Provide Bright, Indirect Light: Place your cuttings in a spot that gets plenty of bright, indirect light. Avoid direct sunlight, which can scorch those tender new shoots.
2. Water Propagation: A Visual Treat
This method is satisfying because you can actually watch the roots develop!
- Take Cuttings: Same as above, select healthy, 4-6 inch stem cuttings.
- Prepare for Water: Remove all leaves except for the very top ones. This is super important to prevent the submerged leaves from rotting in the water.
- Submerge and Monitor: Place the cuttings in a clean jar or glass filled with fresh water. Make sure no leaves are submerged.
- Change Water Regularly: Change the water every couple of days to keep it fresh and prevent bacterial growth.
- Find a Bright Spot: Like with soil propagation, place your jar in a location with bright, indirect light.
- Wait for Roots: Be patient! You should start to see tiny white roots emerging from the cut ends in a few weeks. Once the roots are about an inch long, you can carefully transplant them into your potting mix.
The “Secret Sauce” (Pro Tips)
Here are a few little tricks I’ve picked up over the years that can make a real difference:
- Bottom Heat is Your Friend: If you have a heating mat designed for plants, placing your pots on it can significantly speed up root development. It mimics the warmth of the soil in spring and gives your cuttings an extra nudge.
- Don’t Rush the Transplant: Especially with water propagation, wait until those roots are a good size before moving them to soil. Tiny roots are delicate, and giving them a bit more length before the shock of transplanting will improve their chances.
- When in Doubt, Propagate More: Not every cutting will be a superstar. It’s always a good idea to take more cuttings than you think you’ll need. That way, you’re almost guaranteed to have a few successful new plants to enjoy.
Aftercare & Troubleshooting
Once you see signs of new growth or a good root system has developed, it’s time to transition your little ones.
- Gradual Acclimation: If you’ve been using a plastic bag or dome, gradually introduce your new plants to drier air by opening the covering for longer periods each day over a week.
- Watering: Keep the soil consistently moist but not waterlogged. Water when the top inch of soil feels dry to the touch.
- Light: Continue to provide bright, indirect light. As they get a bit bigger, you can slowly introduce them to more direct sunlight, but always watch for signs of stress.
What if things go wrong?
The most common issue you might face is rot. If you notice your cuttings becoming mushy or developing black spots, it’s usually a sign of too much moisture or poor air circulation. My advice? Don’t be afraid to discard any rotted cuttings. Clean your tools thoroughly and start fresh with new ones, focusing on better drainage and avoiding overwatering. Sometimes, a cutting just doesn’t take, and that’s okay!
A Little Patience Goes a Long Way
Growing new plants is a journey, and Medicago praecox is a wonderful companion for that journey. Don’t get discouraged if every cutting doesn’t succeed. Each attempt teaches you something new. Celebrate the little victories, enjoy the process of nurturing these new lives, and soon enough, you’ll have a garden brimming with your own homegrown delights. Happy propagating!
Resource:
https://identify.plantnet.org/k-world-flora/species/Medicago%20praecox%20DC./data