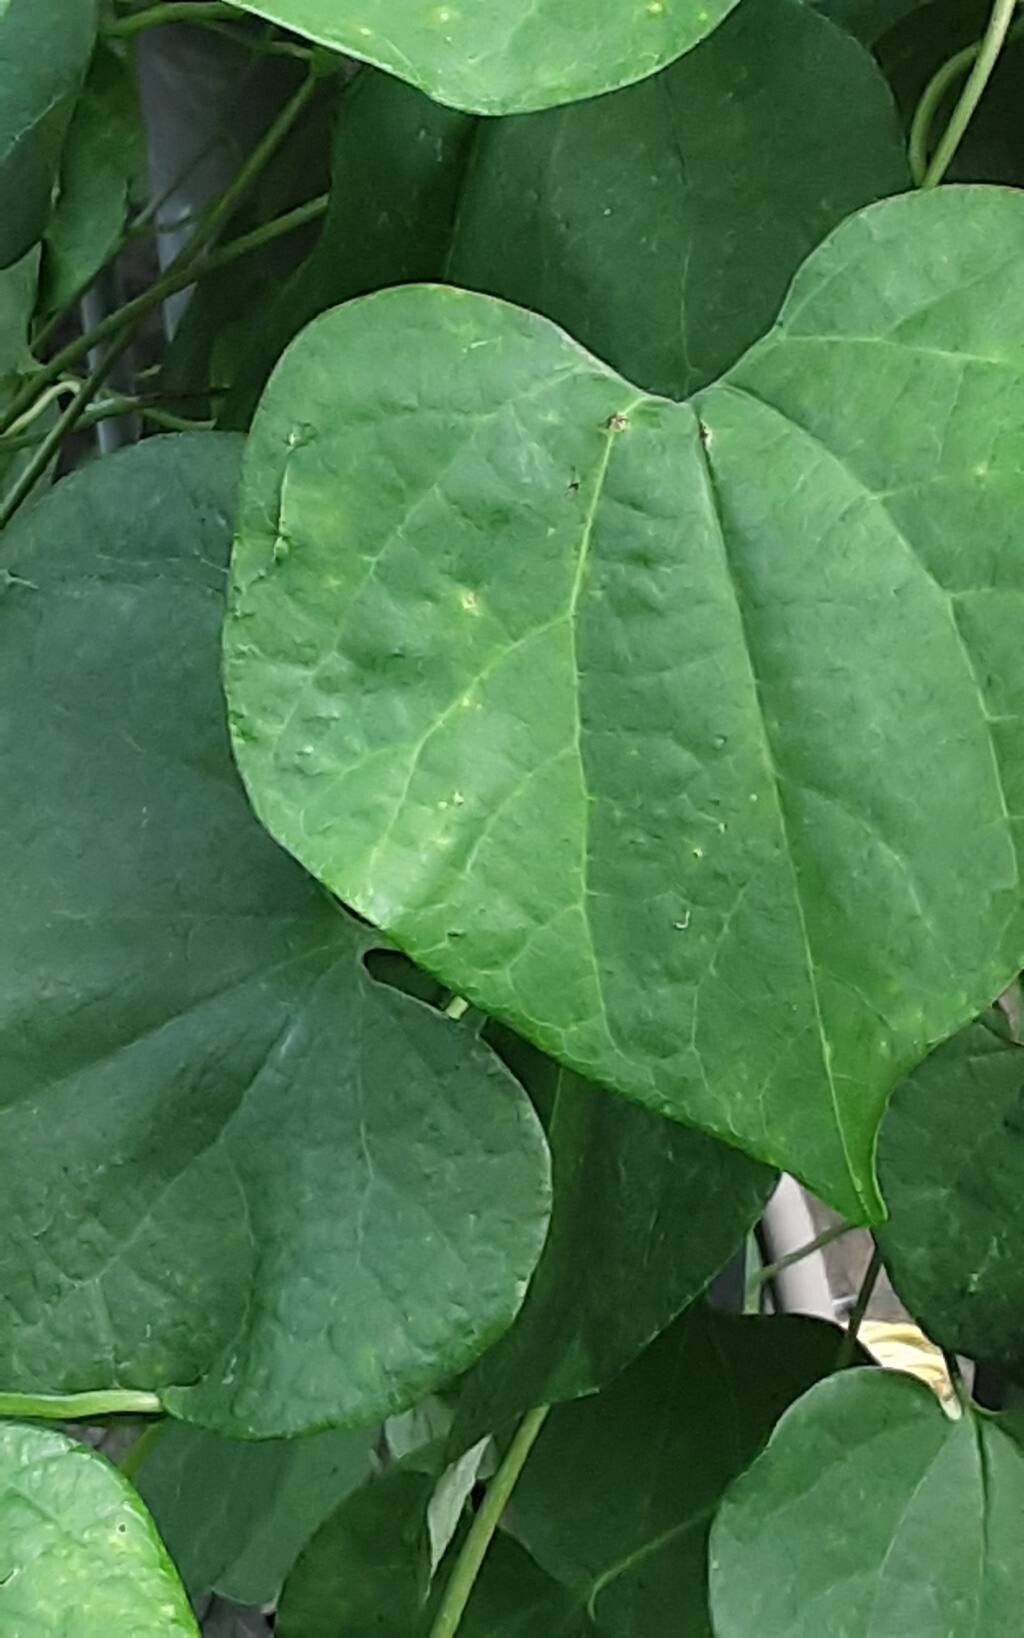
Oh, hello there! It’s so lovely to have you stop by. Today, we’re diving into the wonderful world of Aristolochia gigantea, or as some affectionately call it, the Giant Dutchman’s Pipe. This vine is an absolute showstopper, isn’t it? Those enormous, intricately patterned flowers are truly a marvel of nature, and attracting hummingbirds and butterflies is just the icing on the cake. Wanting to propagate your own? That’s a fantastic idea! While this beauty can be a little of a diva, don’t let that deter you. With a bit of know-how and a gentle hand, you’ll be rewarded with your very own specimens.
The Best Time to Start
For the highest success rate, I always recommend waiting until the late spring or early summer. This is when the plant is in its most vigorous growth phase. You’ll want to take cuttings from healthy, actively growing stems – not old, woody bits, and not those super soft, brand-new shoots. Look for stems that are firm yet still flexible.
Supplies You’ll Need
Here’s what I usually have on hand when I’m propagating:
- Sharp, clean pruning shears or a sharp knife: Crucial for making clean cuts that heal well.
- Rooting hormone powder or gel: This really gives your cuttings a helping hand.
- Small pots or propagation trays: Drainage holes are a must!
- A well-draining potting mix: I find a mix of perlite, peat moss, and a little bit of compost works wonders. You can also buy specific seed-starting or propagation mixes.
- Plastic bags or a propagator lid: To maintain humidity around your cuttings.
- Watering can or spray bottle: For gentle watering.
- Labels and a marker: So you don’t forget what you planted where!
Propagation Methods
The most reliable way I’ve found to propagate Aristolochia gigantea is through stem cuttings. Let’s walk through it:
First, select a healthy, semi-hardwood stem. Make a clean cut just below a leaf node. A leaf node is the bump on the stem where a leaf grows from. This is where the magic of root formation often begins.
Next, remove the lower leaves, leaving just one or two at the very top. This helps reduce water loss. If you have a very large leaf, you can even cut it in half to further minimize transpiration.
Now, dip the cut end of the stem into your rooting hormone. Swirl it around gently to coat the node area. Tap off any excess.
Fill your small pots or trays with your prepared potting mix. Make a pilot hole in the soil with a pencil or your finger. This prevents the rooting hormone from being rubbed off when you insert the cutting.
Gently insert the coated cutting into the pilot hole, ensuring the leaf node is buried in the soil. Firm the soil gently around the stem.
Water the soil thoroughly but gently. You don’t want to dislodge your cutting.
Finally, cover the pot or tray with a clear plastic bag or a propagator lid. This creates a mini-greenhouse, keeping the humidity high, which is essential for cuttings to root. Place your new baby in a bright spot, but out of direct, scorching sunlight.
The “Secret Sauce” (Pro Tips)
After years of getting my hands dirty, I’ve learned a few tricks:
- The “Air Layering” Advantage: If you’re feeling ambitious, try air layering on a mature vine. This involves making a small incision in a healthy stem, wrapping it with damp sphagnum moss, and then encasing the whole thing in plastic. Roots will form on the vine before you even sever it, giving you a much higher chance of success.
- Bottom Heat is Your Friend: For cuttings, providing a little gentle bottom heat from a heat mat can significantly speed up the rooting process. It mimics the warmth of the soil in summer and really encourages root development.
- Be Patient with Water: While some plants root easily in water, Aristolochia can be prone to rot if the leaves touch the water. If you do try water propagation, make sure only the stem is submerged, and change the water regularly. I generally prefer rooting compounds and soil for these guys.
Aftercare & Troubleshooting
Once you see signs of new growth – tiny leaves unfurling or the cutting resisting a gentle tug – that’s a good sign roots are forming! Gradually acclimate your new plant to normal humidity by opening the plastic bag a little more each day for about a week. Continue to keep it in bright, indirect light and water when the top inch of soil feels dry.
The most common issue you’ll encounter is rot. If your cutting turns mushy and black, it’s likely succumbed to fungal disease, often from too much moisture and poor air circulation. Don’t be discouraged! Just start again with fresh cuttings and ensure your soil is well-draining and you’re not overwatering.
A Little Encouragement
Propagating plants is an incredible way to connect with nature and expand your garden for free. It takes a little patience, and sometimes a few tries, but the satisfaction of watching a tiny cutting grow into a magnificent plant is truly unmatched. So grab your tools, get your hands a little dirty, and enjoy the journey! Happy gardening!
Resource:
https://identify.plantnet.org/k-world-flora/species/Aristolochia%20gigantea%20Mart.%20&%20Zucc./data