Hello, green thumbs! Today, we’re diving into the wonderful world of Baptisia sphaerocarpa, also known as the Yellow Baptisia. If you love those cheerful bursts of yellow in your garden, you’re in for a treat, because I’m going to show you how to make more of this beauty!
Why Grow and Propagate Baptisia Sphaerocarpa?
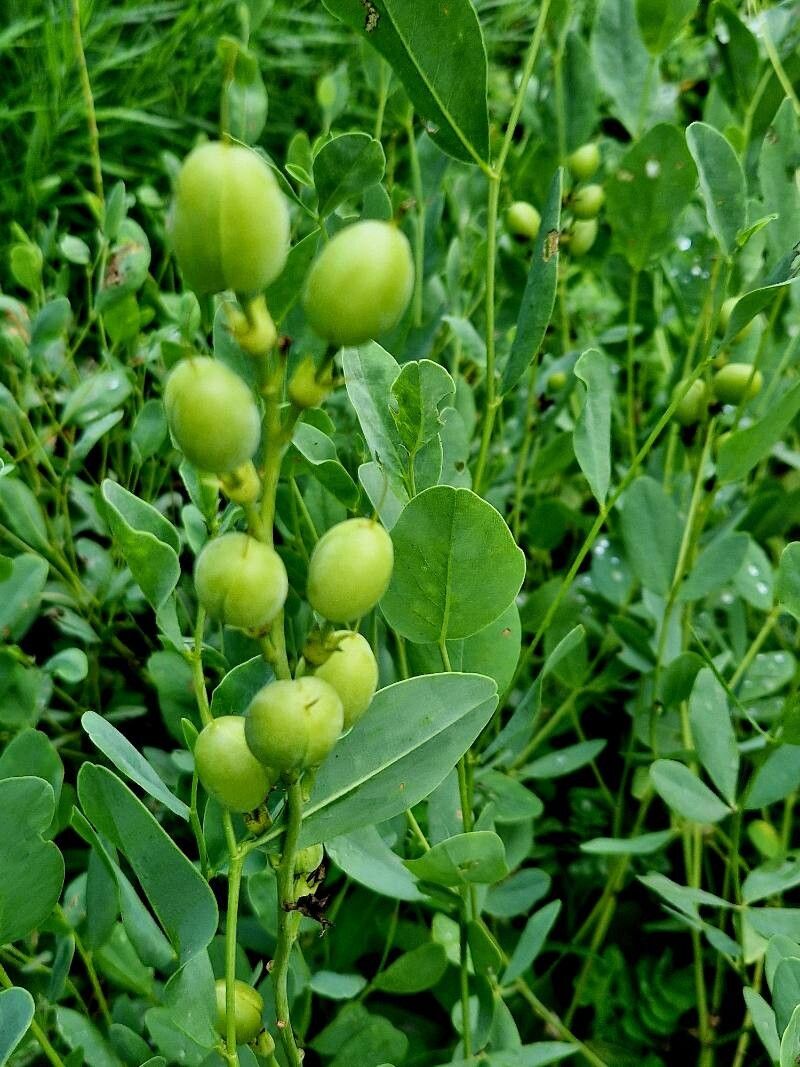
This native beauty is an absolute gem. Its spires of vibrant yellow blooms in late spring and early summer are a sight to behold. Plus, it’s a toughie – drought-tolerant once established and generally unfussy. Propagating your own Baptisia is incredibly rewarding. You get to expand your garden without spending a dime, and there’s a special kind of joy in nurturing a tiny new plant into a specimen of its own. For beginners, Baptisia can be a little bit of a challenge, but with a few key steps, you can absolutely achieve success! Don’t let that deter you.
The Best Time to Start
Timing is everything in the garden, isn’t it? For Baptisia sphaerocarpa, the sweet spot for propagation is right when the plant is actively growing, but before it gets too stressed by the summer heat. Think late spring or early summer. You want to be working with healthy, vigorous shoots.
Supplies You’ll Need
Gathering your supplies beforehand makes the whole process much smoother. Here’s what I usually have on hand:
- Sterile pruning shears or a sharp knife: Clean cuts are crucial to prevent disease.
- Rooting hormone: I usually opt for a powder or gel, especially for cuttings.
- A good potting mix: A well-draining mix is key. I like a blend of peat moss, perlite, and a little compost.
- Small pots or trays: Clean containers with drainage holes are a must.
- Watering can with a fine rose attachment: Gentle watering is important for delicate new plants.
- Plastic bag or propagation dome: This helps maintain humidity.
- Optional: Bottom heat mat: This can significantly speed up root development.
Propagation Methods
There are a couple of reliable ways to get more Baptisia. I’ve found success with both:
Stem Cuttings: My Preferred Method
This is usually my go-to for Baptisia.
- Take Cuttings: In late spring or early summer, select healthy, non-flowering stems. Using your sterile shears, take cuttings about 4-6 inches long. Make the cut just below a leaf node (where the leaf attaches to the stem).
- Prepare the Cuttings: Gently remove the lower leaves from the cutting, leaving just a couple of leaves at the top. This prevents them from rotting in the soil.
- Apply Rooting Hormone: Dip the cut end of each stem into your rooting hormone, tapping off any excess.
- Plant the Cuttings: Fill your clean pots with your well-draining potting mix. Make a small hole in the center of the mix with a pencil or your finger. Insert the treated cutting into the hole, ensuring the leaf nodes are covered by the soil. Gently firm the soil around the stem.
- Provide Humidity: Water the soil gently. Then, cover the pot with a plastic bag or place it under a propagation dome to create a humid environment. Make sure the leaves don’t touch the plastic, if possible.
- Location, Location, Location: Place the pots in a bright location out of direct sunlight. If you have a bottom heat mat, now’s the time to use it!
Division: Simple and Effective
If your Baptisia is already a mature plant, division is a great option.
- Dig Up the Plant: In early spring, before new growth really kicks off, carefully dig up your Baptisia clump.
- Divide It: Using a sharp spade or trowel, divide the root ball into sections. Each section should have good roots and at least one or two healthy shoots.
- Replant: Replant the divisions in their desired locations, or pot them up individually. Water them in well.
The “Secret Sauce” (Pro Tips)
Here are a few things I’ve learned over the years that can really boost your success rates:
- Humidity is King (for cuttings): That plastic bag or dome isn’t just for show. It’s crucial for keeping those cuttings from drying out before they can form roots. Check it daily and wipe away excess condensation if needed.
- Don’t Rush the Roots: Be patient! It can take anywhere from 4-8 weeks to see signs of rooting on cuttings. Resist the urge to tug on them to check. Instead, look for new leaf growth.
- Bottom Heat is a Booster: If you’re serious about propagation, investing in a bottom heat mat makes a huge difference, especially for cuttings. It encourages root development from the base of the cutting and speeds things up considerably.
Aftercare & Troubleshooting
Once your cuttings have developed roots (you’ll see new growth!), it’s time for a little extra care.
- Acclimatize: If you used a plastic bag, gradually acclimate your new plants to regular air by opening the bag for increasing periods over a few days before removing it entirely.
- Watering: Water them when the top inch of soil feels dry. Avoid letting them sit in soggy soil.
- Potting Up: If they were in starter trays, pot them up into larger containers as they grow.
- Common Issues: The biggest enemy of cuttings is rot. This usually happens if the soil stays too wet or the humidity is too high without good air circulation. If you see stems turning mushy and black, or mold on the soil, it’s often a sign of overwatering or poor drainage. Don’t be afraid to discard affected cuttings to prevent it from spreading.
A Little Patience Goes a Long Way
Propagating Baptisia sphaerocarpa is a rewarding journey. It takes a bit of care and a good dose of patience, but seeing those little roots form and new foliage emerge is truly special. Enjoy the process, learn from each attempt, and soon you’ll have a whole garden full of these sunny beauties! Happy planting!
Resource:
https://identify.plantnet.org/k-world-flora/species/Baptisia%20sphaerocarpa%20Nutt./data