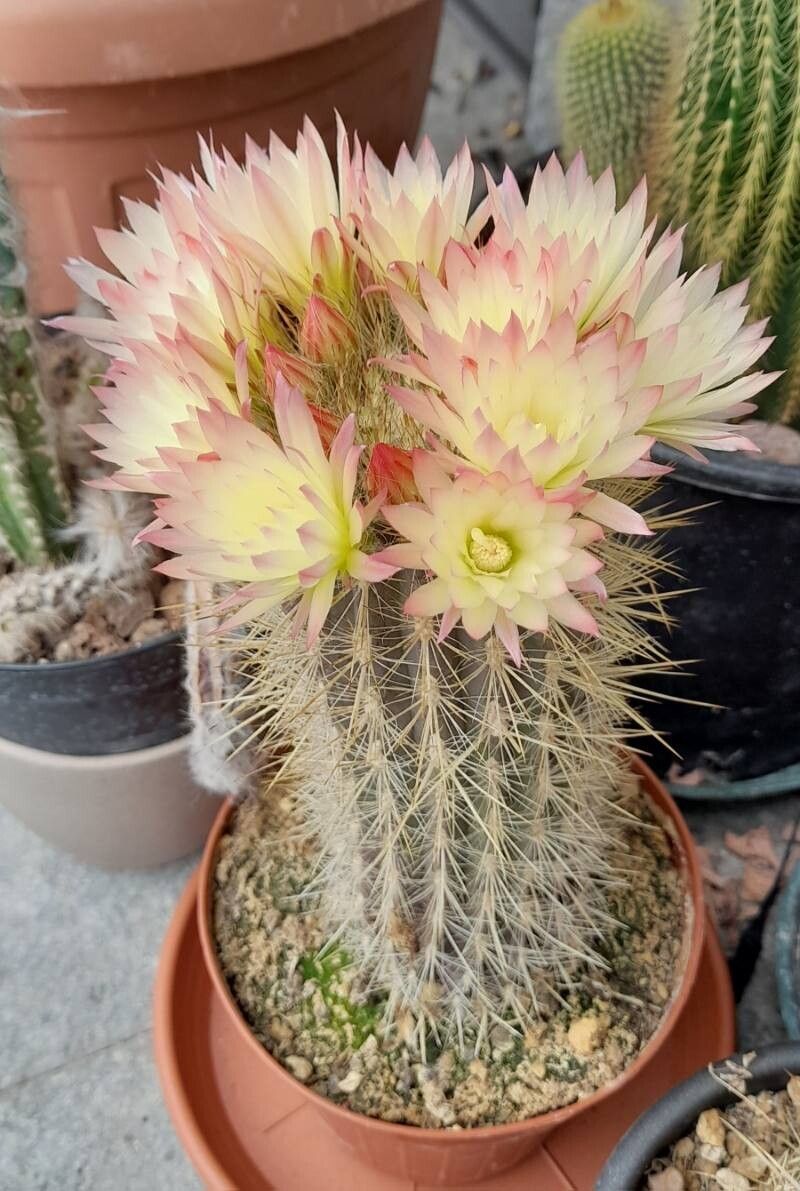
Oh, hello there! Come on in and pull up a chair. Let’s talk about one of my absolute favorite cacti: Eriosyce chilensis. If you’re a fan of the quirky and the wonderfully alien in your garden, this is one for you. Its fuzzy appearance and striking form are just captivating. And the best part? It’s surprisingly rewarding to grow your own from scratch! Now, I won’t lie to you, propagating succulents and cacti can be a little more finicky than, say, a geranium, but Eriosyce chilensis is a good learner plant. With a bit of care, you’ll be well on your way.
The Best Time to Start
My go-to is always late spring through early summer. This is when the plant is actively growing and has the most energy reserves. You’ll see it putting out new shoots and generally looking robust. Trying to propagate when it’s dormant in winter is just asking for disappointment. So, wait for that warm sunshine and tell your little cactus it’s time to make some babies!
Supplies You’ll Need
Here’s what I’ve found works best. Don’t worry if you don’t have everything brand new; just make sure it’s clean:
- Well-draining cactus and succulent soil mix: You can buy this or make your own with potting soil, perlite, and coarse sand. Good drainage is your best friend here.
- Sharp, sterilized pruning shears or a clean knife: For taking cuttings. Sterilize with rubbing alcohol between cuts.
- Rooting hormone powder (optional but recommended): It gives cuttings a little boost.
- Small pots or seed trays: With drainage holes, of course!
- Perlite or coarse sand: For dusting the top of the soil to prevent rot.
- Watering can with a fine rose: Or a spray bottle for gentle watering.
- Labels and a permanent marker: To keep track of what you planted and when.
Propagation Methods
Eriosyce chilensis is most commonly propagated from offsets, which are those lovely little pups that grow around the base of the main plant.
Method: Offset Division
- Assess your plant: Look for healthy offsets that have grown to a decent size, ideally about an inch or two in diameter. You want them to have their own small root system already developing.
- Gently unpot: Carefully remove your Eriosyce chilensis from its pot. Gently brush away any excess soil from around the base.
- Locate the connection: Examine where the offset meets the parent plant. You’ll see a natural separation point, often a slightly constricted area.
- Make the cut: Using your sterilized pruning shears or knife, make a clean cut to separate the offset. Try to keep as many of the offset’s tiny roots intact as possible. If it’s a very clean break, you might not even need to cut.
- Allow to callous: This is crucial! Place the offset in a dry, well-ventilated spot away from direct sun for a few days, or even up to a week. You want the cut surface to dry out and form a protective callus. This prevents rot when you plant it.
- Planting: Once calloused, fill your small pot with your well-draining soil mix. You can dip the calloused end in rooting hormone powder now, if you’re using it. Make a small hole in the soil and gently place the offset in, ensuring its roots are covered.
- Don’t water immediately: Resist the urge to water! Wait for about a week after planting before giving it its first gentle drink. This gives any remaining cuts on the offset a chance to heal.
The “Secret Sauce” (Pro Tips)
- Bottom Heat is Your Friend: If you struggle with getting cuttings to root, consider a propagation mat. Just a little warmth from below can really encourage root development, especially if your propagation area isn’t naturally very warm.
- Dust with Caution: After planting your offsets, I like to dust the very top of the soil around the base of the new offsets with a thin layer of perlite or coarse sand. This helps wick away any surface moisture and further prevents that dreaded rot at the soil line.
- Patience is a Virtue (and a Requirement!): These guys are not lightning-fast rooters. Be patient! Sometimes it can take several weeks, or even a couple of months, for you to see any signs of new growth, which indicates roots have formed. Don’t panic if nothing seems to be happening immediately.
Aftercare & Troubleshooting
Once you’ve planted your offsets and given them that initial week-long rest, it’s time for their first watering. Water sparingly at first. You want the soil to dry out completely between waterings. Think of it like giving them just a little sip to help them get started. Position them in bright, indirect light.
The most common issue you’ll face is rot. If you see your offset turning mushy, yellow, or black, it’s likely suffering from too much moisture. If you catch it early, you might be able to cut away the rotted parts with your sterile knife and try to re-root the healthy section, again ensuring it calluses properly. Overwatering is the main culprit, so be mindful of that drainage and watering schedule. If an offset just refuses to root and stays firm but shows no signs of growth after a couple of months, it might just not be viable. Don’t be discouraged; it happens!
A Encouraging Closing
Watching a tiny offset transform into a flourishing new Eriosyce chilensis is such a satisfying journey. Remember to be gentle, keep things clean and dry, and most importantly, enjoy the process. You’re nurturing new life, and that’s a truly wonderful thing. Happy propagating!
Resource: