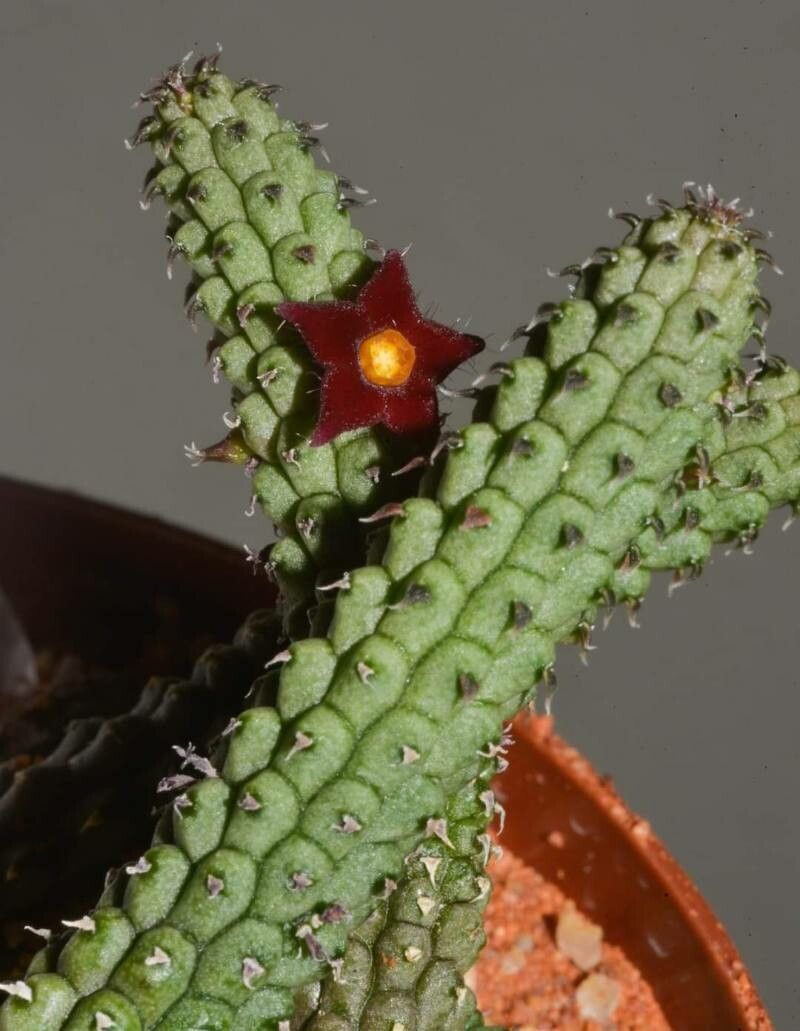
Hey there, fellow plant enthusiasts! It’s your favorite garden mentor, back with another exciting propagation project. Today, we’re diving into the wonderful world of Echidnopsis repens. This little succulent is an absolute charmer, with its star-shaped blooms that look like something from another planet. Trust me, nurturing a whole new plant from a tiny piece of its parent is one of the most satisfying feelings a gardener can experience. And the good news? Propagating Echidnopsis repens is surprisingly straightforward! It’s a fantastic choice for beginners looking to expand their succulent collection.
The Best Time to Start
Spring is your golden ticket for Echidnopsis repens propagation. This is when the plant is actively growing, meaning it has the energy to heal and put out new roots. Aim to take cuttings or divide your plants when they’re showing signs of vigorous growth; usually after the main blooming period has passed.
Supplies You’ll Need
Before we get our hands dirty, let’s gather our tools. A quick trip to the garden shed or craft store will have you ready to go:
- Sharp, clean pruning shears or a knife: Crucial for making clean cuts to prevent disease.
- A well-draining soil mix: I prefer a cactus and succulent mix, or you can make your own by combining potting soil with perlite or pumice – a 50/50 ratio works wonders.
- Small pots or seed trays: Whatever suits the size of your cuttings. Ensure they have drainage holes!
- Rooting hormone (optional but recommended): This gives your cuttings a nice boost.
- A spray bottle: For gentle watering.
- A clean workspace: Think of it as preparing the “operating room” for your new plant babies!
Propagation Methods
Let’s get down to business! Here are the most common and effective ways to multiply your Echidnopsis repens.
Stem Cuttings
This is my go-to method for Echidnopsis repens. It’s so simple!
- Select a healthy stem: Look for a mature stem that’s at least a few inches long and appears robust. Avoid anything that looks diseased or weak.
- Make the cut: Using your sharp shears or knife, make a clean cut just above a leaf node. Try to get a piece with at least two or three healthy nodes.
- Allow it to callous: This is a vital step! Lay your cuttings on a dry surface, away from direct sunlight, for about 2-3 days. You want the cut end to dry out and form a tough callus. This prevents rot when you plant them.
- Prepare for planting: Once calloused, you have two options. If you’re using rooting hormone, dip the calloused end into the powder.
- Planting Time: Gently insert the calloused end of the cutting into your well-draining soil mix. Make sure at least one node is buried. Don’t pack the soil too tightly; we want air circulation.
- Watering: Wait a day or two after planting before giving your cuttings a light watering. Use your spray bottle to moisten the soil surface. Avoid overwatering!
Water Propagation
While not my absolute favorite for this particular succulent, it can work if you’re patient.
- Take cuttings as described above.
- Allow them to callous for the same duration.
- Place the calloused end in water: Use a clean jar or glass. Make sure only the calloused part of the stem is submerged, not the leaves.
- Change the water regularly: Refresh the water every few days to keep it clean and oxygenated.
- Watch for roots: It can take a few weeks to see tiny root nubs appear. Once the roots are about an inch long, you can transplant them into soil.
The “Secret Sauce” (Pro Tips)
Every gardener has their little tricks, and here are a few I swear by for Echidnopsis repens:
- Bottom Heat is Your Friend: If you’re in a cooler climate or propagating in early spring, placing your pots on a gentle heating mat can make a world of difference. It encourages faster root development by keeping the soil consistently warm.
- Don’t Drown Them: This is a common mistake. Cuttings, especially succulents, are prone to rot if the soil stays too wet. It’s always better to err on the side of underwatering when they’re just starting out. Let the soil dry out almost completely between waterings.
- Patience is a Virtue (and a Fertilizer): Sometimes, cuttings just need a bit more time to get going. Don’t be discouraged if you don’t see immediate results. Keep them in a bright spot with good air circulation, and resist the urge to constantly fuss over them.
Aftercare & Troubleshooting
Once you see signs of new growth – maybe a tiny pup emerging or the stem looking plumper – you know your cutting is happy and rooting!
Continue to water sparingly, allowing the soil to dry out between sessions. As your new plant grows, you can gradually increase watering frequency to mimic the care of a mature specimen.
The most common problem you’ll encounter is rot. If your cutting turns mushy or black, it’s usually a sign of too much moisture. Unfortunately, severely rotted cuttings are usually a lost cause. However, if you catch it early, you might be able to salvage a healthy section by making a new cut above the rot and starting over. Yellowing leaves can sometimes indicate too much direct sun. Give them bright, indirect light.
A Warm Hug for Your New Plant Beginnings
Propagating plants is a journey, and with Echidnopsis repens, it’s a particularly rewarding one. Be patient, embrace the process, and celebrate every tiny victory. Seeing a new life emerge from a piece of your beloved plant is truly magical. Happy propagating, everyone! Your home is about to get a little greener, and your heart a whole lot fuller.
Resource: