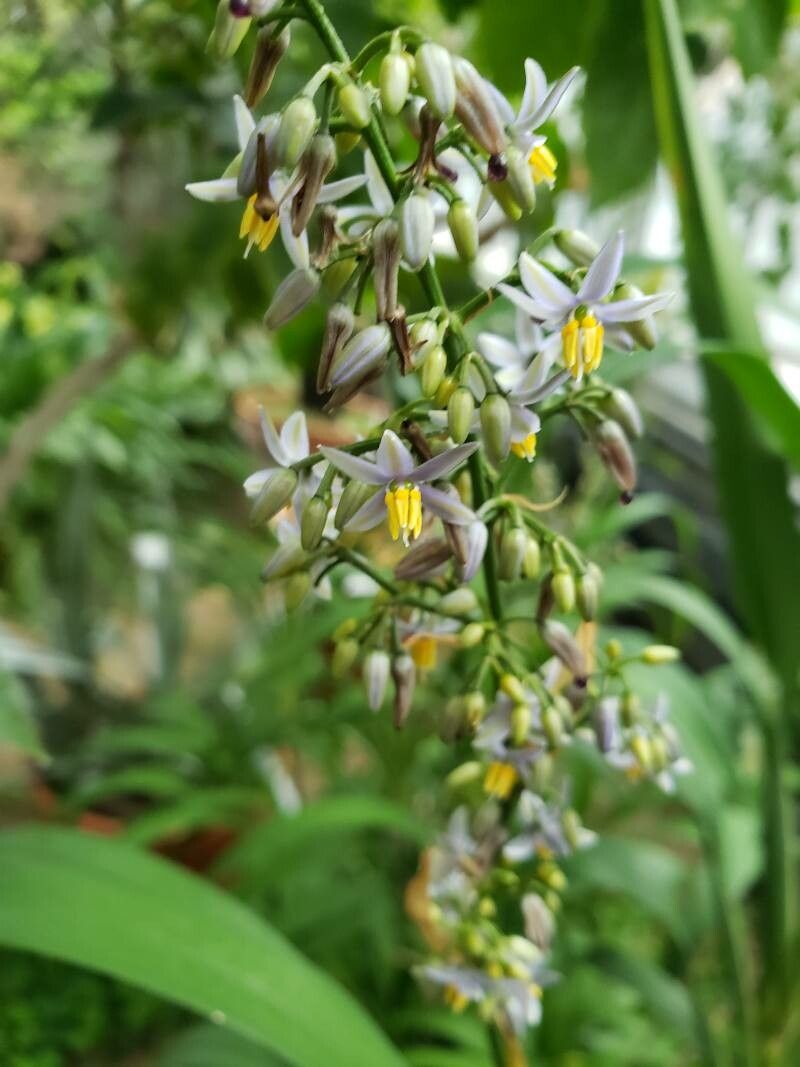
Hello fellow plant lovers! Today, we’re going to talk about a plant that has brought so much subtle beauty and resilience to my own garden: Dianella tasmanica, or the Tasman Flax Lily. You know, the one with those lovely arching blue-green leaves and charming little clusters of blue berries that look like tiny jewels after the blooms fade? I just adore how it adds a touch of the tropics without demanding a fuss.
If you’re looking for a rewarding project that will fill your garden (or a sunny windowsill) with more of these beauties, you’re in the right place. Propagation can feel a bit daunting at first, but I promise you, Dianella tasmanica is a wonderfully easy plant to start from, even for beginners. It’s a real joy to watch those new shoots emerge, knowing you helped them along!
The Best Time to Start
For Dianella tasmanica, the sweet spot for propagation is typically spring or early summer. This is when the plant is actively growing and has plenty of energy reserves to put into developing new roots. Waiting until after it’s finished flowering is a good cue, as the plant is then focusing on seed production or vegetative growth, making it more receptive to being divided or having cuttings taken.
Supplies You’ll Need
Gathering your tools beforehand makes the whole process smoother. Here’s what I usually have on hand:
- Sharp pruning shears or a clean, sharp knife: For making clean cuts.
- Well-draining potting mix: A good blend of peat moss, perlite, and a little coarse sand works wonders. You can also buy specific seed-starting or cutting mixes.
- Small pots or seed trays: Clean ones are important to prevent diseases.
- Rooting hormone (optional but recommended): Especially for cuttings, it gives them a real boost.
- Watering can with a fine rose or a spray bottle: For gentle watering.
- Labels and a permanent marker: To keep track of what you’ve planted and when.
- A warm, bright location: Out of direct, harsh sunlight.
Propagation Methods
Dianella tasmanica is primarily propagated through division, which is my go-to method because it’s so straightforward and effective. You can also try stem cuttings, though it’s a bit less common and can be trickier.
Method 1: Division (My Favorite!)
This is like giving your mature plant a little haircut and a fresh start.
- Gently remove the parent plant from its pot or carefully dig it up from the garden. Try to disturb the roots as little as possible.
- Inspect the root ball. You’ll likely see a dense clump of fleshy roots with new shoots emerging.
- Carefully tease apart the root ball with your fingers or a trowel. You want to separate it into sections, each with a healthy clump of roots and at least one or two leafy shoots.
- If the roots are very tangled, you can use your clean pruning shears or knife to cut through them. Again, aim for divisions that look robust.
- Pot up each division into its own pot filled with your well-draining potting mix.
- Water gently to settle the soil around the roots.
Method 2: Stem Cuttings
This one is a bit more hands-on, but can be very satisfying!
- Take cuttings from a healthy, actively growing plant in spring or early summer. Look for young, non-flowering shoots that are about 4-6 inches long.
- Make a clean cut just below a leaf node (where a leaf attaches to the stem).
- Remove the lower leaves from the cutting, leaving just a couple of leaves at the top.
- Dip the cut end into rooting hormone (if using it).
- Plant the cutting about an inch deep into pots filled with moist, well-draining potting mix.
- Water gently.
The “Secret Sauce” (Pro Tips)
Here are a couple of things I’ve learned over the years that really help Dianella tasmanica thrive during propagation:
- Don’t overcrowd your divisions! When dividing, give each new section enough space and root material to establish itself. Trying to cram too much into one pot can lead to weak growth and increased risk of rot.
- Bottom heat is your friend for cuttings. If you’re trying stem cuttings, placing the pots on a heat mat designed for seedlings can significantly speed up root formation. It mimics that lovely warmth of spring soil.
- Mist, don’t soak! For cuttings, especially, it’s easy to overwater, which can lead to them rotting before they even have a chance to root. A light misting is often all they need, especially if you’ve covered them with a plastic bag to retain humidity.
Aftercare & Troubleshooting
Once your divisions or cuttings have settled in, treat them with care.
- Keep them in bright, indirect light. Too much sun can scorch young plants, while too little will lead to weak, leggy growth.
- Water when the top inch of soil feels dry. It’s crucial to avoid waterlogged conditions, as this is the quickest way to invite root rot. The leaves might start to yellow and look mushy. If you see this, gently pull the plant out and check the roots. It’s often salvageable if caught early by repotting in fresh, dry soil.
- Be patient! New root growth can take several weeks, especially from cuttings. You’ll know they’re happy when you see new leaf growth appearing.
And there you have it! Propagating Dianella tasmanica is an accessible and incredibly rewarding way to expand your collection. Don’t be discouraged if your very first attempt isn’t perfect. Gardening is a journey, and each plant you nurture teaches you something new. Enjoy the process, and soon you’ll have more of these delightful Flax Lilies to share! Happy gardening!
Resource:
https://identify.plantnet.org/k-world-flora/species/Dianella%20tasmanica%20Hook.f./data