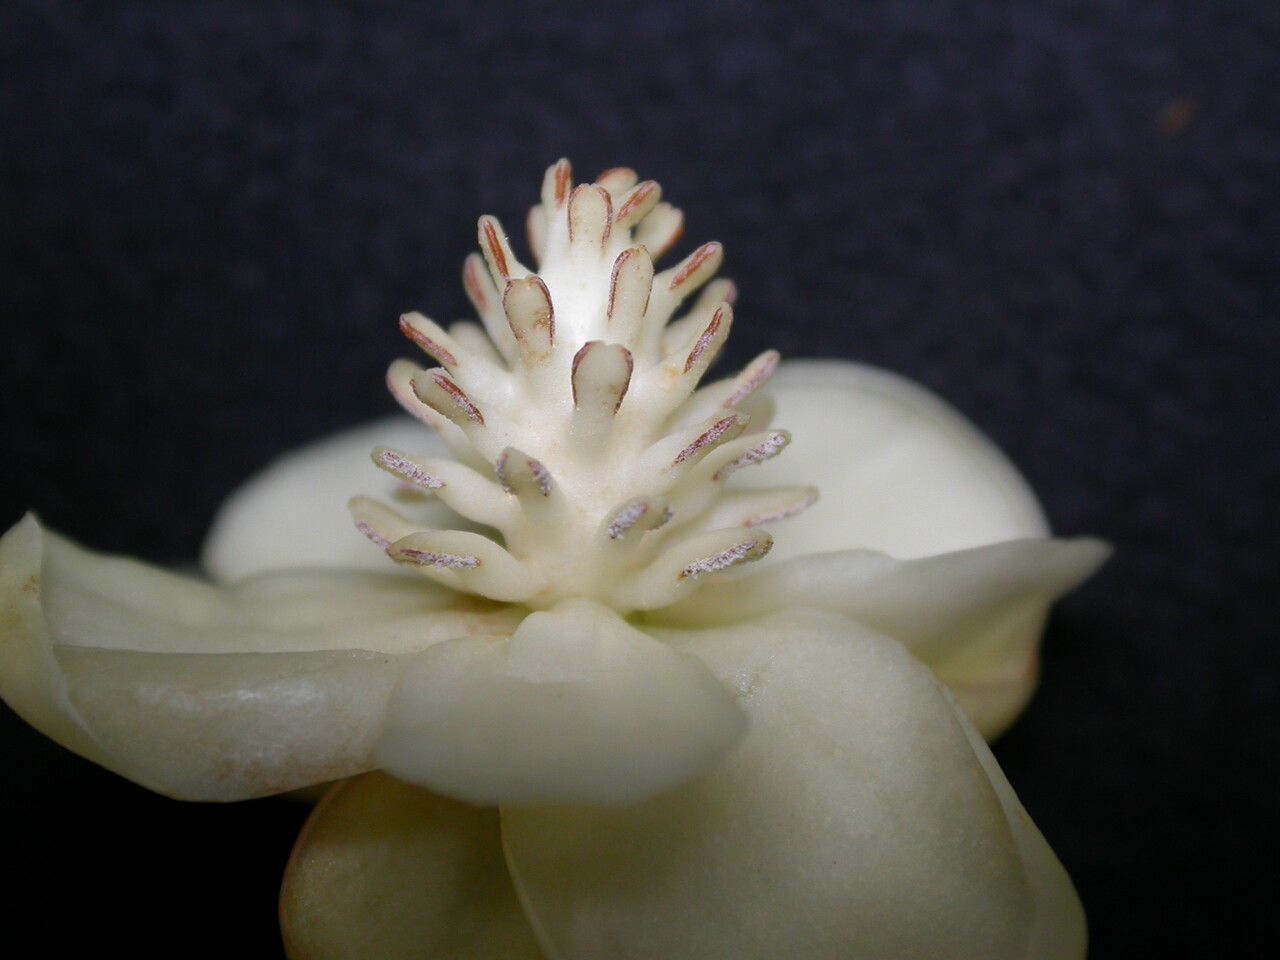
Hello fellow green thumbs! Let’s talk about a plant that’s a real gem: Schisandra grandiflora. If you’ve ever admired those stunning, vibrant berries or the elegant, cascading foliage, you’re not alone. Bringing this beauty into your own garden through propagation is incredibly rewarding. It feels like unlocking a little bit of gardening magic, and while Schisandra grandiflora can be a touch more finicky than, say, a pothos, it’s absolutely doable for the enthusiastic gardener willing to give it a little extra attention.
The Best Time to Start
For Schisandra grandiflora, timing is everything. I find the sweet spot for taking cuttings is in late spring to early summer, after the plant has finished its flush of new growth but before the stem wood has become too hard. This is when the stems are supple enough to root readily. If you’re thinking about division, early spring as soon as the ground thaws, or late fall after the leaves have dropped, are your best bets.
Supplies You’ll Need
Here’s what you’ll want to have on hand before you begin:
- Sharp, clean pruning shears or a sharp knife: Sterilize them with rubbing alcohol to prevent disease.
- Rooting hormone: A powder or gel specifically for woody cuttings.
- Potting mix: A well-draining blend. I usually mix equal parts peat moss or coco coir, perlite, and a bit of coarse sand. This ensures good aeration and prevents waterlogging.
- Small pots or propagation trays: About 4-6 inches deep is good. Make sure they have drainage holes!
- Plastic bags or a clear propagation dome: To create a humid environment.
- Labeling stakes: So you don’t forget what you’ve planted!
- Gloves: For comfort and cleanliness.
- (Optional) Heat mat: For bottom heat, which can really speed things up.
Propagation Methods
Let’s get our hands dirty with the most successful methods for Schisandra grandiflora.
1. Stem Cuttings (My Go-To)
This is how I usually expand my collection.
- Select your cutting: Look for healthy, mature stems that are about pencil-thick and 6-8 inches long. Gently bend a tip of the stem. If it snaps cleanly, it’s likely good. If it bends without breaking, it’s probably too soft.
- Make the cut: Using your sharp shears, take a cutting just below a leaf node (where a leaf attaches to the stem). This is where roots are most likely to form.
- Prepare the cutting: Remove the lower leaves, leaving only 2-3 at the very top. If the remaining leaves are very large, I’ll often cut them in half horizontally. This reduces water loss from transpiration. You can also gently scrape away a thin sliver of bark on one side of the bottom inch of the stem to expose more of the cambium layer, which can encourage rooting.
- Apply rooting hormone: Dip the cut end of the stem into your rooting hormone, tapping off any excess.
- Plant the cutting: Fill your pots with your prepared potting mix. Make a hole in the center with a pencil or finger, and gently insert the cutting, ensuring the bottom nodes are buried. Firm the soil gently around the stem.
- Create humidity: Water the soil thoroughly until it drains from the bottom. Cover the pot with a plastic bag or propagation dome. Make sure the leaves do not touch the inside of the bag – you can prop up the bag with stakes if needed.
2. Division (Best for Established Plants)
If you have a mature Schisandra plant that’s looking a bit crowded, division is a great way to go.
- Prepare the plant: Water the plant well a day or two before you plan to divide it. This helps reduce transplant shock.
- Exhume the root ball: Carefully dig up the entire plant.
- Inspect the root ball: You’ll often see distinct sections or crowns.
- Separate the sections: Using a sharp spade or knife, gently divide the root ball into smaller sections. Each section should have at least one healthy shoot and a good portion of roots. If the roots are very tangled, you can carefully comb them out with your fingers or a small fork.
- Replant immediately: Plant the divisions into prepared beds or new pots, watering them in well.
The “Secret Sauce” (Pro Tips)
Here are a couple of things I’ve learned over the years that make a big difference:
- Bottom heat is your friend! Especially for those stem cuttings. Placing your pots on a seedling heat mat set to around 70-75°F (21-24°C) can significantly speed up root development. It mimics the conditions of spring soil nicely.
- Don’t overwater, but don’t let them dry out. This is a delicate balance. I like to check the soil by gently poking it with my finger. If the top inch feels dry, it’s time to water. If it feels moist, hold off. The humidity you created with the plastic bag or dome will help keep the leaves from wilting.
Aftercare & Troubleshooting
Once you see roots emerging (you might see new leaf growth, or you can gently tug on a cutting – if there’s resistance, you have roots!), it’s time to gradually transition your new Schisandra.
- Reduce humidity slowly: Over the course of a week or so, gradually open the plastic bag or dome a little more each day to acclimate the plant to lower humidity.
- Watering: Continue to water when the top inch of soil feels dry.
- Light: Keep them in bright, indirect light. Avoid direct sun, which can scorch young leaves.
- Transplanting: Once your cuttings have established a good root system and are showing vigorous new growth, you can transplant them into slightly larger pots or their final garden location.
- Troubleshooting: The biggest enemy is root rot, usually caused by overwatering and poor drainage. If you see stems turning black and mushy, or leaves wilting despite moist soil, you’re likely dealing with rot. Unfortunately, severely rotted cuttings are usually a loss. To prevent this, ensure excellent drainage and that humid environment is helping, not creating a soggy mess.
A Little Patience Goes a Long Way
Propagating Schisandra grandiflora takes a bit of patience and observation, but the joy of nurturing a new plant from a simple cutting or division is truly unmatched. Don’t be discouraged if every single attempt doesn’t take – that’s part of the learning process! Enjoy the journey, celebrate your successes, and soon you’ll have more of this gorgeous plant to share with friends (or keep all to yourself!). Happy propagating!
Resource: