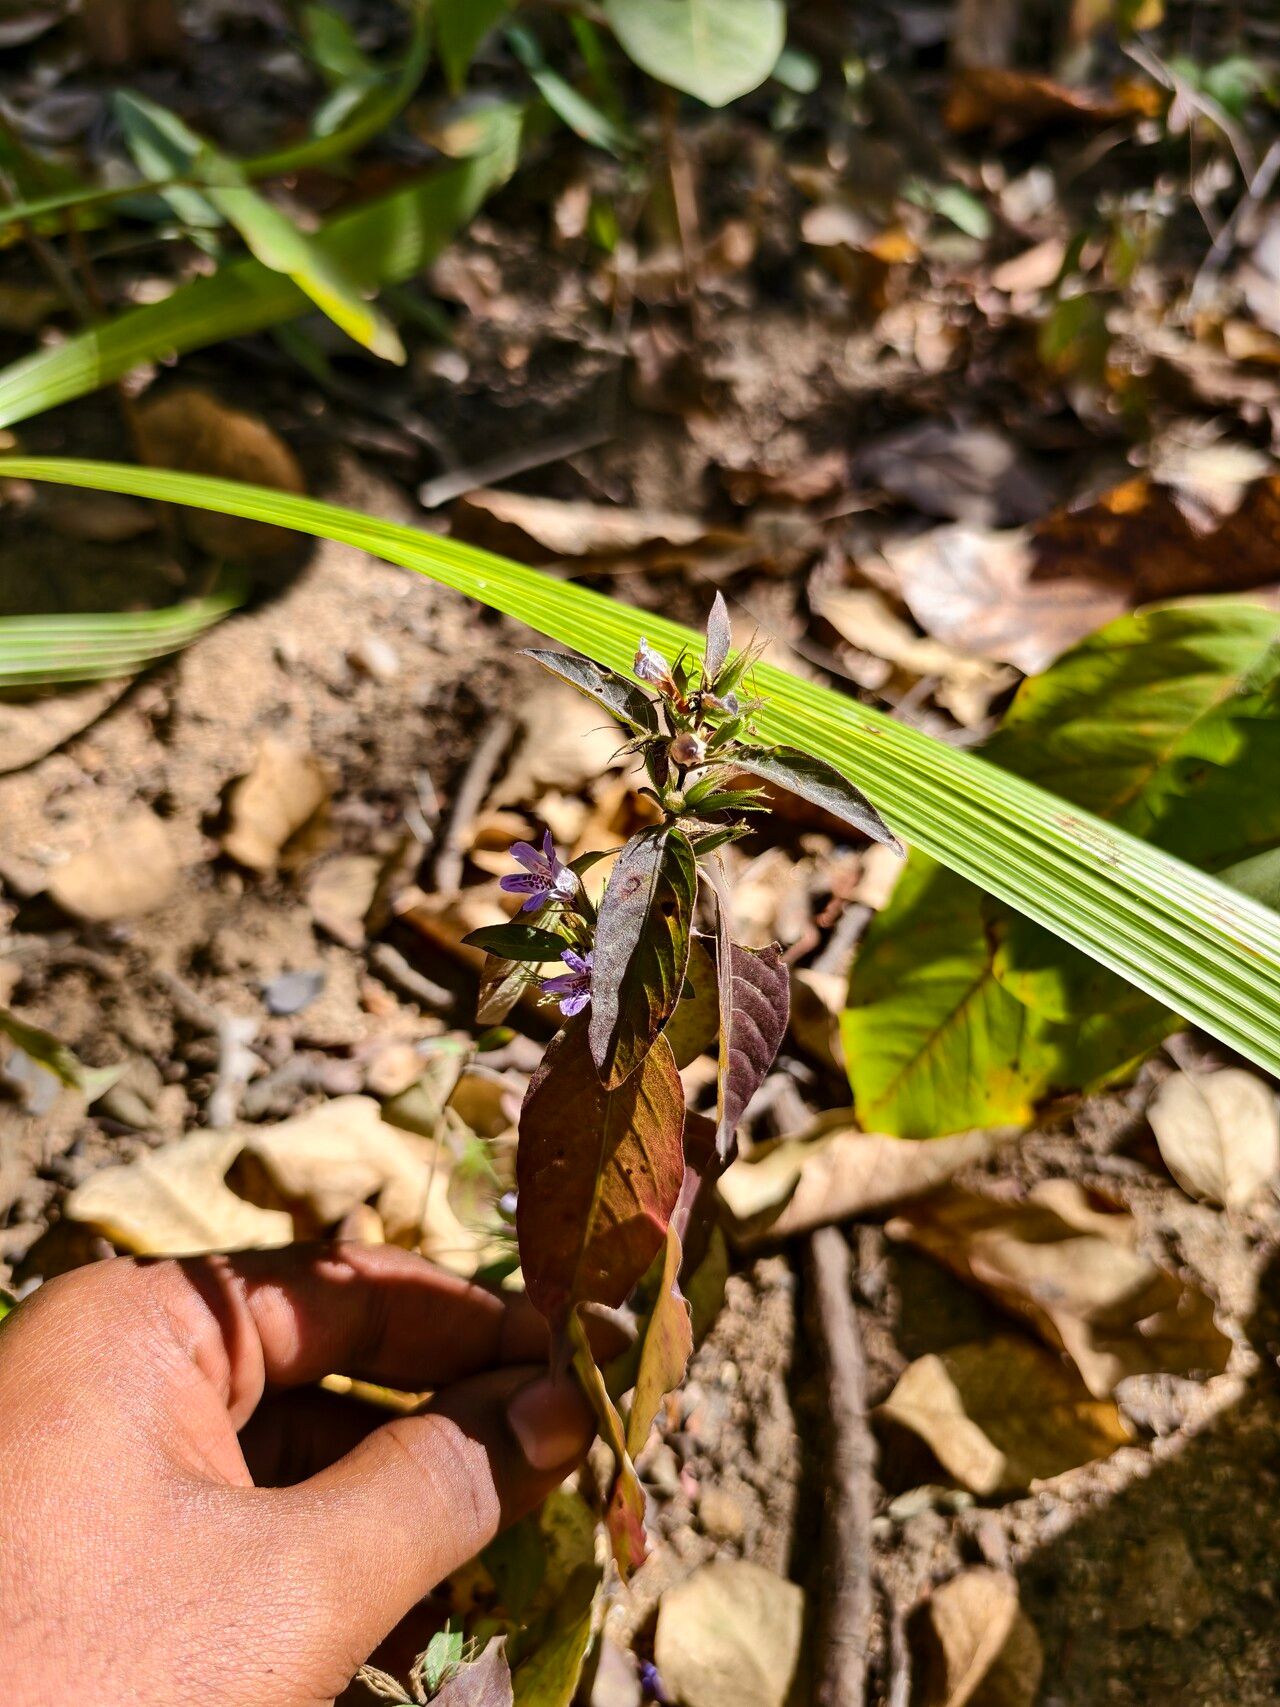
Hello, fellow garden enthusiasts! Today, I’m absolutely buzzing to talk about a plant that has captured my heart: Dyschoriste linearis. If you’re looking for something that brings a touch of delicate beauty to your garden, with a whisper of wildflowers, this is it. Its lovely, often lavender-blue flowers are a real treat, attracting all sorts of delightful pollinators. And the best part? You can easily multiply this beauty yourself! For beginners, I’d say propagating Dyschoriste linearis is moderately easy. It’s not quite as foolproof as a succulent, but with a little attention, you’ll be rewarded with a whole new “family” of plants.
The Best Time to Start
For the highest success rate, I always recommend starting your propagation efforts during the late spring or early summer. This is when the plant is actively growing and has plenty of energy to put into developing new roots. Look for stems that are healthy and vigorous, but not yet flowering or woody. Think of it as harvesting when the energy is high!
Supplies You’ll Need
Gathering your supplies beforehand makes the whole process so much smoother. Here’s what I usually have on hand:
- Sharp Pruning Shears or a Clean Knife: For making clean cuts that heal better.
- Rooting Hormone (Optional but Recommended): Especially helpful for encouraging quicker root development. A powdered or gel form works well.
- Well-Draining Potting Mix: A good blend for me is equal parts peat moss, perlite, and a little coarse sand. You can also buy a good quality seedling or cutting mix.
- Small Pots or Seed Starting Trays: Clean pots are crucial to prevent disease.
- Clear Plastic Bags or Domes: To create a humid environment for your cuttings.
- Watering Can with a Fine Rose: For gentle watering.
- Labels and a Marker: To keep track of what you’ve planted and when.
Propagation Methods
Dyschoriste linearis is quite amenable to propagation from stem cuttings. It’s my go-to method for this lovely plant.
Stem Cuttings:
- Select Your Cuttings: On a healthy, non-woody stem, choose a section that’s about 4-6 inches long. Look for tips that have recently finished flowering or are just starting to develop.
- Make the Cut: Using your sharp pruning shears or knife, make a clean cut just below a leaf node (where a leaf meets the stem). This is where roots are most likely to form.
- Prepare the Cutting: Gently remove the lower leaves from the bottom half of the cutting. You want to expose at least one or two leaf nodes that will be buried in the soil. This also prevents leaves from rotting in the moist environment.
- Apply Rooting Hormone (Optional): Dip the cut end of the stem into your rooting hormone, tapping off any excess.
- Plant the Cuttings: Fill your small pots or trays with your prepared potting mix. Make a small hole with your finger or a pencil, and carefully insert the cut end of the stem. Gently firm the soil around the base to ensure good contact.
- Water Gently: Water thoroughly with your fine-rose watering can until the soil is evenly moist.
- Create a Humid Environment: Cover the pots or trays with a clear plastic bag or a propagator dome. This traps humidity, which is vital for cuttings to root. Make sure the leaves don’t touch the plastic if possible; this can lead to rot. You might need to prop up the bag slightly.
- Placement: Place your cuttings in a bright spot, but out of direct sunlight. A greenhouse bench, a windowsill that doesn’t get harsh afternoon sun, or even a shaded spot outdoors can work.
The “Secret Sauce” (Pro Tips)
Here are a couple of things I’ve learned over the years that can really boost your success with cuttings:
- Bottom Heat is Your Friend: If you’re serious about speedy root development, especially if your home might be a bit cooler, using a heated propagator mat underneath your pots can make a huge difference. It encourages root growth from the bottom up.
- Don’t Be Afraid of Air Circulation: While humidity is key, stagnant air can invite fungal diseases. Every day or so, briefly lift the plastic bag or open the dome for a few minutes to allow for some air exchange. This helps prevent dampening off.
- When in Doubt, Take More: Not every cutting will make it, and that’s perfectly normal! I always plant more cuttings than I think I’ll need. This gives me a good buffer and increases my chances of getting several healthy new plants.
Aftercare & Troubleshooting
Once you start to see signs of new growth – tiny leaves emerging or resistance when you gently tug on the cutting – that’s a good indication that roots have formed.
- Gradual Acclimation: When roots have formed, begin to gradually acclimate your new plants to normal room humidity. This means slowly opening the plastic bag or dome over a week or so.
- Potted Up: Once they’re looking robust, you can carefully pot them up into slightly larger individual pots with fresh potting mix.
- Watering: Keep the soil consistently moist but not waterlogged. They’re still a bit delicate at this stage.
Now, what if things go wrong? The most common issue is rot, where the cutting turns mushy and black. This is usually due to too much moisture and not enough air circulation. If you see this, discard the affected cutting immediately to prevent it from spreading. Another sign of trouble is wilting that doesn’t improve. This can sometimes be due to too little moisture, or the cutting simply not being viable. Don’t get discouraged!
A Small Step, a Big Reward
Propagating Dyschoriste linearis is a truly rewarding experience. It’s a wonderful way to learn more about how plants grow and to share your love of gardening with others. Be patient with the process; some cuttings will root faster than others. Enjoy watching those tiny roots develop and celebrate each new little plant you create. Happy propagating!
Resource: