Oh, hello there! It’s so lovely to see you. Pull up a chair, grab a cuppa, and let’s chat about something truly special: Dracocephalum parviflorum, or as I affectionately call it, Dwarf Dragon’s Head.
A Little Bloom to Brighten Your Day
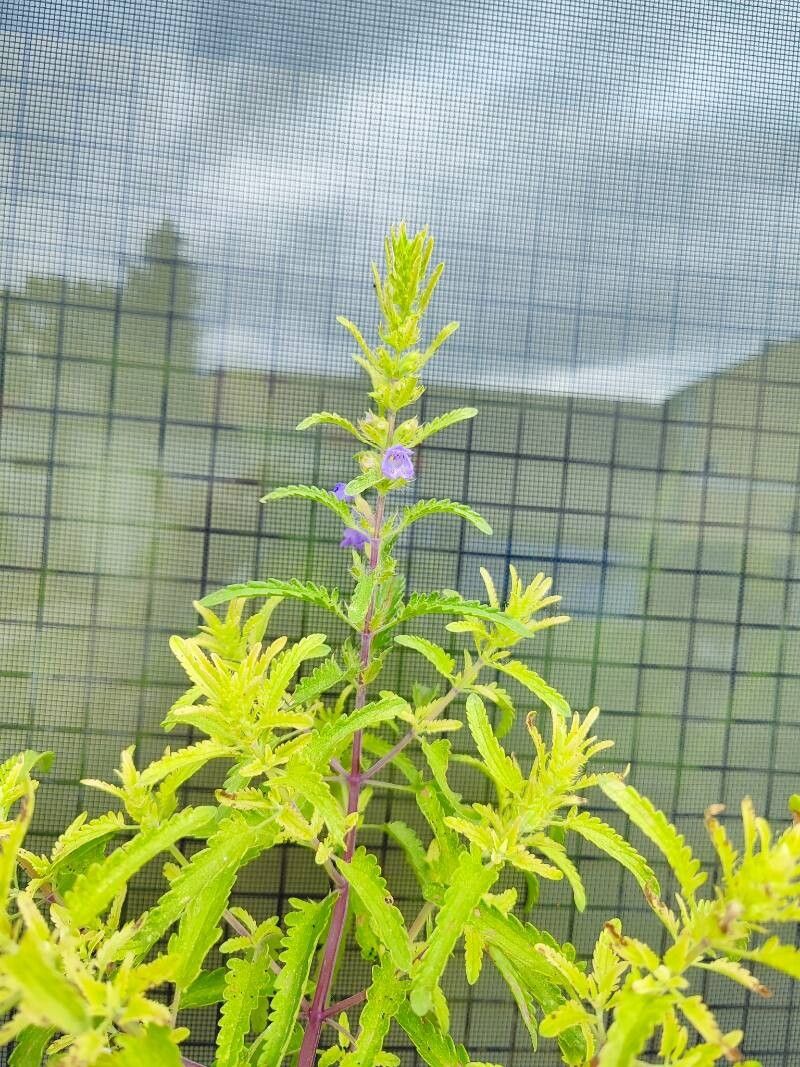
This gem is such a joy to have in the garden. Its charming, small, bell-shaped flowers, often in shades of purple and pink, are a magnet for our buzzy pollinator friends. Plus, it has a lovely, slightly aromatic foliage that adds a subtle fragrance to the air. Propagating it is a wonderfully satisfying endeavor, and honestly, it’s quite forgiving, making it a great plant for those just starting their propagation journey. Seeing a tiny seedling unfurl its first true leaves, or a cutting develop roots right before your eyes, is just pure gardening magic, isn’t it?
When to Get Your Hands Dirty
For Dracocephalum parviflorum, the sweet spot for propagation is typically in late spring to early summer, just as the plant is really hitting its stride. You’re looking for healthy, non-flowering shoots. If you’re thinking about dividing established plants, early spring as new growth emerges is usually the best time. This gives the divisions plenty of the growing season to establish themselves.
Your Propagation Toolkit
Before we dive in, let’s make sure you’ve got everything ready. It makes the whole process smoother:
- Clean, sharp pruners or scissors: For taking clean cuts.
- Small pots or trays: With drainage holes, of course!
- A good quality potting mix: I like a blend of peat-free compost, perlite, and a touch of coarse sand to ensure good drainage.
- Rooting hormone (optional but helpful): A powder or gel can give your cuttings a good start.
- A watering can with a fine rose: For gentle watering.
- A plastic bag or propagator lid: To create a humid environment.
- Labels: To keep track of your precious new plants!
Bringing More Dragon’s Heads to Life
There are a couple of ways we can coax more of these lovely plants into existence:
Stem Cuttings
This is my go-to method for Dracocephalum parviflorum.
- Take your cuttings: In late spring or early summer, select healthy, non-flowering stems from a mature plant. Using your clean pruners, take cuttings about 3-4 inches long. Make the cut just below a leaf node (where a leaf meets the stem).
- Prepare the cuttings: Gently remove the lower leaves, leaving just a couple of pairs at the top. This helps the cutting conserve energy for rooting. If you’re using rooting hormone, dip the cut end into it now.
- Pot them up: Fill your small pots with the prepared potting mix. Make a little hole in the center of the soil with your finger or a pencil.
- Insert the cuttings: Gently place the cuttings into the holes, ensuring the leaf nodes are buried. Firm the soil around them.
- Water gently: Water thoroughly until the soil is evenly moist but not waterlogged.
- Create humidity: Pop the pots into a plastic bag or cover them with a propagator lid. Place them in a bright spot, but out of direct, scorching sunlight.
Division
If you have an established clump, this is a quick and easy way to multiply your plants.
- Gently excavate: Carefully dig up the existing clump. You don’t want to be too rough!
- Separate the divisions: Using your hands or a clean trowel, gently pull or cut the clump apart into smaller sections. Each division should have plenty of roots and a few healthy shoots.
- Replant immediately: Pot up the divisions or replant them directly into their new garden spots. Water them in well.
The “Secret Sauce” – Insider Tips
Here are a couple of little tricks that have served me well over the years:
- Don’t let the leaves touch the “water”: If you’re using a propagator with a bit of water at the bottom, make sure the leaves of your cuttings aren’t submerged. This is a sure-fire way to encourage rot. Keep them slightly elevated.
- The magic of bottom heat: While not strictly essential for Dracocephalum parviflorum, providing a gentle bottom heat source (like a heat mat designed for propagators) can significantly speed up the rooting process for cuttings. It mimics the warmth of spring soil and encourages root development.
Aftercare and What to Watch For
Once your cuttings show signs of rooting – you might see new leaf growth or feel gentle resistance when you tug lightly – it’s time for a bit more attention.
- Gradually acclimatize: Slowly start to introduce them to less humid conditions. Open the propagator lid a little each day for a few days.
- Watering: Continue to water when the top inch of soil feels dry. Overwatering is still the enemy here!
- Potting on: Once the roots have filled the pot, you can pot them into slightly larger containers or plant them out into their permanent garden spots, provided the danger of frost has passed.
Now, what if things don’t go quite as planned? The most common culprit is rot. If your cuttings turn mushy, black, or have a foul smell, it’s usually a sign of too much moisture and/or poor air circulation. Don’t be discouraged if a few don’t make it. Gardening is always a learning curve, and every setback teaches you something new.
Happy Growing!
So there you have it! Propagating Dwarf Dragon’s Head is a simple pleasure, and witnessing your efforts bloom into new life is incredibly rewarding. Be patient, enjoy the process, and soon you’ll have a garden bursting with these delightful little flowers. Happy gardening, my friend!
Resource:
https://identify.plantnet.org/k-world-flora/species/Dracocephalum%20parviflorum%20Nutt./data