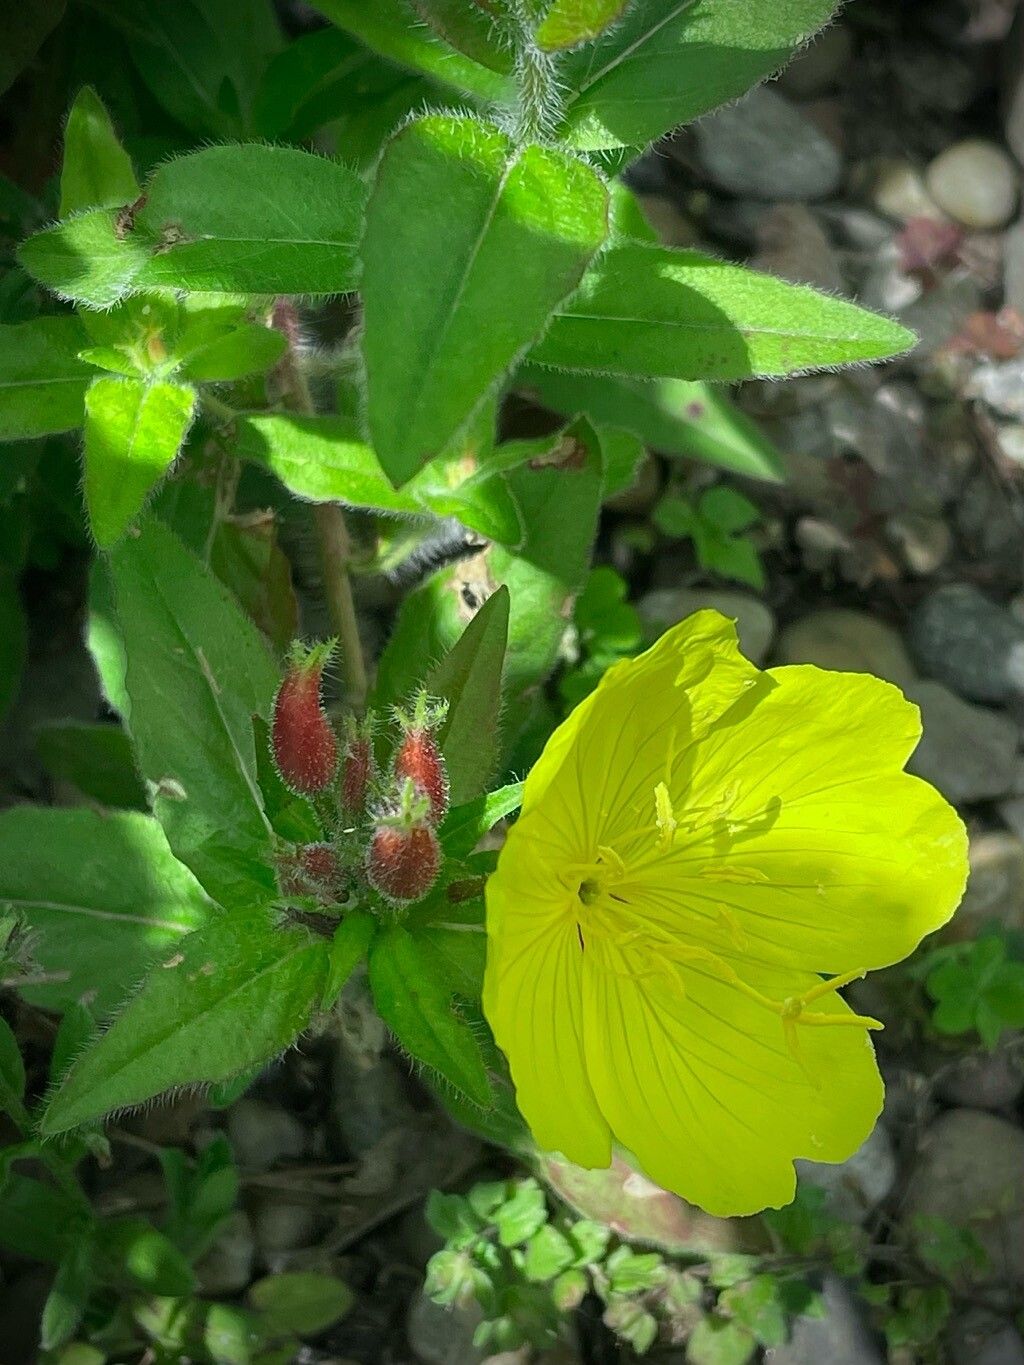
Hello, fellow plant lovers! Today, we’re diving into the wonderful world of propagating Oenothera fruticosa, commonly known as narrowleaf evening primrose or, as I often call it, my “sunshine in a pot.” If you adore those cheerful, bright yellow blooms that unfurl their beauty throughout the summer, you’re in for a treat. Propagating these beauties is incredibly rewarding, and I’m happy to say, they are quite beginner-friendly! Getting more of these gorgeous plants for free is a gardener’s dream, isn’t it?
The Best Time to Start
For Oenothera fruticosa, the sweet spot for propagation is late spring to early summer. This is when the plant is actively growing and has plenty of healthy, new stems developing. You can also have good luck with division in early spring, just as the plant is waking up from its winter slumber. Aim for stems that are not yet woody but have just started to firm up – that “snappy” stage is perfect.
Supplies You’ll Need
Let’s get our toolkit ready. You won’t need anything too fancy, just the basics:
- Sharp Pruning Shears or a Knife: Clean tools are essential to prevent disease.
- Potting Mix: A good quality, well-draining potting mix is key. I like to use a blend of peat moss or coco coir with perlite or coarse sand, roughly 50/50. This ensures good aeration and prevents waterlogging.
- Small Pots or Seed Trays: Whatever you have on hand will work, as long as they have drainage holes.
- Rooting Hormone (Optional but Recommended): This can really give your cuttings a boost and increase success rates.
- Watering Can or Spray Bottle: For gentle watering.
- Plastic Bags or a Propagator: To create a humid environment for your cuttings.
Propagation Methods
I find two methods work exceptionally well for Oenothera fruticosa: stem cuttings and division.
Stem Cuttings
This is my favorite for creating new plants.
- Take Cuttings: In late spring or early summer, use your clean shears to snip off stem tips that are about 4-6 inches long. Look for healthy, green stems. Make your cut just below a leaf node (where a leaf attaches to the stem).
- Prepare the Cuttings: Gently remove the lower leaves from the bottom half of the cutting. This prevents them from rotting in the soil. You can leave the top two or three sets of leaves.
- Apply Rooting Hormone (If Using): Dip the cut end of the stem into your rooting hormone powder or gel. Tap off any excess.
- Plant the Cuttings: Fill your small pots with your prepared potting mix. Make a small hole in the center of the soil with your finger or a pencil. Insert the cutting into the hole, ensuring the leaf nodes are below the soil surface. Gently firm the soil around the stem.
- Water Gently: Water the soil thoroughly but gently. You don’t want to dislodge your cuttings.
- Create Humidity: Place a clear plastic bag over the pot, creating a mini-greenhouse. Secure it with a rubber band or twist tie. Alternatively, place the pots inside a propagator. Make sure the leaves do not touch the sides of the bag.
Division
This is perfect for tidying up existing clumps and getting more plants.
- Dig Up the Plant: In early spring, carefully dig up the entire plant using a spade or trowel.
- Clean the Roots: Gently shake off excess soil to expose the root structure.
- Separate the Divisions: You should see natural divisions in the root ball. You can often gently pull the plant apart with your hands. If it’s a bit stubborn, use your clean knife or trowel to cut through thicker roots. Aim for divisions with at least a few healthy roots and some leafy shoots.
- Replant: Immediately replant your divisions into their new locations or pots, water them in well, and give them a good start.
The “Secret Sauce” (Pro Tips)
Here are a couple of things I’ve learned over the years that really help:
- Keep it Humid, But Not Soggy: The plastic bag or propagator is crucial. If you notice condensation building up too much, open the bag for an hour or so to allow some air circulation. We want humidity, but we don’t want rot.
- Don’t Rush the Roots: Be patient! It can take 3-6 weeks for cuttings to root. You can give them a gentle tug after a few weeks. If you feel resistance, that’s a good sign roots are forming. I also like to use bottom heat if I can – a seedling heat mat can really speed things up and give those roots a cozy place to develop.
Aftercare & Troubleshooting
Once your cuttings have rooted (you’ll see new leaf growth and feel resistance when tugging), it’s time to care for them.
- Harden Off: Gradually acclimate your new plants to the outdoors. If they’ve been under cover, remove the plastic bag for longer periods each day over a week.
- Plant Out: Once they’re ready, transplant them into their permanent spots or larger pots. Water them well and give them some good sunshine.
- Watch for Rot: The most common sign of failure is wilting and rotting. This usually happens due to too much moisture, poor drainage, or lack of air circulation. If you see a cutting turn mushy or black, it’s best to discard it and try again, ensuring better drainage and air flow next time.
A Little Bit of Patience, A Lot of Sunshine
Propagating Oenothera fruticosa is such a satisfying way to expand your garden. It’s about observing, nurturing, and a little bit of hopeful waiting. Don’t get discouraged if your first attempt isn’t perfect. Every gardener has had cuttings that didn’t make it. Just keep at it, learn from each try, and soon you’ll have more of those beautiful yellow blossoms to enjoy than you know what to do with! Happy propagating!
Resource:
https://identify.plantnet.org/k-world-flora/species/Oenothera%20fruticosa%20L./data