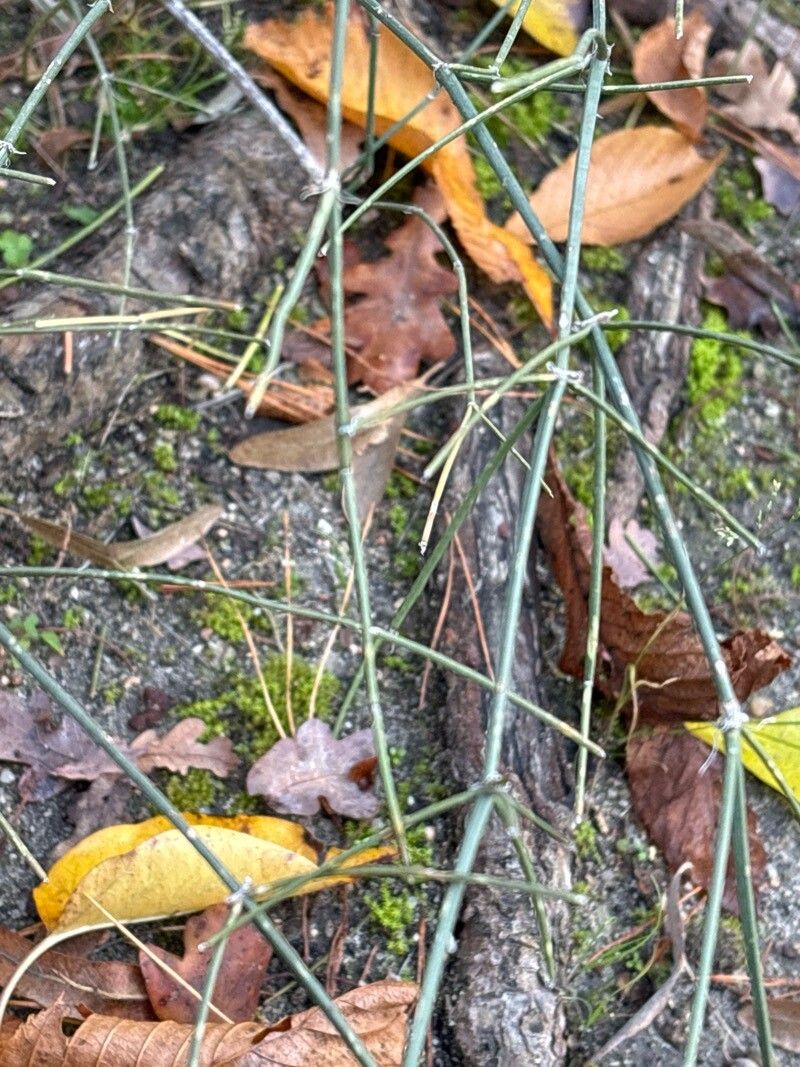
Ah, Ephedra! If you’re looking for a plant that whispers tales of ancient landscapes and offers a wonderfully unique texture to your garden, then you’ve come to the right place. Ephedra ciliata, with its wiry, graceful stems and delicate foliage, is a real charmer. It brings a touch of the arid and the wild right to our doorsteps. Propagating these beauties is not just about creating more plants; it’s about connecting with nature’s resilience and ingenuity. For a beginner, it’s a journey that requires a bit of patience, but with these steps, I believe you’ll find it quite rewarding.
The Best Time to Start
My favorite time to get my hands dirty with Ephedra is in the late spring or early summer. This is when the plant is actively growing and has plenty of energy to put into establishing new roots. You want to be taking cuttings from stems that are semi-hardwood – they’ve lost their youthful softness but aren’t yet completely woody. A good test is to gently bend a potential cutting; if it snaps cleanly, it’s likely a good candidate.
Supplies You’ll Need
Gathering your supplies beforehand makes the whole process so much smoother. Here’s what I always have on hand:
- Sharp Pruning Shears or a Clean Knife: For making clean cuts that heal well.
- Rooting Hormone: A powder or liquid can significantly boost your success rate. Look for one formulated for woody or semi-hardwood cuttings.
- Gritty Propagation Mix: I like a blend of coarse sand, perlite, and a little bit of peat moss. It needs to drain exceptionally well. A mix that holds too much moisture is the quickest way to disaster for Ephedra.
- Small Pots or Seed Trays: Choose containers with drainage holes.
- Plastic Bags or a Humidity Dome: To maintain a humid environment around your cuttings.
- Watering Can with a Fine Rose: For gentle watering.
- Labels and a Permanent Marker: To keep track of your efforts!
Propagation Methods
While Ephedra can be grown from seed, I find stem cuttings to be the most reliable and rewarding method for this particular species.
Stem Cuttings – My Go-To:
- Select Your Cuttings: As mentioned, aim for semi-hardwood stems. You’re looking for pieces about 4-6 inches long.
- Prepare the Cuttings: Carefully remove the lower leaves from the bottom 2-3 inches of each cutting. This prevents them from rotting once planted. If the remaining leaves are very large, you can also snip them in half to reduce water loss.
- Apply Rooting Hormone: Dip the cut end of each prepared cutting into your rooting hormone. Tap off any excess.
- Plant Your Cuttings: Make small holes in your gritty propagation mix with a pencil or your finger, then gently insert the base of each cutting into the mix. Firm the mix around the stem to ensure good contact.
- Water Gently: Water the mix thoroughly but gently. You want it moist, not soggy.
- Create a Humid Environment: Cover the pots with a plastic bag (making sure the bag doesn’t touch the foliage) or place them under a humidity dome. Place them in a bright spot that doesn’t get direct, harsh sunlight. A warm location is also beneficial here.
The “Secret Sauce”
Here are a couple of things I’ve learned over the years that really make a difference with Ephedra:
- Less is More with Water: Once your cuttings are planted and watered, resist the urge to water them too frequently. The gritty mix is key, but even then, overwatering is the enemy. Check the moisture by feeling the top inch of the soil. If it feels dry, then water.
- The Gentle Heat Trick: Ephedra roots much better with a little warmth from below. I’ll often place my propagation trays on a heating mat set to a moderate temperature (around 70-75°F). This encourages root development without cooking the stems.
Aftercare & Troubleshooting
Once your cuttings have started to show signs of root development – usually a gentle tug reveals resistance – it’s time to start thinking about their permanent home.
Gradually acclimate them to drier air by opening the plastic bag or humidity dome a little more each day over a week. Once they are robust enough, you can transplant them into individual pots with a well-draining potting mix. Continue to water them regularly but allowing the soil to dry out between waterings.
The most common sign of trouble is rot. If your cuttings turn black and mushy, or if you see mold growing, it’s usually a sign of too much moisture and not enough airflow. Unfortunately, these are usually lost causes, but don’t get discouraged. Analyze what might have gone wrong and try again!
A Little Patience Goes a Long Way
Propagating plants is a beautiful exercise in patience and observation. Don’t be disheartened if your first attempt isn’t perfect. Each cutting is a little experiment, and every gardener learns from both successes and, yes, those inevitable little failures. Enjoy the process of nurturing these unique plants, and soon you’ll have a lovely collection of Ephedra to share or enjoy yourself. Happy gardening!
Resource:
https://identify.plantnet.org/k-world-flora/species/Ephedra%20ciliata%20Fisch.%20&%20C.A.Mey./data