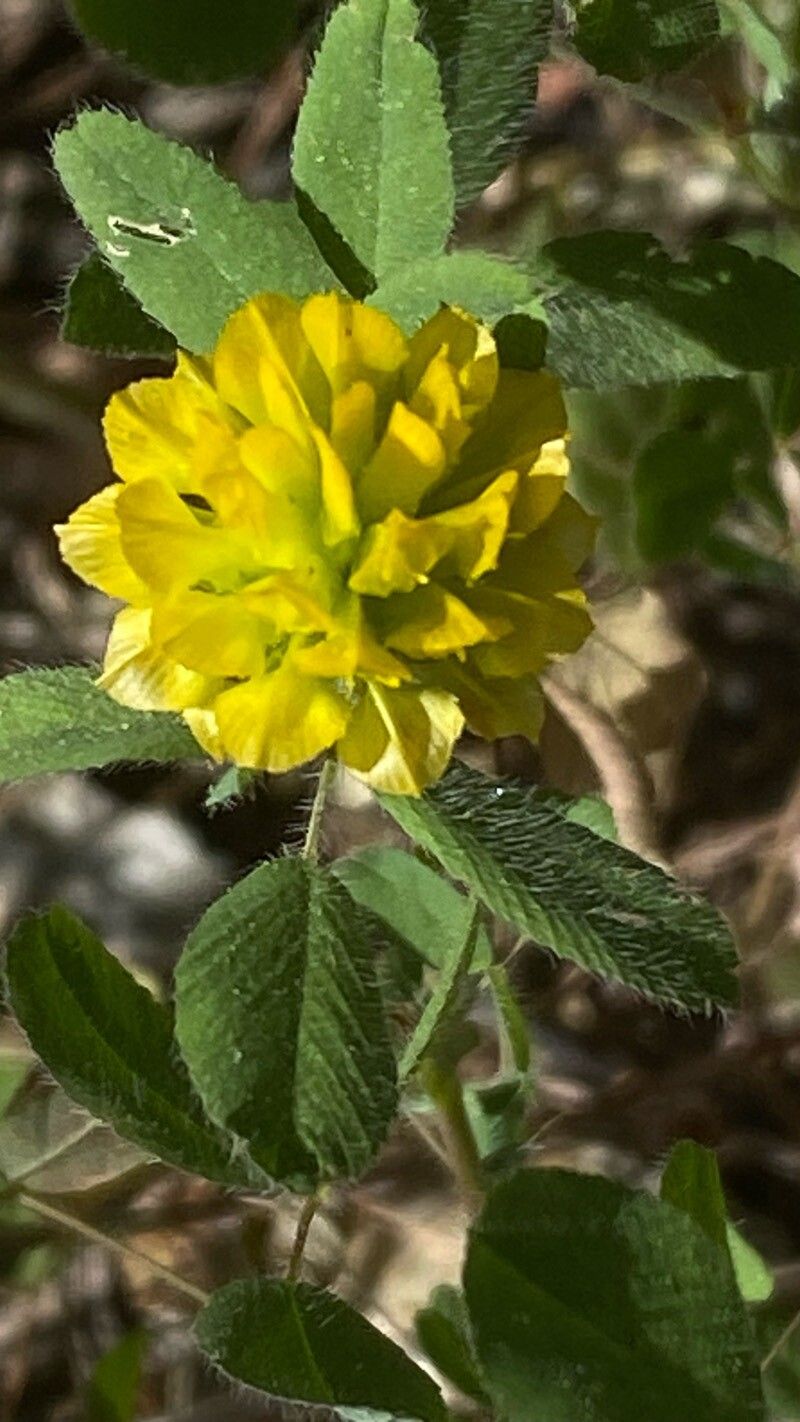
Hey there, fellow garden enthusiasts! I’m so excited to chat with you today about a little gem that’s been capturing my heart (and my garden beds) recently: Trifolium boissieri. This charming clover relative, with its delicate foliage and often sweetly scented flowers, brings a lovely, understated elegance to any space. Propagating it is a truly rewarding endeavor, a way to multiply that beauty and share it with friends. I’ve found it to be a wonderfully… let’s say, accessible plant to work with, even for those just dipping their toes into the world of propagation. You’ll likely find it quite forgiving!
The Best Time to Start
For the highest success rates with Trifolium boissieri, I always recommend starting your propagation efforts in the spring. As the days lengthen and temperatures begin to warm consistently, the plant enters its active growth phase. This is when it has the most energy stored away to put into developing new roots. Aim for a time when your local weather is reliably mild, avoiding late frosts or extreme heat.
Supplies You’ll Need
Gathering your supplies beforehand makes the whole process much smoother. Here’s what I typically have on hand:
- Sharp, clean pruning shears or a sharp knife: For making precise cuts. Sterilize them with rubbing alcohol between uses.
- A good quality seed-starting or propagation mix: Something lightweight and well-draining is key. Avoid heavy garden soil.
- Small pots or trays: With drainage holes, of course! About 3-4 inch pots are usually perfect.
- Rooting hormone (optional but helpful): A powdered or liquid rooting hormone can give your cuttings a boost.
- Perlite or vermiculite (optional): To improve drainage and aeration within your soil mix.
- A clear plastic bag or propagation dome: To create a humid environment for cuttings.
- A watering can with a fine rose: For gentle watering.
- Labels: So you don’t forget what you planted where!
Propagation Methods
Trifolium boissieri can be successfully propagated through a couple of common methods. I’ll walk you through the ones I find most reliable.
Division
This is often the easiest method, especially for more established clumps.
- Gently excavate: Carefully dig up the entire plant, trying to disturb the roots as little as possible.
- Loosen the soil: Gently shake away excess soil until you can see the root structure clearly.
- Identify natural divisions: Look for spots where the plant naturally separates into several smaller, healthy portions, each with its own roots and shoots. Using your clean hands or a clean trowel, gently pull or cut the clumps apart. Aim for divisions that have at least a few healthy stems and a good portion of roots.
- Pot them up: Plant each division into its own pot filled with your chosen propagation mix. Ensure the roots are spread out and the crown of the plant is at soil level.
- Water and place: Water thoroughly until water drains from the bottom. Place in a bright spot with indirect light and keep the soil consistently moist.
Stem Cuttings
This method requires a bit more patience but is fantastic for increasing your stock.
- Take cuttings: In spring, when the plant is actively growing, select healthy, non-flowering stems. Make a clean cut just below a leaf node (the point where a leaf attaches to the stem). Aim for cuttings that are about 4-6 inches long. Remove the lower leaves, leaving just a few at the top.
- Apply rooting hormone (optional): Dip the cut end of each stem into your rooting hormone, tapping off any excess.
- Plant the cuttings: Fill your small pots with the damp propagation mix. Make a hole in the soil with a pencil or your finger and insert the cutting, ensuring the leaf nodes are buried. Gently firm the soil around the stem.
- Create humidity: Water gently, and then cover the pot with a clear plastic bag or place it inside a propagation dome to maintain high humidity. This is crucial for preventing the cuttings from drying out.
- Find the right spot: Place the pots in a warm location with bright, indirect light. Avoid direct sunlight, which can scorch young cuttings.
The “Secret Sauce” (Pro Tips)
Here are a couple of little tricks I’ve learned over the years that can really help boost your success:
- Don’t let the leaves touch the water (for water propagation, if you try it): While some plants root well in water, for Trifolium boissieri cuttings, I find that having the leaves submerged can lead to rot before roots even form. Keep only the cut stem in contact with the water (or, more reliably, soil).
- Bottom heat is your friend: Placing your pots on a gentle heating mat can significantly speed up the rooting process for cuttings. It mimics the warmth of spring soil, encouraging root development. Just make sure the heat isn’t too intense; you want it to be comfortably warm to the touch.
Aftercare & Troubleshooting
Once your Trifolium boissieri has developed a healthy root system (you might see roots peeking out of the drainage holes or feel more resistance when you gently tug on a cutting), it’s time for a little more focused care.
- Gradually acclimate: If you’ve used a humidity dome or plastic bag, start removing it gradually over a few days to help your new plants adjust to normal humidity levels.
- Watering: Continue to keep the soil consistently moist but not waterlogged. Overwatering is a common culprit for failure, leading to root rot. You’ll notice the soil surface drying out slightly between waterings.
- Light: Gradually move your young plants into a brighter spot. Once they are well-established, they will appreciate plenty of sunlight.
- Repotting: When your plants have outgrown their initial pots (usually after a few weeks to a couple of months), transplant them into slightly larger containers with a good quality potting mix.
Common signs of trouble: If your cuttings turn mushy, brown, or black at the base, it’s a sign of rot, often caused by too much moisture and not enough air circulation. Sadly, these are usually a lost cause. Yellowing leaves on established divisions might indicate underwatering or a nutrient deficiency. Just observe your plants closely; they’ll tell you what they need.
A Little Encouragement
Propagating plants is a journey of experimentation and observation. Don’t be discouraged if every single attempt isn’t a roaring success. That’s part of the learning curve! Celebrate your wins, learn from your mistakes, and most importantly, enjoy the process of nurturing new life. Happy gardening!
Resource:
https://identify.plantnet.org/k-world-flora/species/Trifolium%20boissieri%20Guss./data