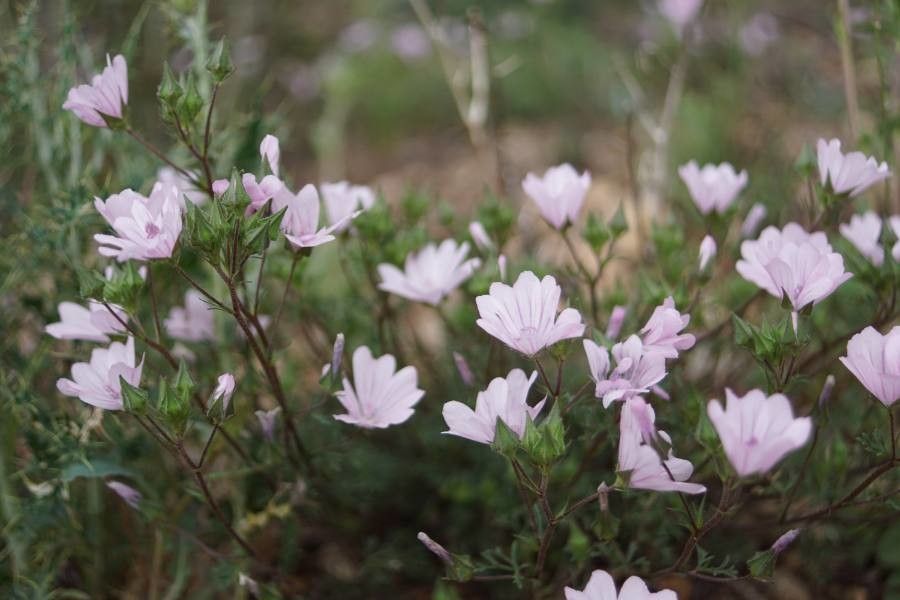
Oh, Malva aegyptia! It’s one of those delightful plants that just brightens up any garden. Its cheerful blooms, like little crepe paper blossoms, and those lovely, soft leaves have a way of drawing you in. Getting more of these beauties for yourself or to share with friends is a truly rewarding experience. And guess what? I find Malva aegyptia to be quite forgiving for beginners, which is wonderful news!
The Best Time to Start
For the highest success rate with Malva aegyptia, I like to work in late spring or early summer. This is when the plant is actively growing and has plenty of energy to put into developing new roots. You’re looking for new, non-woody stems – the kind that bend easily rather than snap.
Supplies You’ll Need
You won’t need anything too fancy for this. Here’s what I usually gather:
- Sharp Pruning Shears or a Craft Knife: Cleanliness is key!
- Small Pots or Seed Trays: About 3-4 inches deep are perfect.
- Well-Draining Potting Mix: A mix of equal parts peat moss or coco coir and perlite or coarse sand is my go-to. It keeps things light and airy for those roots.
- Rooting Hormone (Optional but Recommended): A powder or gel will give your cuttings a little boost.
- Plastic Bag or Dome: This creates a mini-greenhouse effect.
- Watering Can with a Fine Rose: Gentle watering is essential.
- Labels: So you don’t forget what’s what!
Propagation Methods
Malva aegyptia is pretty adaptable, but my favorite way to propagate it is through stem cuttings.
- Take Your Cuttings: Using your clean shears or knife, snip off healthy, non-flowering stems that are about 4-6 inches long. Make your cut just below a leaf node (where a leaf joins the stem). This is where the magic happens for root formation.
- Prepare the Cuttings: Gently remove the lower leaves from the cutting, leaving just a couple of leaves at the top. This prevents them from rotting in the soil. If you’re using it, dip the cut end into your rooting hormone, tapping off any excess.
- Plant the Cuttings: Fill your pots with your prepared potting mix and gently moisten it. Make a small hole in the soil with your finger or a pencil. Insert the cut end of the stem cutting into the hole, ensuring it’s snug.
- Create the Mini-Greenhouse: Water the soil lightly and then cover the pot with a plastic bag or place it under a propagation dome. This traps humidity, which is crucial for cuttings. Just make sure the leaves aren’t pressing against the plastic!
The “Secret Sauce”
Here are a couple of tricks I’ve learned over the years:
- Don’t Overwater the Cuttings: While they need humidity, soggy soil is the enemy and can lead to rot. It’s better to have slightly drier soil that you can re-moisten than constantly wet soil.
- Consider Bottom Heat: If you have it, placing your pots on a heat mat can significantly speed up root development. It mimics the warmth they’d get from the ground in their natural growing season.
Aftercare & Troubleshooting
Once your cuttings have been planted, place them in a bright spot out of direct sunlight. The leaves will tell you their story – if they look droopy, they might need a little more humidity (check that bag!) or perhaps they just need more time.
After about 3-4 weeks, you can gently tug on a cutting. If you feel any resistance, that’s a good sign of new root growth! Once they’re well-rooted, you can transplant them into their own pots to continue growing.
The most common issue you might encounter is rot. If you see your cuttings turning mushy or black, it’s usually a sign of too much moisture. Unfortunately, once rot sets in, it’s difficult to save. It’s a learning curve, and sometimes cuttings just don’t make it, but don’t get discouraged!
A Little Closing Thought
Propagating Malva aegyptia is a wonderful way to expand your garden and share the joy of these lovely plants. Be patient with them, watch for those little signs of life, and enjoy the process of nurturing something new from a simple stem. Happy gardening!
Resource:
https://identify.plantnet.org/k-world-flora/species/Malva%20aegyptia%20L./data