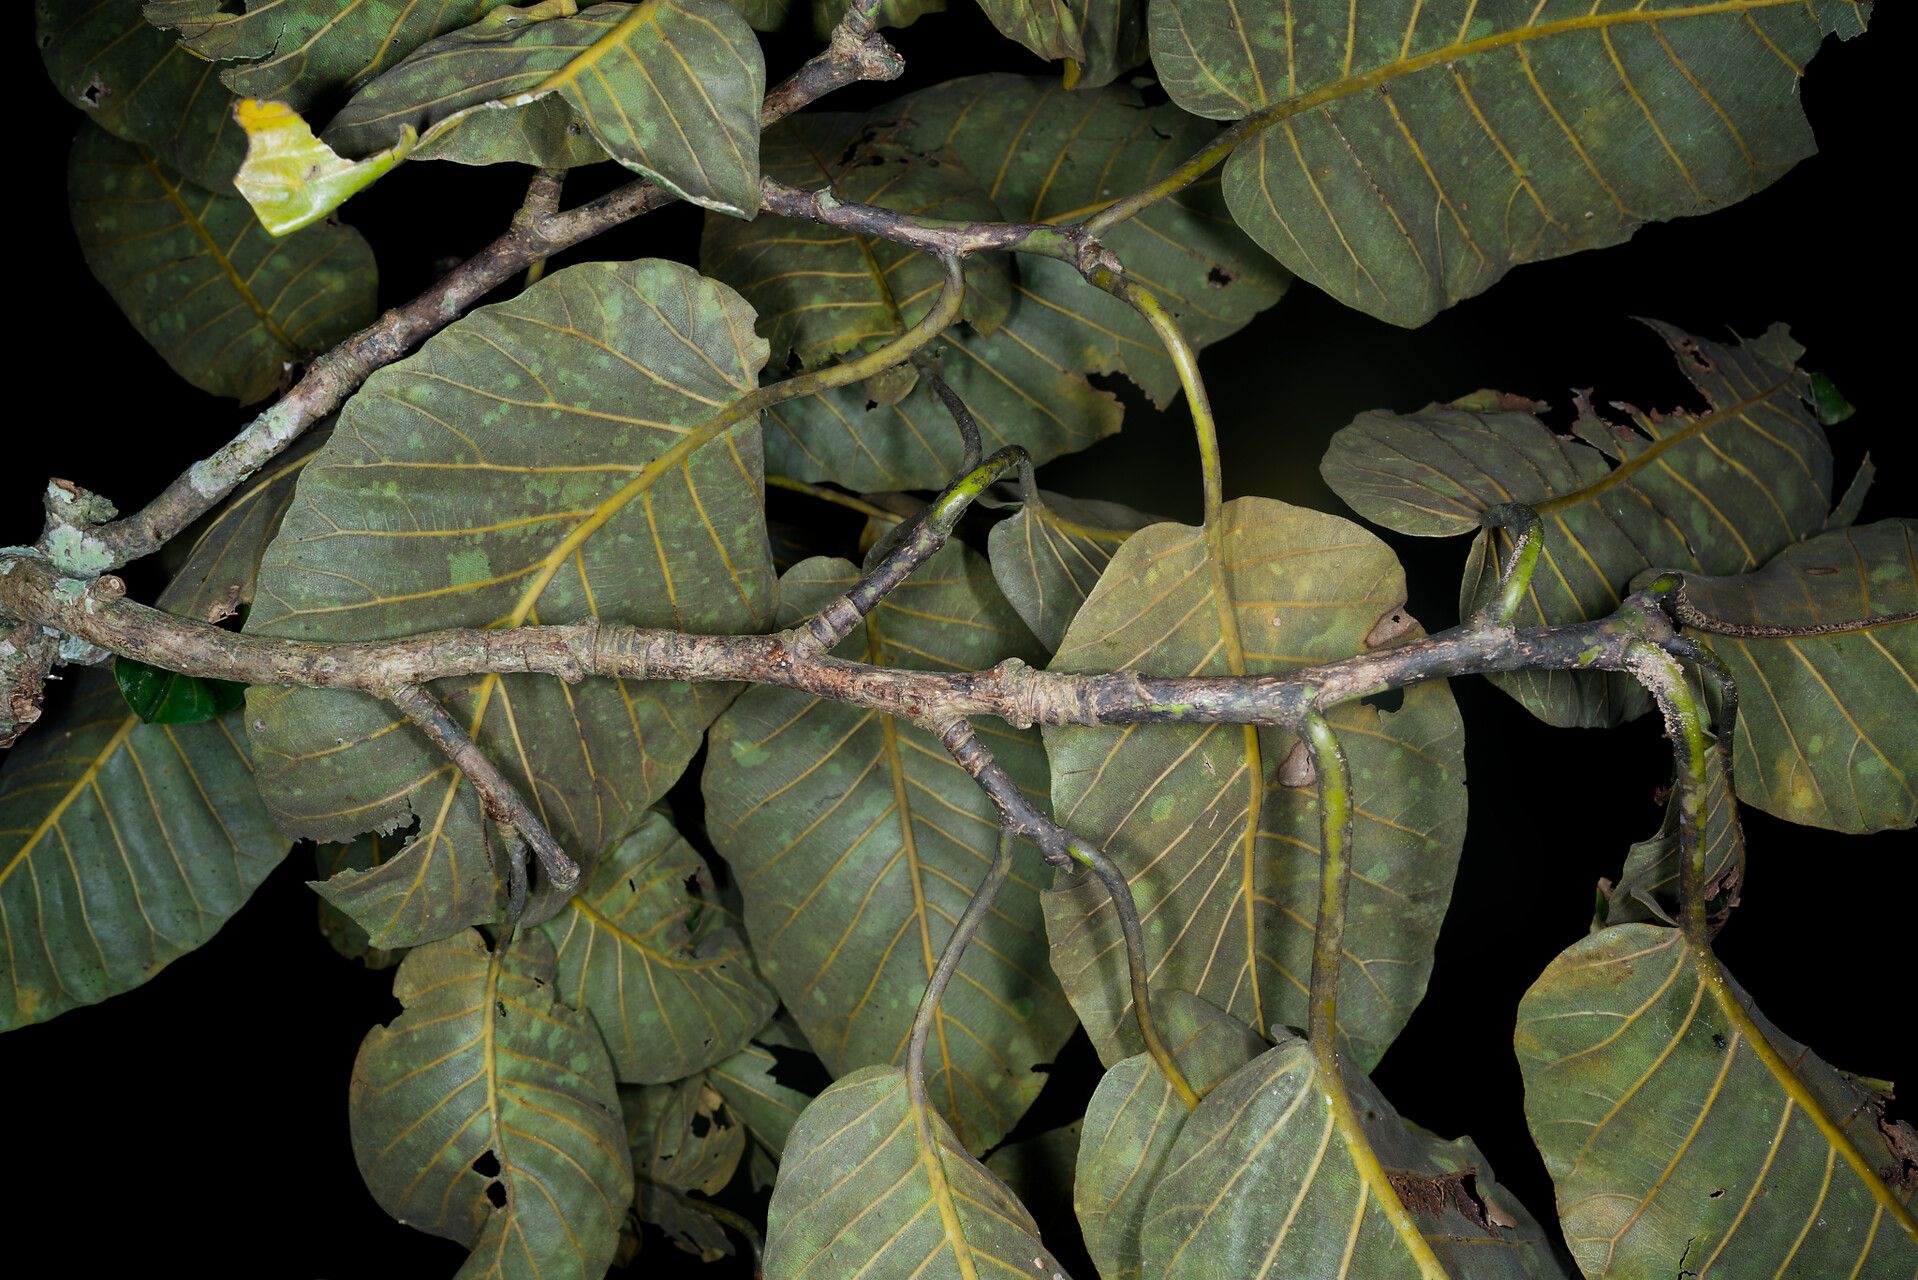
Oh, hello there! Pull up a chair, and let’s chat about a truly magnificent plant: Milicia excelsa. You might know it by its common names, like Iroko or African Teak. This tree is just stunning, with its impressive stature and gorgeous, rich wood that’s so highly prized. Growing one from scratch, well, that’s a special kind of satisfaction. It’s not one of those plants where you can just pop a leaf in water and expect miracles overnight, so for beginners, I’d say it takes a bit of patience and the right approach. But trust me, the reward of nurturing a new life from a parent plant is worth every bit of effort!
The Best Time to Get Started
For most woody plants, spring is your golden ticket. That’s when they’re really waking up from dormancy and are brimming with energy. The sap is flowing, growth is vigorous, and cuttings taken now have the best chance of striking root and really taking off. Aim for when new growth is still a bit soft but has started to firm up – we call that semi-hardwood.
What You’ll Need for Success
Gathering your supplies beforehand makes the whole process so much smoother. Here’s what I always have on hand:
- Sharp Pruning Shears or a Knife: Cleanliness is key! Make sure they are sterilized to prevent disease.
- Rooting Hormone: This is a game-changer, especially for trickier plants. I like a powder or gel.
- Well-Draining Potting Mix: Think a blend of peat moss or coco coir, perlite, and a bit of coarse sand. You want air to circulate and no soggy feet!
- Small Pots or Propagation Trays: Clean, with drainage holes, of course.
- Plastic Bags or a Propagator: To create that nice humid environment for your cuttings.
- Labels: Trust me, you’ll thank yourself later for labeling what you’ve planted and when!
- Watering Can with a Fine Rose: For gentle watering.
Let’s Get Our Hands Dirty: Propagation Methods
While Milicia excelsa can be a bit particular, we can often coax new plants into existence through stem cuttings. It’s the most accessible method for most home gardeners.
- Taking Your Cuttings: Find a healthy branch on your mature Milicia excelsa. Using your sterilized shears, take cuttings that are about 6 to 8 inches long. Try to take them from the current season’s growth. Make your cut just below a leaf node (where a leaf attaches to the stem). This is where the magic happens, where roots are most likely to form.
- Preparing the Cuttings: Gently remove the lower leaves from your cuttings, leaving just a few at the very top. This reduces water loss. If the leaves are quite large, you can even cut them in half to further minimize transpiration.
- Dipping in Rooting Hormone: Dip the cut end of each stem into your rooting hormone. Make sure it’s coated evenly. Tap off any excess.
- Planting the Cuttings: Fill your clean pots with your special potting mix. Make a little hole with your finger or a pencil, and insert the cut end of the stem deep enough so that at least one leaf node is below the soil surface. Gently firm the soil around the base of the cutting.
- Creating a Humid Environment: Water the soil gently. Then, cover the pot with a plastic bag or place it inside a propagator. This traps humidity, which is crucial for preventing the cuttings from drying out before they can root. You can use skewers or chopsticks to keep the bag from touching the leaves.
The “Secret Sauce” – My Insider Tips
These are the little things that I’ve learned over the years that really make a difference:
- Bottom Heat is Your Friend: If you have a seedling heat mat, use it! Placing your pots on a low-heat mat (around 70-75°F or 21-24°C) can significantly speed up root development. It’s like giving your cuttings a cozy, warm bed to flourish in.
- Don’t Overwater! This is a tough one, I know. But soggy soil is the quickest way to rot, which is the enemy of new cuttings. Water only when the top inch of soil feels dry to the touch. It’s better to be slightly dry than too wet.
- Choose Your Cuttings Wisely: Look for stems that are healthy, vigorous, and free of any signs of pests or disease. Avoid very soft, new growth or old, woody stems. Semi-hardwood is your sweet spot.
Aftercare and What to Watch For
Once your cuttings have been planted, keep them in a spot with bright, indirect light. Avoid direct sun, which can scorch the delicate leaves. The humidity tent should stay on until you start to see signs of new growth.
How do you know they’re rooting? You might see tiny new leaves or shoots emerging. The best test, though, is a gentle tug. If there’s resistance, roots have formed! You can also try to carefully lift a cutting out of the soil to peek.
Now, about troubleshooting. The most common issue is rot. If your cuttings turn black and mushy, it’s usually from too much moisture or poor air circulation. If you see wilting that doesn’t improve after watering, it could also be a sign of poor root development or rot. Don’t get discouraged if a few don’t make it – it’s all part of the learning process.
Happy Planting!
Propagating Milicia excelsa is a rewarding journey. It requires a little bit of care and attention, but watching those first tiny roots emerge is pure gardening joy. Be patient with yourself and your new plants, and enjoy the process of bringing more of these magnificent trees into the world. Happy growing!
Resource:
https://identify.plantnet.org/k-world-flora/species/Milicia%20excelsa%20(Welw.)%20C.C.Berg/data