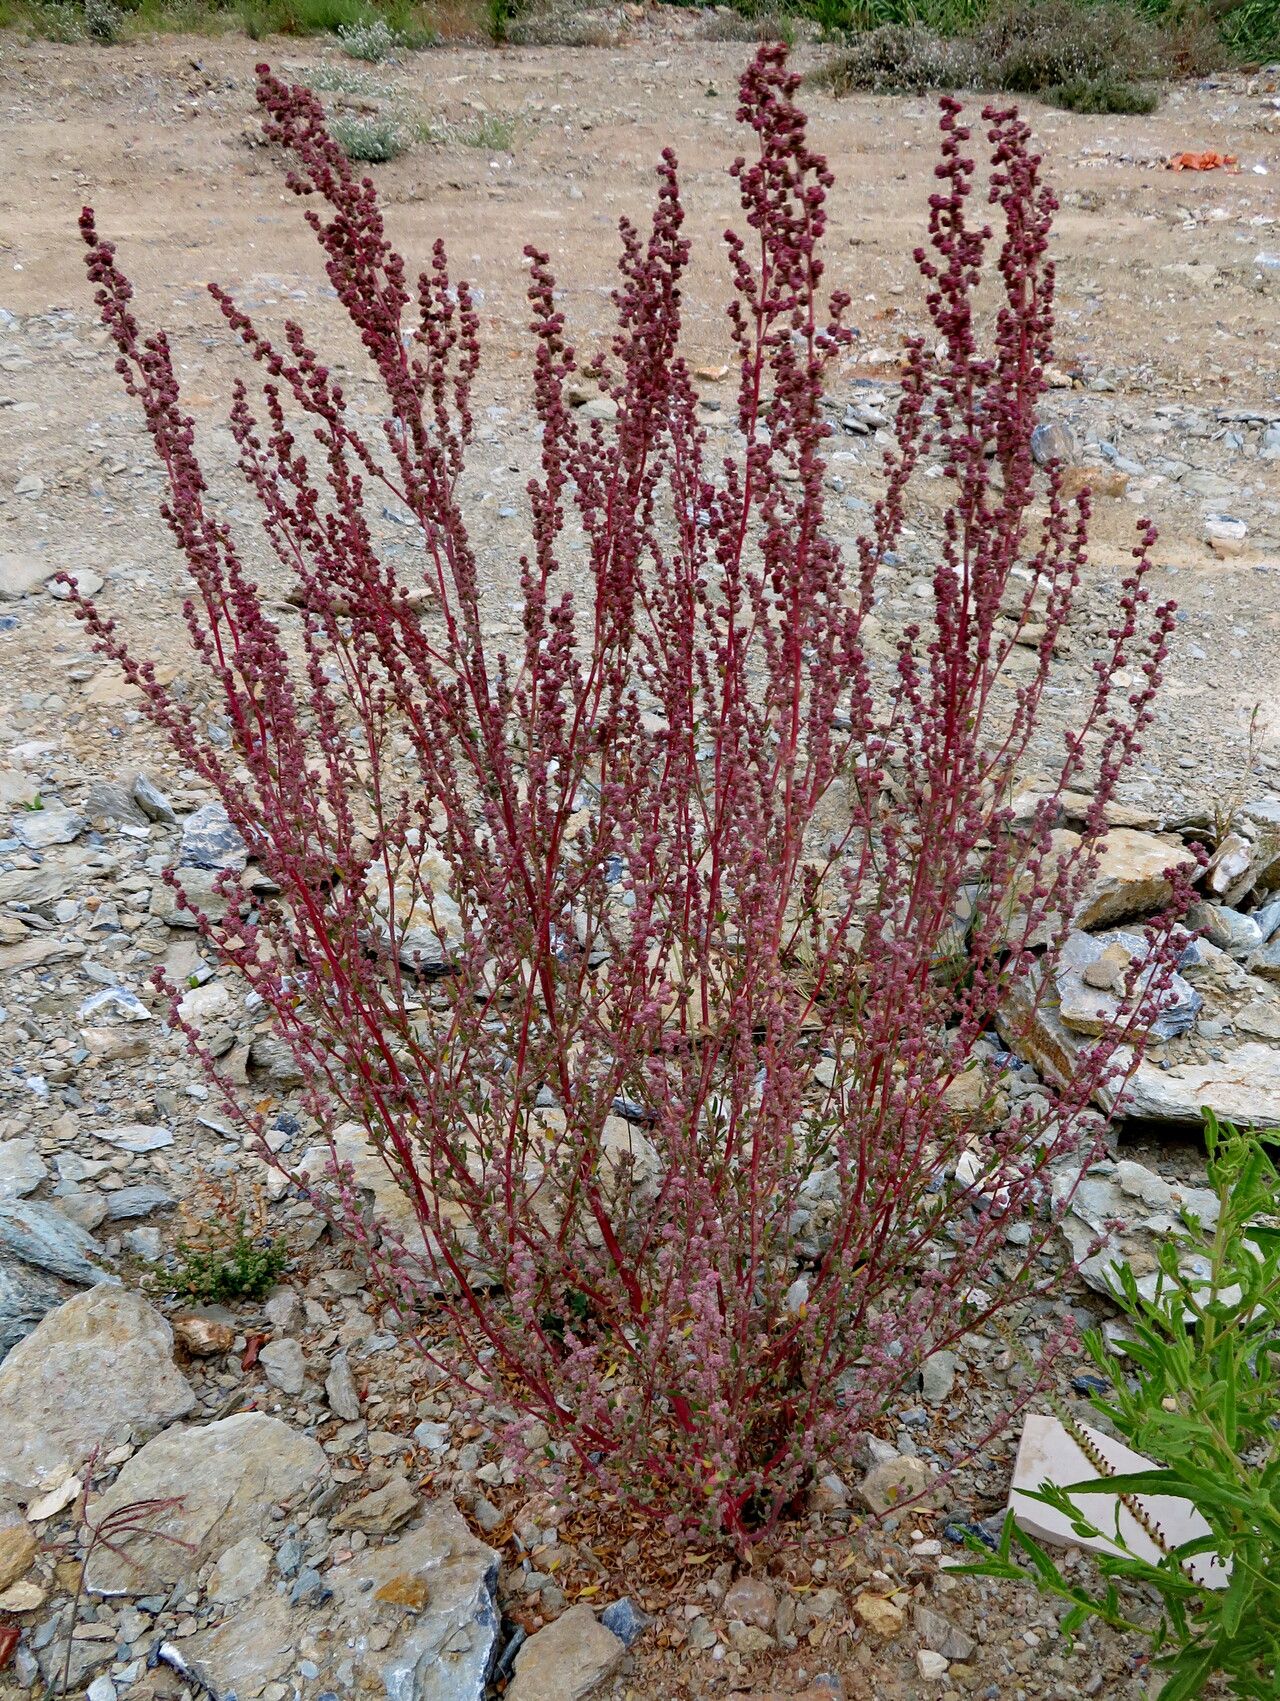
Hello fellow plant lovers! I’m so excited to chat with you today about a truly charming, albeit lesser-known, plant: Oxybasis chenopodioides. You might know it better by its common name, Sea Purslane. This little gem offers such lovely, succulent foliage, often with hints of pink or red, and it just seems to thrive in bright, sunny spots. It’s one of those plants that brings a touch of the coast to wherever you grow it. Plus, propagating it is a fantastic way to multiply your enjoyment without needing to buy more. For beginners? I’d say it’s quite forgiving, a great plant to test your propagation skills on!
The Best Time to Start
My favorite time to get started with propagating Oxybasis chenopodioides is in the late spring or early summer. This is when the plant is really hitting its stride, putting on vigorous new growth. The warmer temperatures and longer days provide the perfect conditions for cuttings to root quickly. You can also try in late summer, but I find spring gives them that extra boost to establish well before cooler weather arrives.
Supplies You’ll Need
Here’s what you’ll want to have on hand:
- Sharp pruning shears or scissors: Clean tools are a must for preventing disease.
- Small pots or seed trays: Whatever you have available will likely work.
- A good potting mix: I like to use a well-draining mix, something like a peat-based potting soil mixed with perlite or coarse sand. A cactus or succulent mix is also a great option.
- A spray bottle: For misting your cuttings.
- Optional: Rooting hormone: While not always necessary for Oxybasis chenopodioides, it can give you an extra edge.
- Optional: A heat mat: This can speed up the rooting process, especially if your home is on the cooler side.
Propagation Methods
Oxybasis chenopodioides is wonderfully easy to propagate, primarily through stem cuttings. This is my go-to method, and it’s incredibly straightforward.
Stem Cuttings:
- Take your cuttings: Look for healthy, non-flowering stems. Using your sharp shears, take cuttings that are about 3-4 inches long. It’s best to make the cut just below a leaf node (where a leaf attaches to the stem).
- Prepare the cuttings: Gently remove the lower leaves from the bottom inch or so of each cutting. This prevents them from rotting once planted in the soil. If you’re using rooting hormone, dip the cut end into it now.
- Plant the cuttings: Fill your pots or trays with your prepared well-draining potting mix. Make a small hole in the soil with your finger or a pencil.
- Insert and water: Place the prepared cutting into the hole, ensuring the leaf nodes are below the soil surface. Gently firm the soil around the base of the cutting. Water thoroughly until you see water draining from the bottom of the pot.
- Provide the right environment: Place your pots in a bright location, but avoid direct, scorching sunlight initially. A little dappled shade is perfect. You can cover the pots loosely with a clear plastic bag or a propagator lid to create a humid environment. Just be sure to vent it daily to prevent fungal issues.
The “Secret Sauce”
Now, for a couple of my little tricks that often make a big difference:
- Don’t rush the watering: Once your cuttings are planted, give them a good initial watering, then let the soil dry out slightly between waterings. Overwatering is the enemy of young cuttings, leading to rot. Letting them experience a little drying period actually encourages them to send out searching roots.
- The power of bottom heat: If you have a heat mat, give it a try! Placing your pots on a gentle heat mat (around 70-75°F or 21-24°C) can significantly speed up root development. It mimics the warmth of spring soil and gives those cuttings a real boost.
Aftercare & Troubleshooting
Once you start to see signs of roots – usually a gentle tug will show resistance, or you might see new leaf growth – your cuttings are officially on their way! Continue to keep the soil evenly moist but not waterlogged. Gradually introduce them to brighter light.
The most common issue you might encounter is rot. If you see stems turning mushy or black, it’s a sign of too much moisture. You may need to discard the affected cuttings and adjust your watering habits for the remaining ones. If a cutting just seems to be wilting and not rooting, it might be a case of it just not taking. Don’t be discouraged; try again with fresh cuttings!
A Encouraging Closing
Propagating Oxybasis chenopodioides is a wonderfully rewarding process. It’s a gentle way to connect with your plants and create more of what you love. Be patient with your little cuttings, observe them, and enjoy watching them grow. Happy propagating, everyone!
Resource: