Hey there, fellow garden enthusiasts! Welcome back to my little corner of the internet. Today, we’re going to talk about a plant that has brought so much joy and vibrant color to my own gardens over the years: Cuphea micropetala, affectionately known as Mexican Heather or sometimes False Heather.
The Sunshine Plant You’ll Want More Of
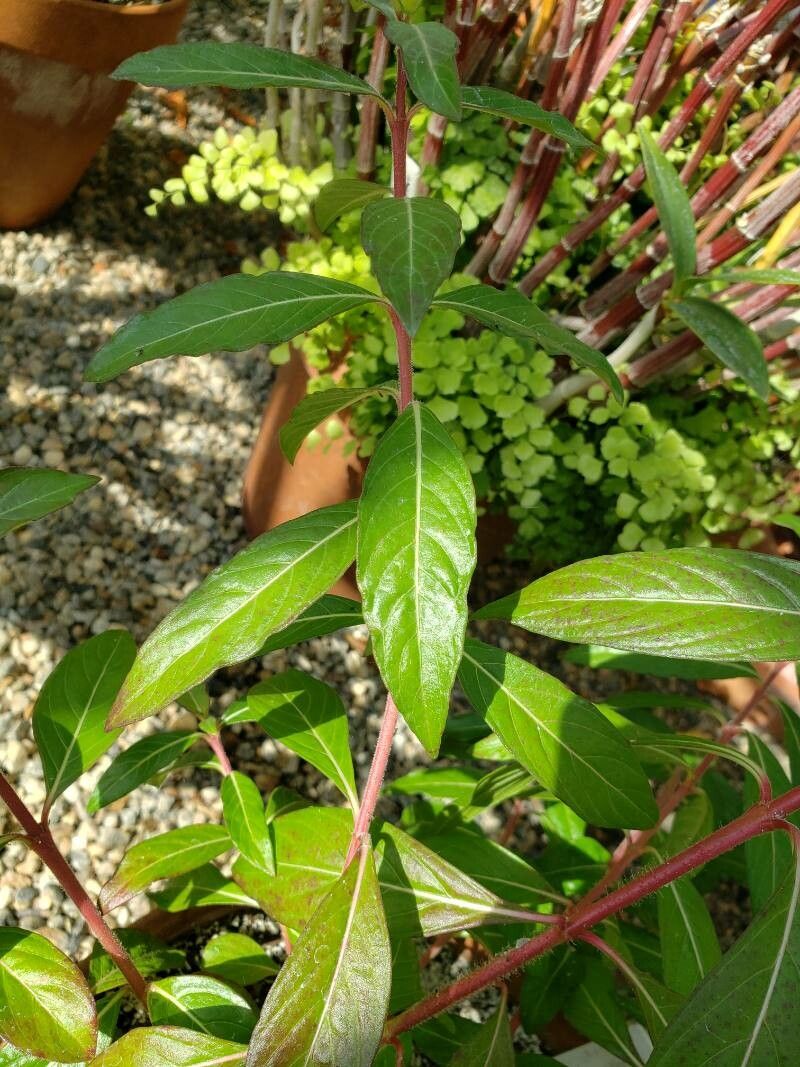
This cheerful little shrub is a real gem. Its masses of tiny, tubular flowers, usually in shades of pink and purple, bloom prolifically from spring right through to autumn, attracting pollinators like little hummingbirds and busy bees. It’s the kind of plant that just makes you smile, and once you have one, you’ll inevitably want more to fill other sunny spots. The good news? Propagating Cuphea micropetala is surprisingly straightforward, even for those of you just dipping your toes into the wonderful world of plant multiplication. I’m happy to report it’s a pretty forgiving plant, which makes it a great beginner’s project!
When to Get Your Hands Dirty
The absolute best time to try your hand at propagating Cuphea micropetala is in the late spring or early summer, after the plant has passed its initial flush of spring growth. You’re looking for stems that are firm but not woody – what we gardeners call semi-hardwood cuttings. This stage offers the perfect balance of flexibility and resilience for successful rooting. Avoid taking cuttings during extreme heat or when the plant is stressed by drought.
Your Propagation Toolkit
Here’s what you’ll want to have on hand to set yourself up for success:
- Sharp Pruning Shears or Scissors: Cleanliness is key to preventing disease.
- A Good Potting Mix: I like a blend of peat moss, perlite, and a bit of compost. This provides good drainage and aeration, which these plants really appreciate.
- Rooting Hormone (Optional but Recommended): A powder or gel can significantly speed up the root development process.
- Small Pots or Seedling Trays: Ensure they have drainage holes!
- A Plastic Bag or Clear Cover: To create a mini-greenhouse effect.
- Watering Can with a Fine Rose: For gentle watering.
- A Sharp Knife or Blade: For taking cuttings cleanly.
Spreading the Cuphea Love: Step-by-Step
My favorite way to propagate Cuphea micropetala is by stem cuttings. It’s efficient and yields great results. Here’s exactly how I do it:
- Select Your Stems: Head out to your healthy Cuphea plant. Look for new growth that’s about 4-6 inches long. Gently bend a stem; if it snaps cleanly, it’s a good candidate. If it bends without breaking, it’s too soft.
- Take Your Cuttings: Using your sterilized pruning shears or a sharp knife, take cuttings from these chosen stems. Make your cut just below a leaf node (where a leaf attaches to the stem). This is where root hormones are concentrated.
- Prepare the Cuttings: Carefully remove the lower leaves from the cutting, leaving just a few at the top. You don’t want any leaves that will be submerged in soil or water, as they’ll just rot. If your cuttings are very large, you can even pinch off the top few leaves to reduce water loss.
- Apply Rooting Hormone (If Using): Dip the cut end of the stem into your rooting hormone, tapping off any excess.
- Plant Them Up: Fill your small pots or trays with your prepared moist potting mix. Make a small hole in the center of the mix with a pencil or your finger.
- Insert the Cuttings: Gently insert the cut end of each cutting into the prepared hole, ensuring the leaf nodes are buried beneath the surface of the soil. Firm the soil gently around the base of the cutting.
- Create a Humid Environment: Water the soil gently to settle it around the cuttings. Then, cover the pots with a clear plastic bag or a propagation dome. You want to trap humidity around the leaves without them directly touching the plastic if possible.
My Insider Secrets for Extra Success
Over the years, I’ve picked up a few tricks that always seem to give my cuttings a little boost:
- Bottom Heat is Your Friend: If you have them, place your pots on a heated propagation mat. Cuphea roots often develop quickly with a little warmth from below. It mimics the cozy conditions they love and really encourages root formation.
- Don’t Overwater! This is crucial. While you want the soil to be consistently moist, soggy conditions are a recipe for rot. I like to water until I see a little moisture in the bottom of the drainage tray, then wait until the top inch of soil feels dry before watering again.
- A Little Airflow Helps: Even with the humidity cover, it’s a good idea to lift the bag or dome for a few minutes each day to allow for some air circulation. This also helps prevent fungal issues.
Nurturing Your New Sprouts
Once your cuttings have been in their cozy environment for a few weeks, it’s time to check for roots. You can do this by gently tugging on a cutting. If you feel resistance, congratulations – you’ve got roots! Another sign is the appearance of new leaf growth.
Once roots have formed, you can gradually acclimate your new plants to drier air by slowly increasing the time you leave the plastic cover off. Continue to water when the topsoil feels dry.
Troubleshooting: The most common issue you’ll encounter is rot. This usually happens from overwatering or poor drainage. If a cutting turns black and mushy, it’s best to discard it. Ensure your potting mix is well-draining and that your pots have ample holes.
Happy Rooting!
See? Not so daunting, is it? Propagating Cuphea micropetala is a wonderful way to expand your garden and share these cheerful blooms with friends. Be patient, enjoy the process of watching tiny roots begin to form, and don’t be discouraged if not every cutting takes. Gardening is all about learning and trying again. Happy propagating, and I can’t wait to hear about your success!
Resource:
https://identify.plantnet.org/k-world-flora/species/Cuphea%20micropetala%20Kunth/data