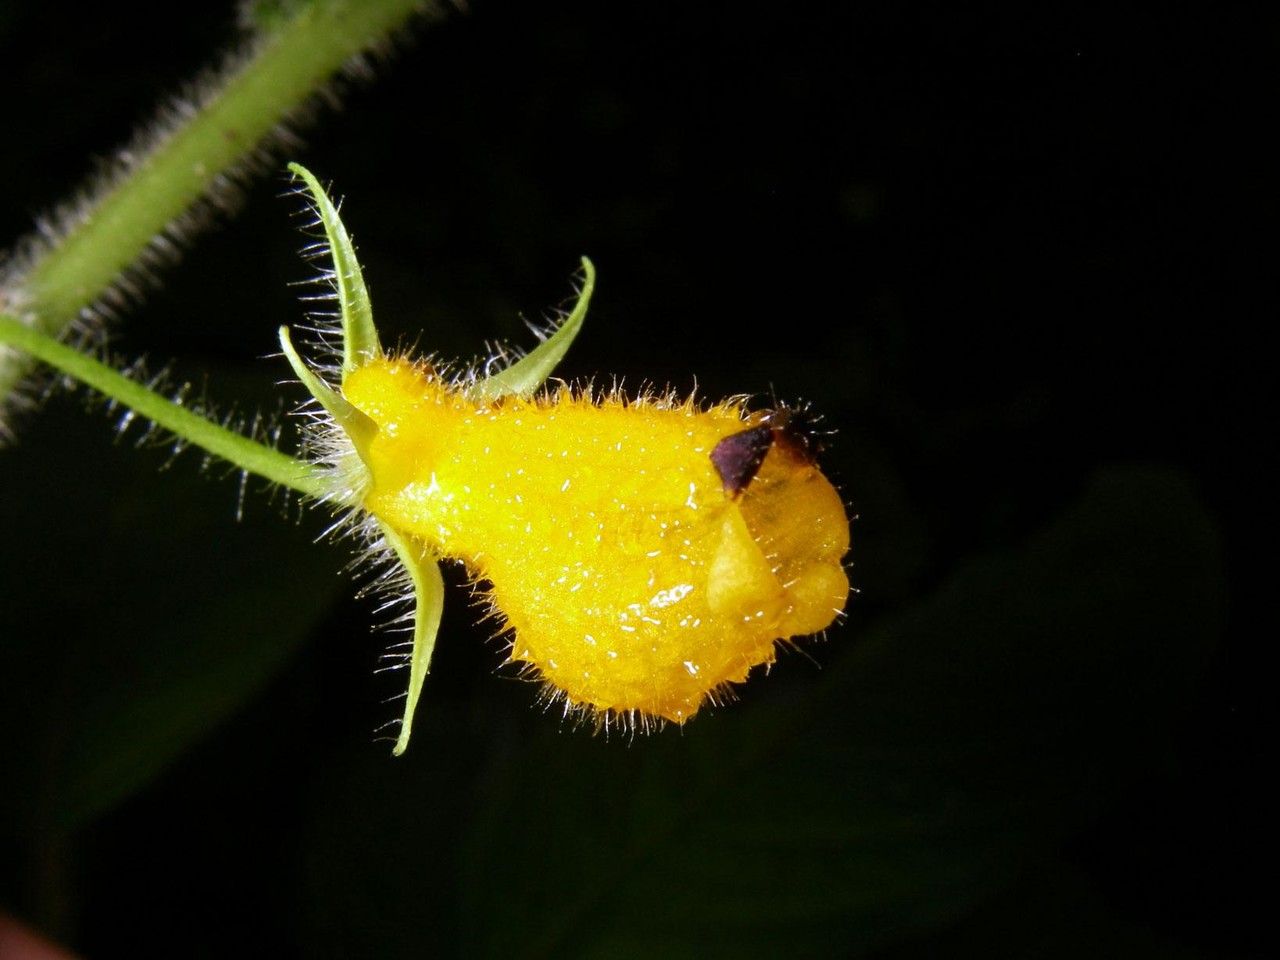
Hello, fellow plant enthusiasts! Today, we’re diving into the wonderful world of Besleria pauciflora, a delightful plant that’s just begging to be shared. Its delicate, bell-shaped flowers, often in vibrant shades of orange or red, bring a splash of tropical charm that’s simply captivating. And the best part? Propagating it is a really satisfying way to multiply that beauty without breaking the bank. Now, for beginners, I’d say Besleria pauciflora is nicely in the ‘approachable’ category. It’s not overly fussy, which is always a good sign when you’re just starting out with propagation.
The Best Time to Start
When it comes to getting the most bang for your propagation buck, active growth periods are your best friends. Think late spring and early summer. The plant is full of vigor then, and cuttings taken during this time usually have the best chance of rooting quickly. You might have some success at other times, but this is when I see the highest success rates.
Supplies You’ll Need
Before we get our hands dirty, let’s make sure we have our trusty tools ready:
- Sharp pruning shears or a clean, sharp knife: For taking clean cuts.
- Well-draining potting mix: A good blend of peat moss or coco coir, perlite, and a touch of compost works wonders. I often use a mix formulated for African violets – they have similar needs!
- Small pots or seed trays: Clean pots are key to avoiding disease.
- Rooting hormone (optional but recommended): A powder or liquid can give your cuttings a helpful boost.
- Clear plastic bag or propagation dome: To create a humid environment.
- Watering can or spray bottle: For gentle watering.
- Optional: Heating mat: To provide gentle bottom warmth.
Propagation Methods
Besleria pauciflora tends to do wonderfully with stem cuttings. It’s straightforward and usually yields excellent results.
Stem Cuttings:
- Select a healthy parent plant. Look for stems that are actively growing but not flowering. You want a stem that’s slightly woody, not too soft and green.
- Take your cuttings. Using your clean shears, cut a section of stem that’s about 3-4 inches long. Make the cut just below a leaf node (where a leaf attaches to the stem). This node is where the magic happens for root development.
- Prepare the cuttings. Gently remove the lower leaves from the cutting, leaving just a few at the top. If the leaves are very large, you can even cut them in half to reduce water loss.
- Apply rooting hormone (if using). Dip the cut end of the stem into your rooting hormone, tapping off any excess.
- Plant the cuttings. Fill your clean pots with your well-draining potting mix. Make a small hole in the center with your finger or a pencil and insert the cut end of the stem. Gently firm the soil around it.
- Water gently. Water the soil until it’s moist but not soggy.
- Create a humid environment. Place the pots into a plastic bag, sealing it loosely, or cover them with a propagation dome. This traps moisture and helps the cuttings stay hydrated.
- Provide bright, indirect light. Avoid direct sun, which can scorch the delicate new growth. A windowsill with good ambient light is perfect.
The “Secret Sauce” (Pro Tips)
Here are a few little tricks I’ve picked up over the years that really make a difference:
- Don’t let the leaves touch the water in water propagation (if you choose that route). While stem cuttings are my preferred method for Besleria, if you decide to root in water, make sure only the stem end is submerged. Leaves floating in water are prone to rot, and that’s not what we want!
- Bottom heat is your friend. While not absolutely essential, placing your pots on a gentle heating mat can significantly speed up the rooting process. It mimics the warmth of spring soil and gives those roots an extra nudge. Aim for a soil temperature around 70-75°F (21-24°C).
- Don’t be afraid to check! Gently tug on a cutting after a few weeks. If you feel resistance, that means roots are forming! You can also look for new leaf growth, a sure sign of success.
Aftercare & Troubleshooting
Once your cuttings have developed a good root system (you’ll see roots peeking out of the drainage holes or feel that resistance when gently tugging), it’s time to give them a little more individual attention.
- Gradual acclimatization: Slowly start to introduce your new plants to less humid conditions. You can start by opening the plastic bag or dome for a few hours each day.
- Watering: Continue to water as needed, allowing the top inch of soil to dry out between waterings.
- Light: Gradually move them to a slightly brighter spot, still avoiding direct, harsh sunlight.
Now, what if things don’t go as planned? The most common issue you might encounter is rot. This usually happens if the cuttings are kept too wet or if the environment is too humid without enough air circulation. If you see your cuttings turning mushy or black, it’s usually a sign of overwatering. Remove the affected cuttings and ensure the remaining ones have better air flow and slightly less moisture. Don’t get discouraged! It happens to all of us. Sometimes, it takes a few tries to get it just right.
A Encouraging Closing
Propagating Besleria pauciflora is a journey, and like any good journey, it’s about the process as much as the destination. Be patient with your little green babies. Watch them closely, offer them a little TLC, and celebrate every new leaf and root. Before you know it, you’ll have a whole new collection of these charming plants to admire and, of course, to share with friends! Happy propagating!
Resource:
https://identify.plantnet.org/k-world-flora/species/Besleria%20pauciflora%20Rusby/data