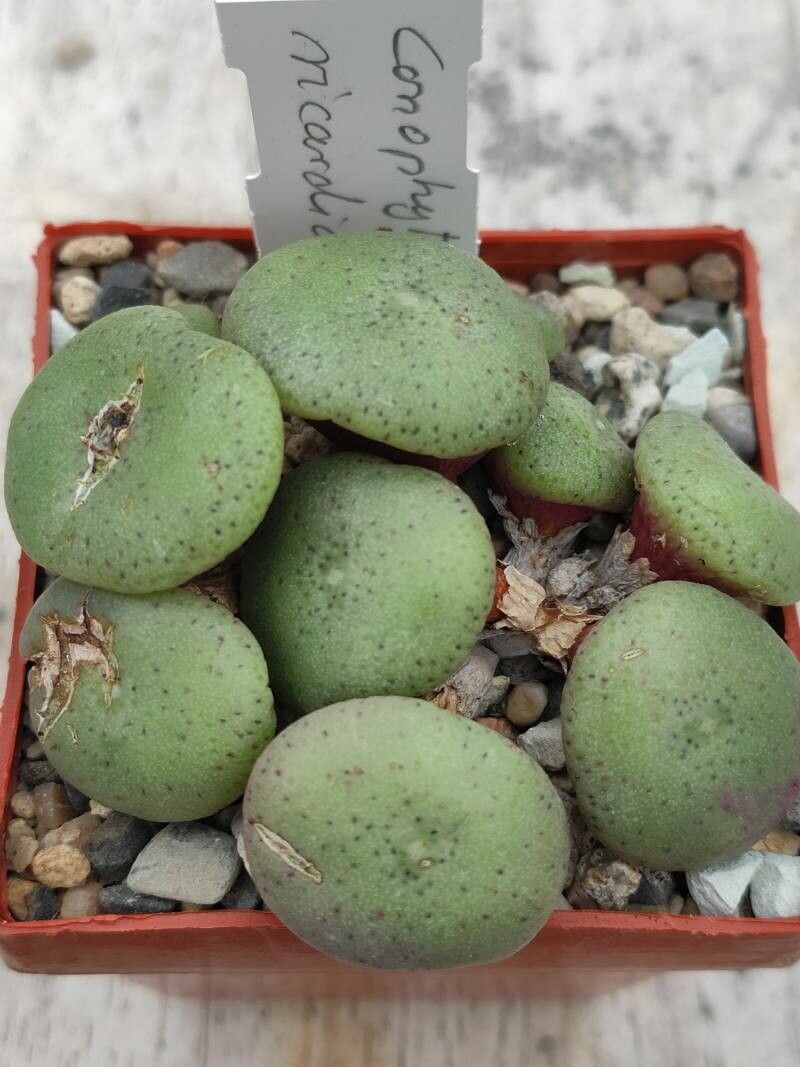
Ah, Conophytum ricardianum! You’ve got great taste. These little living stones, often called “button plants,” are just captivating. Their unique shapes and the way they form these delightful little clusters really do bring a sense of wonder to any collection. And the best part? Propagating them can be incredibly rewarding, like watching a tiny miracle unfold right before your eyes. Now, are they a breeze for absolute beginners? To be honest, they can be a tad finicky compared to a snake plant, but with a little patience and the right approach, you’ll be well on your way to success.
The Best Time to Start
For Conophytum ricardianum, I find the sweet spot for propagation is during their active growing season. This typically falls in the late spring and early summer. You’ll know they’re ready when they look plump and healthy, and you can see new growth developing. Avoid trying to propagate during their dormancy period in winter or when they’re stressed from extreme heat.
Supplies You’ll Need
Gathering your supplies beforehand makes the whole process much smoother. Here’s what I usually have on hand:
- Well-Draining Soil Mix: A good blend for succulents is key. I often use a mix of cactus/succulent potting soil and perlite or pumice (roughly a 50/50 ratio). Some growers even use a gritty mix of crushed granite or coarse sand.
- Sharp Pruning Shears or a Very Sharp Knife: For clean cuts, which are crucial.
- Rooting Hormone (Optional but Recommended): A powder or gel can give your cuttings a nice boost.
- Small Pots or Trays: Clean ones are a must! Terracotta pots work wonderfully as they allow the soil to dry out faster.
- Watering Can with a Fine Rose or a Spray Bottle: For gentle watering.
- Labels and a Pen: To keep track of what you’ve propagated!
Propagation Methods
Conophytum ricardianum can be propagated using a few different methods, but division is usually the most reliable and my go-to.
Division
This is the most common and generally successful way to propagate Conophytum ricardianum. As your plant matures, it will naturally form clumps.
- Gently Remove from Pot: Carefully take your Conophytum out of its container. If it’s stuck, a little gentle tapping around the rim usually does the trick.
- Loosen the Soil: Gently brush away as much of the old soil as you can, especially around the base of the plant. You want to get a good look at how the individual bodies are connected.
- Separate the Divisions: This is where your clean shears or knife come in. Carefully cut or gently pull apart the clumping bodies. Each division should ideally have at least a couple of its own leaves. Don’t worry if a little bit of the old root system comes with each division – that’s a good thing!
- Allow to Callus: This is a SUPER important step, especially when dividing. Place the separated divisions in a dry, well-ventilated spot (out of direct sun) for 2-5 days. You want the cut surfaces to dry out and form a callus. This prevents rot when you pot them up.
- Potting Up: Once callused, place each division into its own small pot filled with your well-draining soil mix. You can plant them just deep enough so they are stable. I like to leave the top of the bodies exposed.
- Water Sparingly: Wait a few days to a week before watering after potting. This gives any tiny injuries a chance to heal further. When you do water, water lightly around the base of the plant.
The “Secret Sauce” (Pro Tips)
Here are a couple of things I’ve learned over the years that can make a big difference:
- Use Bottom Heat (Subtle is Key): Conophytums love warmth, especially when they’re trying to root. Placing your pots on a gentle heat mat set to a low temperature (around 70-75°F or 21-24°C) can really speed up root development. Just make sure it’s not too hot!
- Don’t Overwater, Ever! This is the cardinal sin with these plants. When you’re first getting them established, it’s better to err on the side of underwatering. Let the soil dry out completely between waterings. You’ll learn to read their subtle cues – they’ll look a little less plump when they’re thirsty.
- Think About Airflow: Good ventilation is your best friend against rot. Even after propagation, ensure they are in a spot with decent air circulation. Avoid crowded conditions.
Aftercare & Troubleshooting
Once your divisions have rooted (you’ll start to see them plump up a bit and maybe even resist a gentle tug), you can begin to treat them like a mature plant, but still with a gentle hand. Increase watering slightly as they establish, but still let the soil dry out between waterings.
The biggest enemy here is rot. If you see a division becoming mushy, discolored (often brown or black), or simply collapsing, it’s usually a sign of overwatering or not allowing it to callus properly. If you catch it early, you might be able to cut away the rotted portion and try to root the healthy part again, making sure to let it callus for longer. Another sign of distress can be shriveling. Sometimes this is just thirst, but if it’s accompanied by a bit of a mushy base, it could be rot setting in.
A Encouraging Closing
Propagating Conophytum ricardianum is a journey, and like any good gardening endeavor, it requires a little patience. Don’t get discouraged if your first attempt isn’t perfect. Each plant is a little experiment, and you’ll learn so much as you go. Enjoy the process, celebrate your successes, and embrace the learning opportunities. Happy propagating!
Resource: