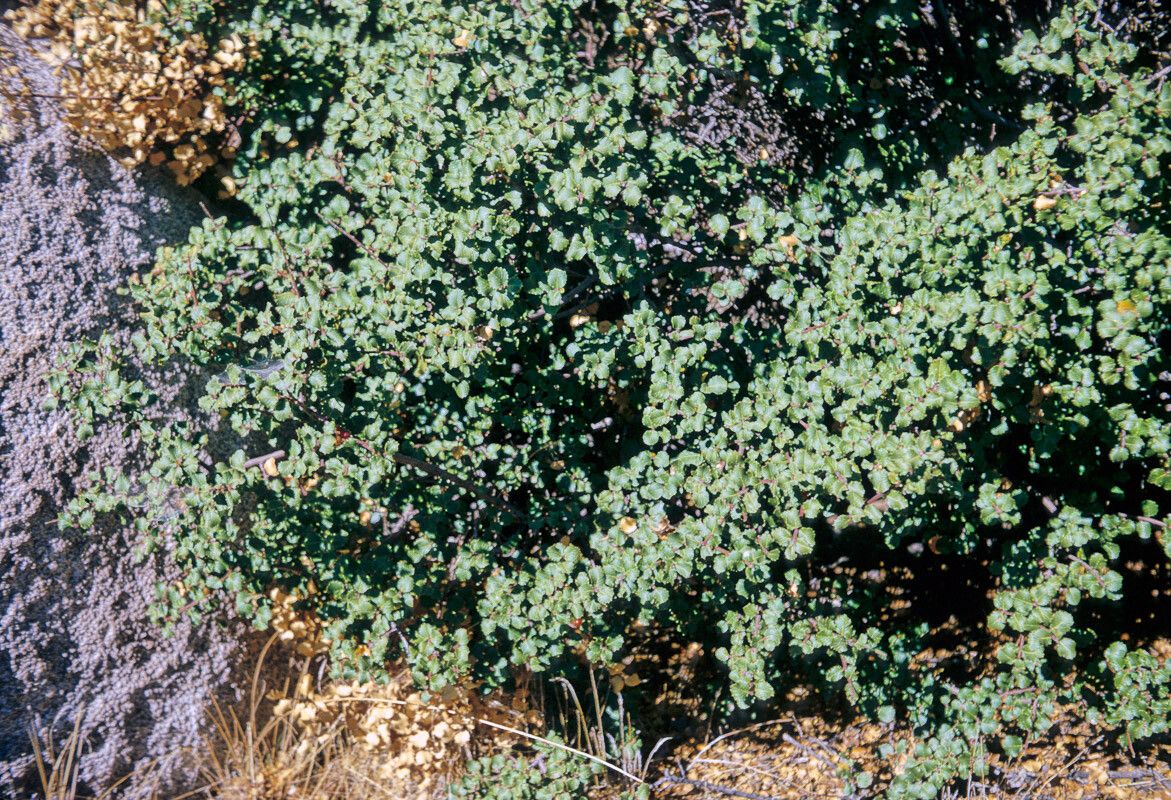
Hello there! I’m so glad you’re interested in Rhamnus crocea, also known as California Buckthorn or Hollyleaf Buckthorn. This native beauty is a real treasure in the garden, with its glossy, evergreen leaves and attractive red berries that birds adore. Growing your own from scratch is incredibly satisfying. For beginners, I’d say it’s moderately easy – a little patience goes a long way.
The Best Time to Start
My favorite time to think about propagating Rhamnus crocea is in the late spring or early summer. This is when the plant is actively growing, and you can take cuttings from the current year’s growth. You’ll be looking for stems that are semi-hardwood – not brand new and floppy, but not old and woody either. Think of a pencil’s thickness, firm but with a little flexibility.
Supplies You’ll Need
To get started, gather these essentials:
- Sharp Pruning Shears or a Knife: Cleanliness is key to prevent disease.
- Rooting Hormone: This isn’t strictly mandatory, but it really gives your cuttings a boost.
- Potting Mix: A well-draining mix is crucial. I usually use a blend of about 50% perlite and 50% peat moss or coco coir. You could also use a commercial seed-starting mix.
- Small Pots or Trays: Clean pots are a must!
- Plastic Bags or a Propagator: To maintain humidity around your cuttings.
- Watering Can or Spray Bottle: To keep things moist.
- Labels and a Pen: To remember what you’ve planted and when!
Propagation Methods
We’ll focus on the most reliable way for Rhamnus crocea: stem cuttings.
- Take the Cuttings: Using your clean shears, select healthy, vigorous stems. Cut pieces about 4-6 inches long. Make your cut just below a leaf node (where a leaf joins the stem) – this is where roots tend to form.
- Prepare the Cuttings: Gently remove the lower leaves from the bottom half of each cutting. Leave just a couple of leaves at the top to help the cutting photosynthesize. If the leaves are large, you can even cut them in half horizontally to reduce water loss.
- Apply Rooting Hormone: Dip the cut end of each stem into your rooting hormone powder. Tap off any excess.
- Plant the Cuttings: Fill your clean pots with your well-draining potting mix. Moisten the mix thoroughly. Insert the prepared cuttings into the soil, about 1-2 inches deep. Gently firm the soil around them. You can plant several cuttings in one pot, spaced a few inches apart.
- Create a Humid Environment: Water the soil again gently. Then, if you’re using individual pots, place each one inside a clear plastic bag, sealing it loosely. If you’re using a tray, cover the entire tray with a clear plastic dome or a plastic sheet, ensuring it doesn’t touch the leaves.
The “Secret Sauce”
Here are a couple of tricks I’ve learned over the years that really make a difference:
- Bottom Heat is Your Friend: If you have a heat mat, placing your pots on it can significantly speed up root development. It mimics the warm soil they’d encounter in their natural growing season. Keep the temperature around 70-75°F (21-24°C).
- Don’t Let Leaves Touch the Water: If you are using water propagation (though I find cuttings in soil more reliable for Rhamnus), you absolutely must ensure no leaves are submerged. Rot sets in very quickly when leaves are in contact with water.
Aftercare & Troubleshooting
Once your cuttings are planted, place them in a bright spot out of direct sunlight. The key now is to maintain consistent moisture and high humidity. Check the soil moisture every few days – it should feel damp, not soggy.
You’ll know your cuttings have rooted when you see new leaf growth appearing. This can take anywhere from 4 weeks to several months, so be patient! Once rooted, you can gradually harden them off by opening the plastic bags a little more each day before removing them entirely.
The main issue you might encounter is rot. If you see a cutting turning black and mushy, it’s a sign it’s succumbed to fungal disease, often due to overwatering. Unfortunately, you’ll have to discard those and learn from it. Ensure good airflow and avoid letting the soil stay waterlogged.
A Closing Thought
Propagating Rhamnus crocea is a rewarding journey. Don’t get discouraged if not every cutting takes. Each attempt is a learning experience, and the joy of nurturing a tiny new plant into existence makes it all worthwhile. Happy gardening, and enjoy your Rhamnus crocea babies!
Resource:
https://identify.plantnet.org/k-world-flora/species/Rhamnus%20crocea%20Nutt./data