Hey there, fellow plant lovers!
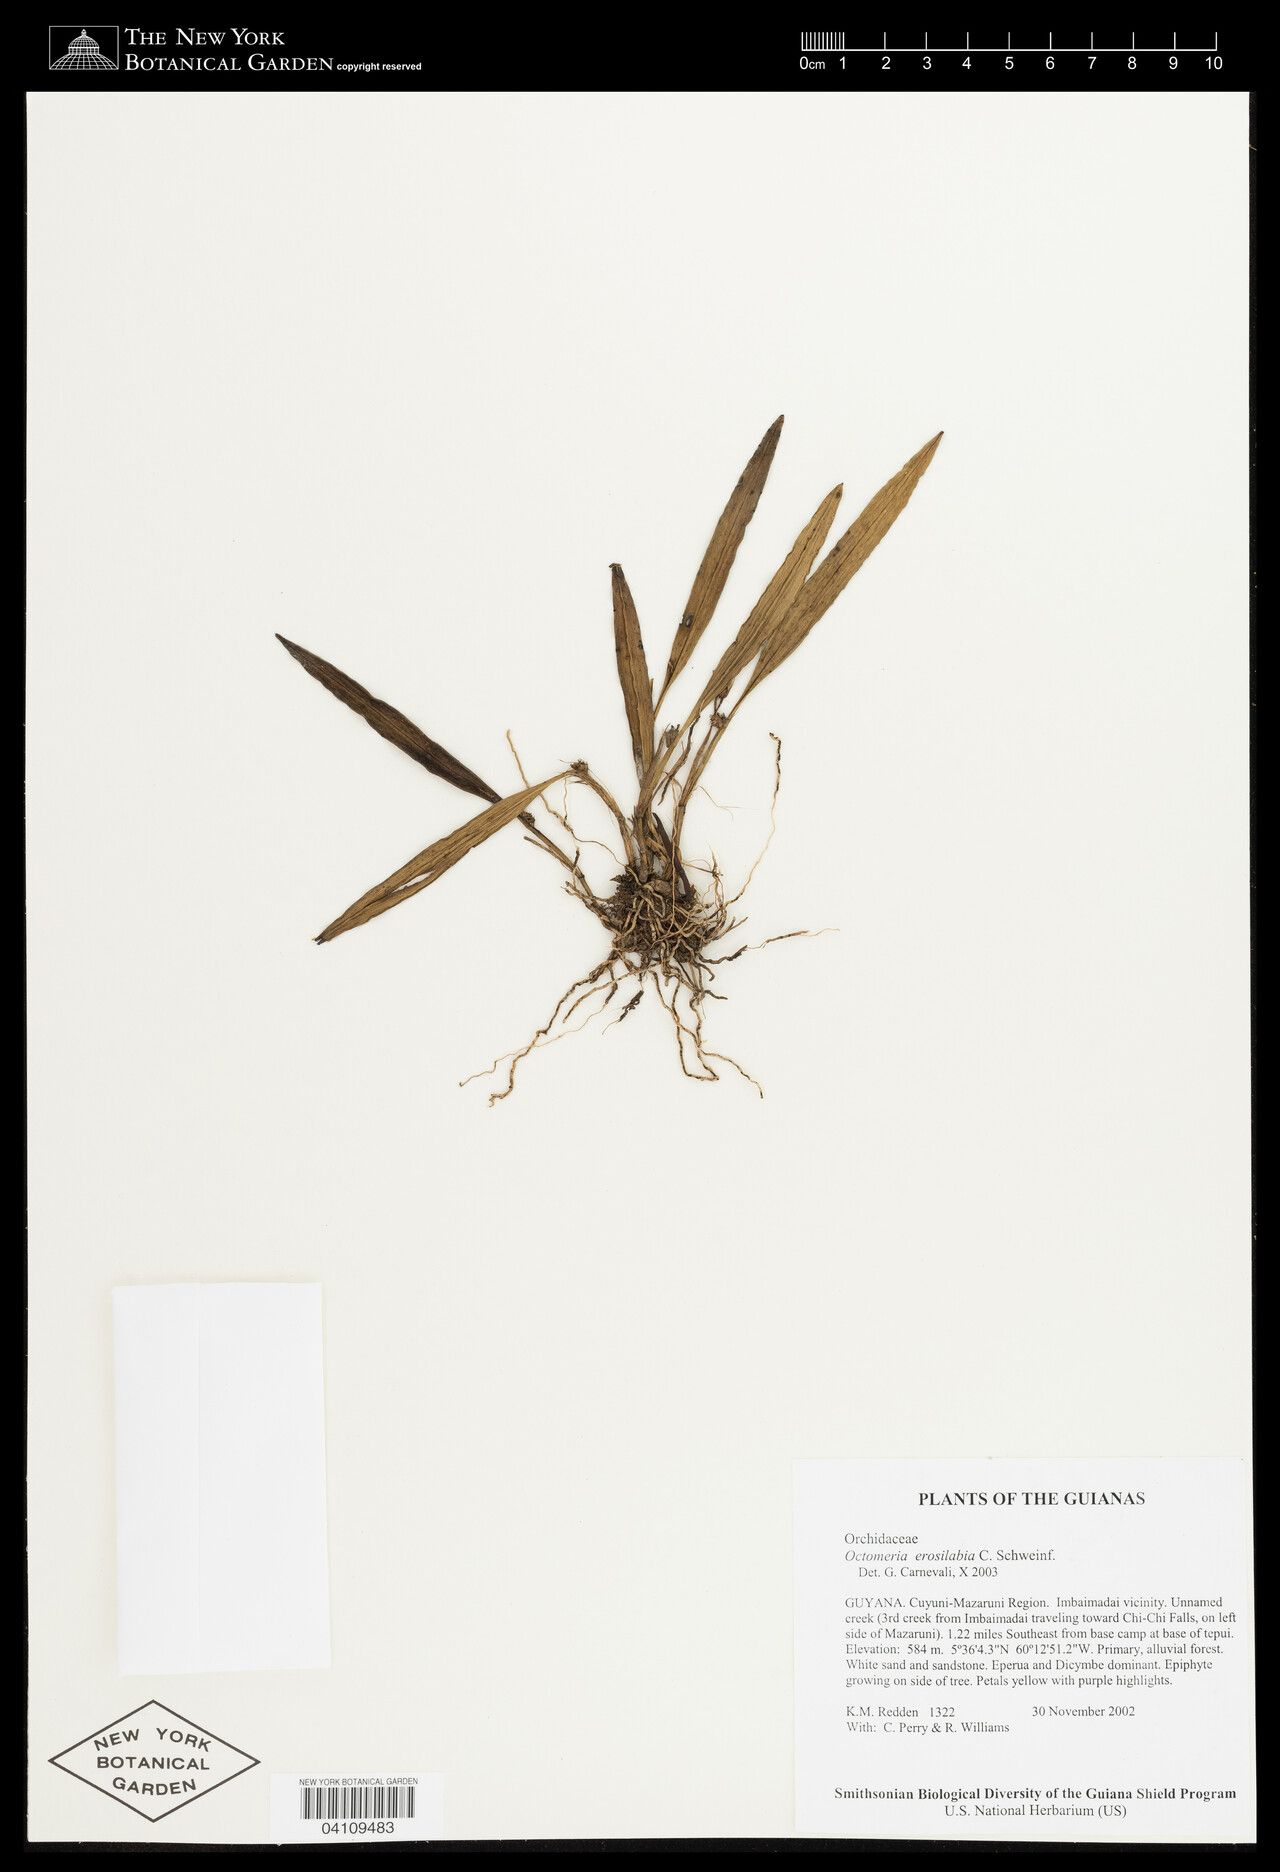
If you’re anything like me, you’ve probably fallen head over heels for the unique charm of Octomeria erosilabia. I remember the first time I saw one, all delicate blooms and quirky charm captured my heart. That’s why I’m so thrilled to share how we can bring more of these beauties into our lives through propagation. It’s a truly rewarding feeling to nurture a tiny cutting into a thriving plant all your own. Now, for those wondering, Octomeria erosilabia can be a bit of a special case; it’s not quite a beginner’s free-for-all, but with a little understanding and patience, you’ll be successful.
The Best Time to Start
For the highest success rate, aim to propagate Octomeria erosilabia during its active growing season. Think spring and early summer. This is when the plant has the most energy to put into developing new roots. You’ll know it’s ready when you see vigorous new growth.
Supplies You’ll Need
Here’s what I always have on hand for my Octomeria propagation adventures:
- Sharp, sterile pruning shears or a clean knife: A clean cut is crucial to prevent disease.
- Well-draining potting mix: I like a blend of orchid bark, perlite, and a bit of coco coir. This mimics their natural habitat and prevents soggy roots.
- Small pots or propagation trays: Cleanliness is key here, too!
- Rooting hormone (optional but recommended): A little boost can make a big difference.
- Misting bottle: For keeping things humid.
- Clear plastic bag or propagation dome: To create a mini-greenhouse effect.
- Labels: Trust me, you’ll thank yourself later!
Propagation Methods
The most reliable way to multiply your Octomeria erosilabia is through stem cuttings and, if your plant is mature enough, division.
Stem Cuttings:
- Choose your cutting wisely: Look for healthy, non-flowering stems that are at least a few inches long. You want a section with a few leaves and at least one node (where a leaf attaches or has attached to the stem).
- Make the cut: Using your sterile shears, make a clean cut just below a node. This is where the magic happens – roots tend to emerge from these points.
- Prepare the cutting: Gently remove the lower leaves, leaving just a couple at the top. If you’re using rooting hormone, dip the cut end into it now, tapping off any excess. I find a light dusting is all you need.
- Pot it up: Fill your small pot or tray with your special orchid mix. Make a small hole in the center with your finger or a pencil.
- Plant the cutting: Insert the cut end of the stem into the hole, ensuring the node is buried. Gently firm the mix around it.
- Water and cover: Water the potting mix gently until it’s evenly moist but not waterlogged. Then, place your pot inside a clear plastic bag or cover it with a propagation dome to maintain high humidity.
Division (for mature plants):
If your Octomeria has grown into a clump with multiple growths, division is a fantastic option.
- Gently remove the plant: Take the entire plant out of its pot and carefully shake away as much of the old potting mix as you can.
- Identify divisions: Look for natural breaks where you can separate the clump into smaller sections, each with its own roots and at least one healthy growth point. You might need to gently tease them apart or use your clean knife to cut through any stubborn rhizomes.
- Pot them up: Pot each division into its own small pot with fresh, well-draining mix. The process is the same as planting a stem cutting from here.
The “Secret Sauce” (Pro Tips)
Here are a few things I’ve learned over the years that make a real difference:
- Don’t let those leaves touch the water if you’re attempting water propagation (though I generally skip this for Octomeria erosilabia in favor of potting mix): If any leaves are submerged, they’ll likely rot instead of contributing energy to root development. Keep them dry.
- Bottom heat is your best friend: For cuttings, placing the pot on a gentle heat mat can significantly speed up root formation. It’s like giving them a warm hug!
- Patience is paramount: Octomeria erosilabia can be a slow grower, especially when it comes to rooting. Don’t panic if you don’t see roots immediately. Give it time; nature has its own schedule.
Aftercare & Troubleshooting
Once you see signs of new growth – tiny leaves pushing out or the cutting resisting a gentle tug – it’s a good sign that roots are forming! Gradually acclimate your new plant to lower humidity by opening the bag or propagation dome a little more each day. Continue to keep the potting mix consistently moist but not soggy.
The most common issue you’ll encounter is rot. If your cutting turns mushy or black, it’s usually a sign of too much moisture and not enough airflow. If you see this, act fast! Remove the affected cutting, clean your tools, and check the moisture levels of your other cuttings. Sometimes, a bit of activated charcoal in the potting mix can help deter fungal issues.
A Wonderful Journey
Propagating Octomeria erosilabia is a journey of careful observation and gentle encouragement. Don’t be discouraged if your first attempt isn’t a roaring success. Every plant is a learning experience, and with each new cutting, you’ll hone your skills. Enjoy the process, celebrate every tiny bit of progress, and soon you’ll have a whole collection of these delightful blooms to admire!
Happy propagating!
Resource:
https://identify.plantnet.org/k-world-flora/species/Octomeria%20erosilabia%20C.Schweinf./data