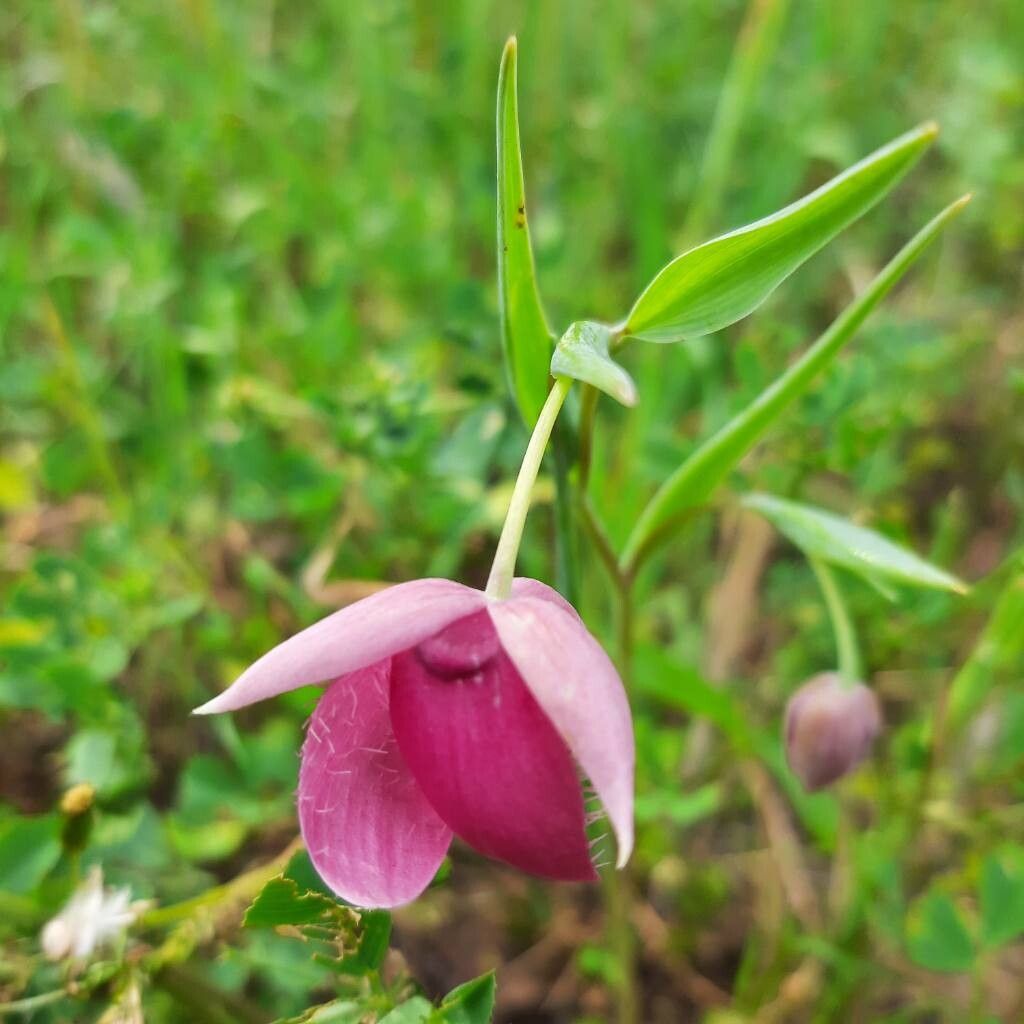
Oh, Calochortus amoenus! If you’ve ever seen a patch of these delicate beauties blooming, you know exactly why they steal your heart. Their graceful, bell-shaped flowers, often in shades of soft lavender or rose, make any garden feel just a little bit magical. And the thought of bringing more of that magic into your own space through propagation? It’s incredibly rewarding.
Now, let’s be honest. Calochortus amoenus, often called the Lovely or Elegant Cat’s Ear, can be a bit of a diva. It’s not the easiest plant to propagate for absolute beginners, but with a little guidance and patience, I promise you can coax new life from these lovely bulbs. It’s definitely a project for those who enjoy a gardening challenge.
The Best Time to Start
For Calochortus species, the ideal time to start thinking about propagation is when the plant is dormant. For most of us, this means late summer or early fall, after the foliage has completely died back. This is when the bulbs are resting and less likely to be stressed by the process. You’re essentially working with the plant’s natural cycle.
Supplies You’ll Need
Gathering your tools beforehand makes the whole process smoother. Here’s what I like to have on hand:
- Sterilized potting mix: A very well-draining mix is crucial. I typically use a blend of equal parts potting soil, perlite, and coarse sand. Some gardeners also like to add a bit of coco coir.
- Small pots or trays: Clean, shallow containers work best. Terracotta pots are great as they allow for good air circulation.
- Sharp, sterilized pruning shears or a sharp knife: For making clean cuts.
- Rooting hormone (optional but helpful): A powdered or liquid rooting hormone can give your cuttings a boost.
- Watering can with a fine rose: For gentle watering.
- Small labels: To mark your propagated plants.
- A trowel or dibbler: For planting seeds or bulbs.
Propagation Methods
Calochortus amoenus is primarily propagated from its bulbs. Unlike many plants that readily root from cuttings, these show the best results through divisions or by nurturing tiny offsets.
1. Bulb Division (The Most Reliable Method)
This is the method I’d recommend for Calochortus amoenus.
- Gently excavate: When the plant is fully dormant in late summer/early fall, carefully dig around the parent bulb. You want to expose the bulb without damaging its roots or the offsets. A small trowel or your hands are best for this.
- Identify the offsets: Look for small bulblets that have formed around the base of the main bulb. They might look like tiny bulbs clinging to the side.
- Separate with care: Using your fingers or a very clean, sharp knife, carefully detach the offsets from the parent bulb. Try to keep any tiny roots attached to the offsets. If the parent bulb seems crowded and has many offsets, you might also be able to gently pull apart sections of the bulb itself, ensuring each piece has a bit of basal plate where roots can grow.
- Let them air dry (briefly): For a day or two, let the divided bulbs sit in a dry, airy spot. This helps any cut surfaces to callus over, reducing the risk of rot.
- Plant them up: Fill your chosen pots with your well-draining potting mix. Plant the offsets about 1-2 inches deep, depending on their size. The parent bulb can be replanted in a larger pot or back in its original spot.
- Water sparingly: Give them a very light watering. You want the soil to be barely moist, not soggy.
2. Growing from Seed (A Long Game)
Calochortus seeds are fascinating but require patience. The seeds typically need a period of cold stratification to germinate.
- Collect seeds: If you grow plants from seed, allow seed pods to mature and dry on the plant. Collect the small, dark seeds.
- Stratify: Mix the seeds with a little moist (not wet) peat moss or vermiculite in a small plastic bag and store it in the refrigerator for 2-3 months. This mimics winter conditions.
- Sow: After stratification, sow the seeds on the surface of your well-draining potting mix. You can cover them very lightly with fine grit.
- Keep moist: Keep the soil consistently, but lightly, moist. A very fine misting is ideal.
- Provide cool conditions: Germination is often slow and erratic, and can take months. Keep the pots in a cool, bright location.
The “Secret Sauce” (Pro Tips)
- Don’t overwater, ever! This is the golden rule for Calochortus. They are bulbous plants that despise sitting in wet soil. It’s far better to underwater slightly than to overwater. During dormancy, they need almost no water.
- Use a gritty mix: I can’t stress this enough. When I say well-draining, I mean really gritty. Think of the rocky, sandy soil they’d grow in naturally. This helps prevent fungal diseases and root rot, which are the biggest culprits when young Calochortus fail.
- Think about aeration: Beyond the soil mix, consider the pot. Terracotta pots breathe, which is a big plus. Good air circulation around the plant, both above and below the soil, is key to their health.
Aftercare & Troubleshooting
Once your divisions have started to show new growth (usually in spring), you can begin to water them a bit more regularly, but still, allow the soil to dry out between waterings. Keep them in a bright spot. They won’t need much fertilizer; a very dilute, balanced liquid feed once or twice in the growing season is plenty.
The most common sign of trouble is rot. If your bulb looks mushy or smells unpleasant, it’s likely succumbing to rot. This is almost always due to too much moisture. Unfortunately, if rot sets in, it’s very difficult to save the bulb. Another sign of failure is no new growth at all, which could mean the bulb wasn’t viable, the conditions weren’t right, or it’s just a slow starter (especially with seeds).
A Encouraging Closing
Growing Calochortus amoenus from propagation is a journey, not a race. Be patient, observe your plants closely, and learn from each attempt. Even if you have a setback, don’t get discouraged! The beauty of these plants is well worth the effort you put in. Happy gardening!
Resource:
https://identify.plantnet.org/k-world-flora/species/Calochortus%20amoenus%20Greene/data