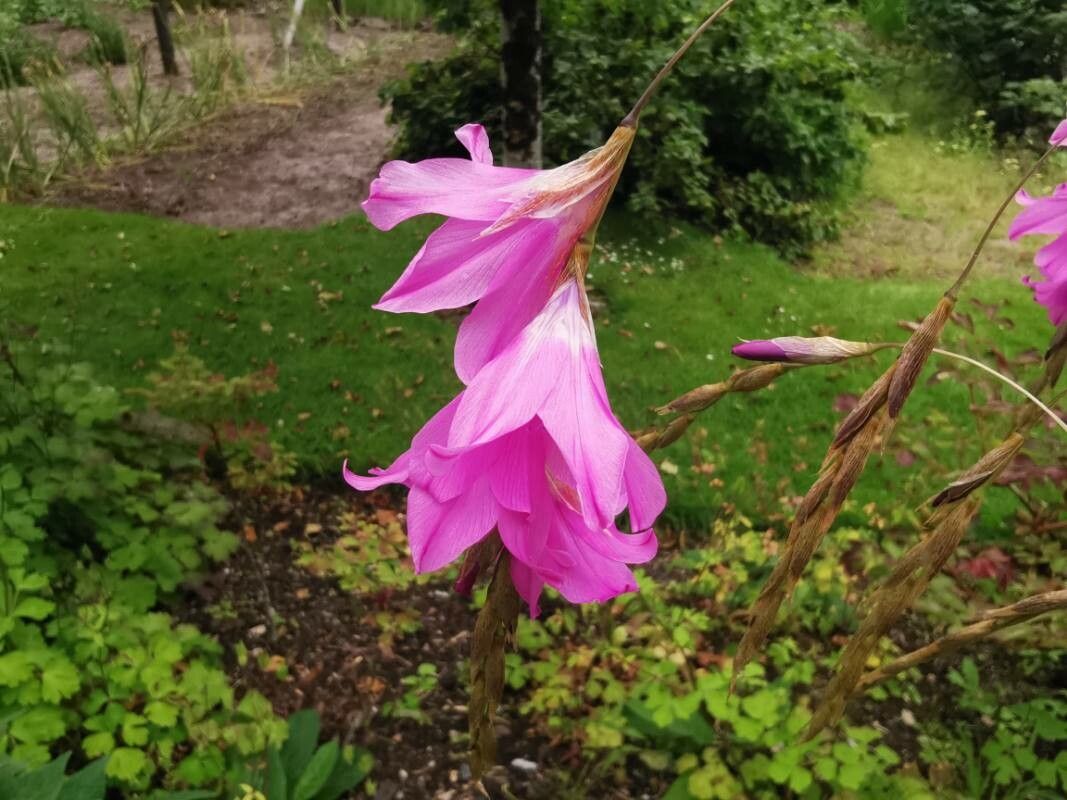
Oh, hello there! Isn’t it a joy to talk about Dierama, the Angel’s Fishing Rods? Those delicate, bell-shaped flowers dancing on impossibly thin stems have a certain magic to them, don’t they? Getting to create more of them yourself, from scratch, is truly one of the most rewarding gardening experiences. Now, I have to be honest with you, Dierama can be a little bit of a diva when it comes to propagation. It’s not necessarily for the absolute beginner looking for instant gratification, but with a bit of patience and the right approach, it’s absolutely achievable. And when you succeed? Well, that’s a feeling like no other!
The Best Time to Start
For Dierama, I find the sweet spot for propagating is late winter to early spring. Think February or March. The plant is usually still in its resting phase, but you’re giving those new divisions or cuttings plenty of time to establish before the heat of summer really kicks in. Waiting until after the plant has finished flowering is also a good cue.
Supplies You’ll Need
Gathering your tools beforehand makes the whole process so much smoother. Here’s what I usually have on hand:
- Sharp, clean pruning shears or a knife: For making clean cuts.
- Well-draining potting mix: A mix specifically for bulbs or a blend of peat moss, perlite, and compost works wonderfully.
- Small pots or trays: Clean ones, of course! About 4-inch pots are usually a good size.
- Rooting hormone (optional but recommended): For cuttings, this can give them a helpful boost.
- Watering can with a fine rose: To water gently.
- Labels and a permanent marker: So you don’t forget what you planted where!
- A sandy loam soil: If you’re dividing established clumps.
Propagation Methods
Dierama is most successfully propagated through division. While you might find information on seed propagation, it’s a much slower and less predictable route. So, let’s focus on getting those lovely clumps bigger!
Division: The Tried and True Method
- Prepare the Plant: Gently unpot your Dierama. If it’s been in the ground, carefully dig around the base and lift the entire clump. It might be a bit tough, so be patient.
- Clean the Roots: Gently shake off as much of the old soil as you can. You want to clearly see where the individual sections of the plant are.
- Identify Divisions: Look for natural breaks in the root ball. You’ll see where new shoots are emerging from thicker, older roots. The goal is to separate sections that have their own roots and at least one or two healthy-looking growth points.
- Make the Cuts: Using your clean tools, gently pull or cut the clump apart. Try to keep as much of the root system intact as possible for each division. If a division seems particularly stubborn, a sharp knife can help.
- Pot Up Your Divisions: Plant each division in its own pot filled with your well-draining potting mix. Make sure the top of the root ball is about an inch below the soil surface. Firm the soil gently.
- Water Gently: Give them a good, but not drenching, watering. You want the soil to be consistently moist but not waterlogged.
The “Secret Sauce” (Pro Tips)
Here are a couple of little tricks that have made all the difference for me:
- Don’t Be Afraid of Those Tough Roots: Dierama roots can be quite fibrous and tough. Sometimes, you might need to very carefully use a sharp knife to sever old, woody root sections to separate younger, more vigorous ones. Just be sure each piece you’re planting has its own set of healthy roots.
- The Power of a Light Sprinkle: After planting your divisions, I like to give them a light watering and then, a few days later, a very light misting. This helps prevent the soil from drying out on the surface without shocking the new roots with too much moisture. It’s like a gentle encouragement.
Aftercare & Troubleshooting
Once your divisions are potted up, place them in a bright spot but out of direct, harsh sunlight. Consistent moisture is key, but overwatering is the quickest way to invite trouble. You’ll know you’re on the right track when you see new leaf growth emerging.
The most common sign of failure is rot. If a division looks limp, mushy, or smells unpleasant, it’s likely succumbed to rot. This is usually a sign of too much moisture and not enough air circulation. If you see this happening, don’t be discouraged! It’s a learning process, and sometimes a division just doesn’t make it. For those that are doing well, you’ll start to see fresh, green shoots reaching for the sky. When they’ve grown a good amount and look robust, you can transplant them into their permanent garden spot in the fall.
A Encouraging Closing
So there you have it! Propagating Dierama is a journey, a little test of our green thumbs. Don’t be disheartened if your first attempts aren’t perfect. Every gardener has lost a plant or two! The most important thing is to get your hands in the soil, observe your plants, and learn from the process. Soon enough, you’ll be enjoying your own beautiful Angel’s Fishing Rods, and the satisfaction of having nurtured them from the start. Happy gardening!
Resource:
https://identify.plantnet.org/k-world-flora/species/Dierama%20dracomontanum%20Hilliard/data