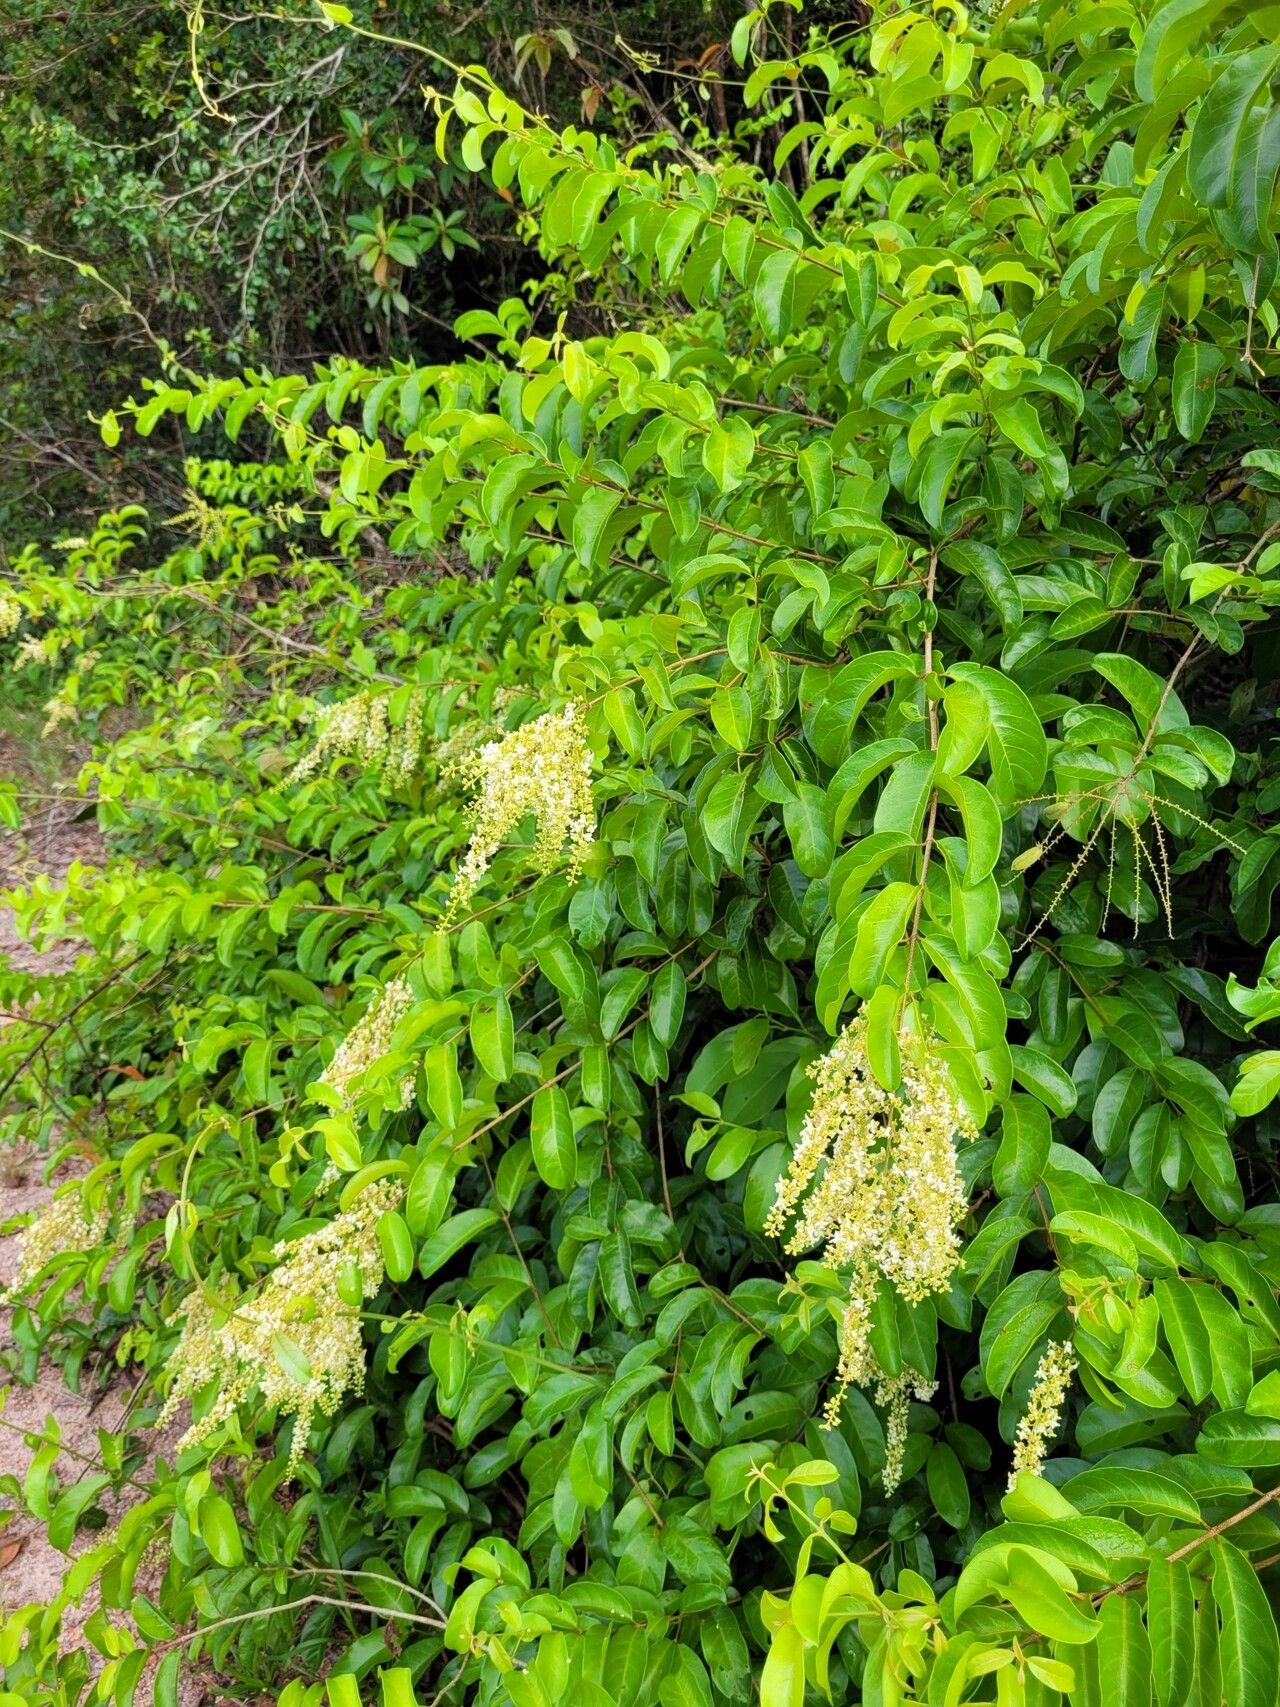
Hello, fellow plant lovers! It’s so wonderful to have you here for a chat about one of my absolute favorites: Trigonia laevis. If you haven’t had the pleasure, imagine a cascade of delicate, tubular flowers, often in vibrant shades of pink or purple, that attract all sorts of beneficial pollinators. It’s a truly delightful shrub that brings so much life to the garden and a real sense of accomplishment when you can create more of them.
Now, if you’re wondering about diving into propagation, I’m here to tell you that while Trigonia laevis isn’t necessarily a “fail-proof, never-miss-a-step” beginner plant, it’s absolutely within reach for anyone willing to get their hands a little dirty and show some tender loving care. The rewards of nurturing a new life from a small cutting or a division are simply immense.
The Best Time to Start
My personal favorite time to get started with propagating Trigonia laevis is in late spring to early summer. This is when the plant is in its active growth phase. You’ll typically find new, semi-hardwood growth that is flexible enough to root but has started to mature past the really soft, fleeting new shoots. Think of it as the sweet spot – not too tender, not too tough.
Supplies You’ll Need
Gathering your supplies beforehand makes the whole process so much smoother. Here’s what I always have on hand:
- Sharp pruning shears or a clean knife: For making clean cuts.
- Rooting hormone: A liquid or powder form will work wonders. It just gives those baby roots a nudge in the right direction.
- Potting mix: A well-draining mix is crucial. I often use a blend of equal parts peat moss and perlite, or you can buy a good quality seedling mix.
- Small pots or trays: Clean ones, please! Anything from old yogurt cups with drainage holes to proper propagation trays will do.
- Watering can with a fine rose: To water gently without disturbing your cuttings.
- Plastic bags or propagation domes: To create a humid environment.
- A spray bottle: For misting.
Propagation Methods
Let’s get down to the nitty-gritty! For Trigonia laevis, I find stem cuttings to be the most successful and rewarding method.
Stem Cuttings: Step-by-Step
- Select Your Cuttings: Look for healthy stems that have finished their initial flush of flowering. You want pieces that are about 4-6 inches long and have at least a couple of leaf nodes (where leaves attach to the stem).
- Make the Cut: Using your sterilized pruning shears or knife, make a clean cut just below a leaf node. Removing the very tip of the stem can also encourage branching.
- Prepare the Cutting: Gently strip off the leaves from the bottom half of the cutting. You want to expose the nodes, as this is where roots will emerge. Leave just a couple of leaves at the very top to help with photosynthesis. If the remaining leaves are very large, you can snip them in half to reduce water loss.
- Apply Rooting Hormone: Dip the cut end of the stem into your rooting hormone, tapping off any excess.
- Pot Them Up: Fill your clean pots with your prepared well-draining potting mix. Make a small hole in the center of the mix with your finger or a pencil.
- Insert the Cutting: Gently place the treated end of the cutting into the hole and firm the soil around it. Ensure at least one leaf node is buried beneath the surface.
- Water Gently: Water thoroughly until the soil is moist but not waterlogged.
- Create Humidity: This is key! Cover the pot with a clear plastic bag secured with a rubber band, or place it under a propagation dome. You can also stick a few twigs or skewers in the pot to keep the plastic from touching the leaves.
- Find a Warm Spot: Place the pots in a bright location, but out of direct, hot sunlight. A spot on a windowsill or a greenhouse bench is perfect.
The “Secret Sauce” (Pro Tips)
Here are a few little nuggets of wisdom that have made all the difference for me over the years:
- Don’t let the leaves touch the water: If you’re using water propagation for other plants, this is a golden rule. For Trigonia laevis cuttings, keeping the leaves out of standing water once they’re in soil is just as important. It prevents rot and fungal issues that can quickly take hold.
- Bottom heat is your friend: If you can manage it, placing your pots on a heating mat designed for propagations can significantly speed up root development. It mimics the warmth of spring soil and really encourages those roots to get moving.
- Be patient with the misting: Regularly mist the inside of the plastic bag or dome to maintain high humidity. But avoid over-misting to the point where the soil looks like soup. A light dew is what we’re aiming for.
Aftercare & Troubleshooting
Once you start to see signs of rooting – usually after 4-6 weeks – you’ll begin to notice new growth appearing on the cutting. This is your signal! Gradually acclimate your new plant to normal room humidity by opening the plastic bag or dome for longer and longer periods over a week or so.
Keep the soil consistently moist but not soggy. As the plant gets bigger, you can pot it up into a slightly larger container with fresh potting mix.
Now, what if things don’t go as planned? The most common issue you’ll encounter is rot. If your cuttings turn black and mushy, it’s a sign of too much moisture and not enough air circulation. If this happens, unfortunately, you’ll need to discard them and start again. Other signs of failure include wilting that doesn’t recover, or simply no signs of rooting after a long period. Don’t despair! It’s all part of the learning curve.
A Encouraging Closing
Propagating Trigonia laevis is a journey, and like any gardening endeavor, it’s as much about the process as it is the outcome. Be patient, observe your cuttings carefully, and don’t be afraid to experiment. Soon enough, you’ll be sharing these beautiful plants with friends and family, and that’s a joy like no other. Happy propagating!
Resource:
https://identify.plantnet.org/k-world-flora/species/Trigonia%20laevis%20Aubl./data