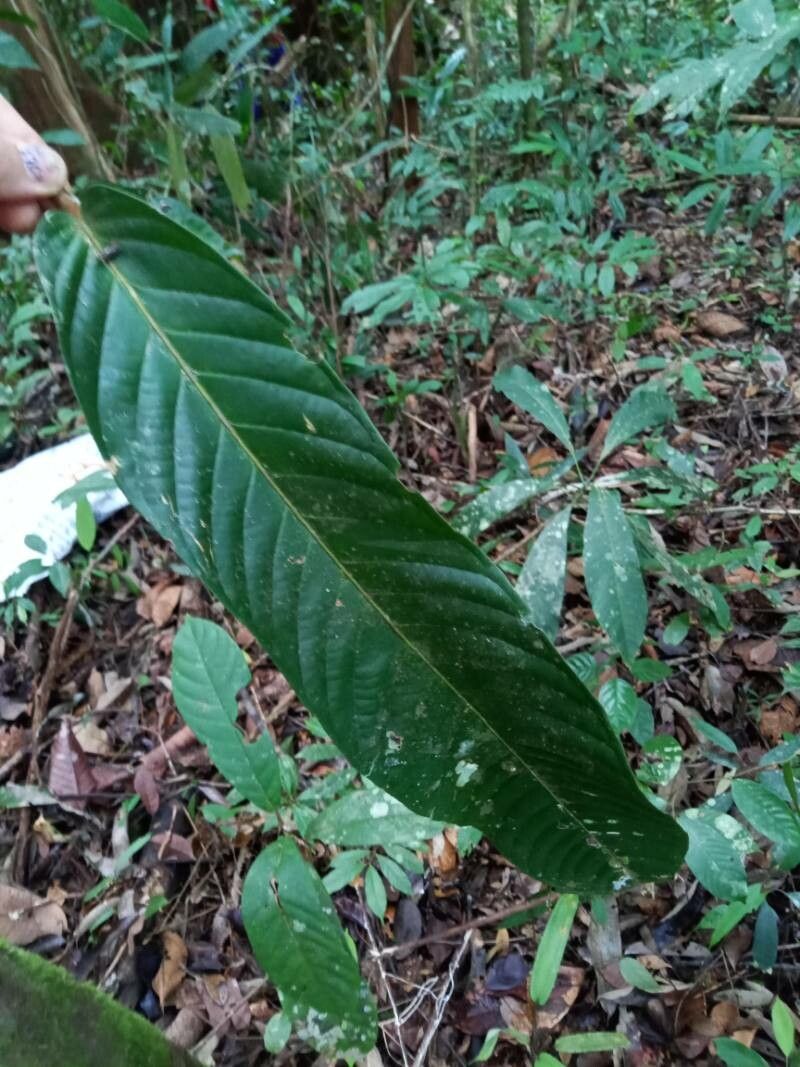
Oh, Vatica rassak! If you’ve ever had the pleasure of seeing one of these beauties, you know exactly what I’m talking about. Their glossy, deep green leaves and elegant growth habit are just stunning, aren’t they? And the thought of bringing more of that natural elegance into your own space is enough to make any plant lover’s heart sing. Propagating Vatica rassak feels like capturing a little piece of its magic to share.
Now, I’m going to be honest with you. Vatica rassak isn’t going to be one of those plants you can just stick in some dirt and forget about. It can be a bit of a diva sometimes, and for absolute beginners, it might present a learning curve. But don’t let that scare you off! With a little understanding and some patient tending, you’ll be rewarded with new little plants of your own. It’s a wonderfully satisfying journey.
The Best Time to Start
When it comes to getting the best results with Vatica rassak cuttings, spring and early summer are your golden ticket. This is when the plant is actively growing, brimming with energy, and more likely to send out those vital new roots. You’re looking for semi-hardwood cuttings, meaning they’re not brand new and floppy, but not old and woody either. They should snap cleanly when bent slightly.
Supplies You’ll Need
Before we get our hands dirty, let’s gather our tools. Having everything ready makes the process smooth and less stressful.
- Sharp Pruning Shears or a Craft Knife: Clean cuts are crucial for preventing disease. Make sure they are sterilized.
- Rooting Hormone: This isn’t strictly essential, but it really does give your cuttings a significant boost. Look for one with IBA (indole-3-butyric acid).
- A Well-Draining Potting Mix: I like to use a blend of perlite, peat moss, and a bit of standard potting soil. You can also find pre-made cactus or succulent mixes that work beautifully.
- Small Pots or Propagation Trays: Clean containers are a must. Old yogurt cups with drainage holes poked in the bottom work in a pinch!
- A Clear Plastic Bag or Dome: This creates a mini-greenhouse effect to keep humidity high.
- Spray Bottle: For misting.
- Optional: Bottom Heat Mat: This can significantly speed up rooting, especially if your home tends to be a bit cool.
Propagation Methods
Vatica rassak is primarily propagated from stem cuttings. Let’s dive into how to do it.
- Take Your Cuttings: Using your sterilized shears, select a healthy stem that’s about 4-6 inches long. Make a clean cut just below a leaf node (where a leaf attaches to the stem). Remove the lower leaves, leaving just the top two or three.
- Apply Rooting Hormone: Dip the cut end of the stem into your rooting hormone, tapping off any excess.
- Plant Your Cuttings: Gently insert the dipped end of the cutting into your prepared potting mix. Make a little hole with your finger or a pencil so you don’t rub off all that precious rooting hormone. Firm the soil around the base of the cutting.
- Create a Humid Environment: Water the soil thoroughly but gently. Then, cover the pot with a clear plastic bag, securing it around the rim with a rubber band, or place it under a propagation dome. Make sure the leaves do not touch the plastic. If they do, you can prop up the bag with a few stakes.
- Provide Light and Heat: Place your cuttings in a bright spot with indirect light. Avoid direct sun, which can scorch the tender cuttings. If you have a bottom heat mat, place the pots on it now. This artificial warmth from below is your secret weapon for encouraging root development.
The “Secret Sauce” (Pro Tips)
Here are a few tricks I’ve learned over the years that can really make a difference.
- Don’t Let the Leaves Touch the Water (or Plastic): This is so important! When leaves are constantly in contact with moisture, they’re far more prone to rotting than forming roots. Keep them up and away.
- Bottom Heat is Your Friend: Seriously, if you can get your hands on a small heating mat, do it. It mimics the warmth of spring soil and can dramatically cut down your rooting time and increase your success rate. It’s like giving your cuttings a warm hug.
- Be Patient and Avoid Disturbing Them: Resist the urge to constantly tug at your cuttings to see if they have roots. This can break fragile new root hairs. Wait it out!
Aftercare & Troubleshooting
Once you start to see new leaf growth emerge from your cuttings, that’s a fantastic sign that roots are forming! You can gently tug on a cutting; if there’s resistance, you’ve got roots.
Start by gradually acclimating your new plant to normal room humidity by opening the plastic bag a little more each day. Once it feels sturdy and you’ve removed the cover entirely, continue to water it as you would an established Vatica rassak, allowing the top inch of soil to dry out between waterings.
The most common issue you might encounter is rot. This usually happens if the soil stays too wet for too long, or if there isn’t enough air circulation. If you notice the stem turning mushy and black, it’s likely a goner. Don’t beat yourself up; it happens to the best of us. Just try again, making sure to use sharply draining soil and perhaps a bit less water. Another sign of trouble is if the cutting simply wills or turns yellow without producing new growth. This can sometimes indicate insufficient light or a lack of rooting hormone.
A Encouraging Closing
Propagating Vatica rassak is an exercise in patience and observation. Don’t get discouraged if your first attempts aren’t perfect. Each cutting, each attempt, is a learning experience. Enjoy the process of nurturing these little hopeful shoots. With time and care, you’ll have a beautiful collection of Vatica rassak to show for it. Happy growing!
Resource:
https://identify.plantnet.org/k-world-flora/species/Vatica%20rassak%20(Korth.)%20Blume/data