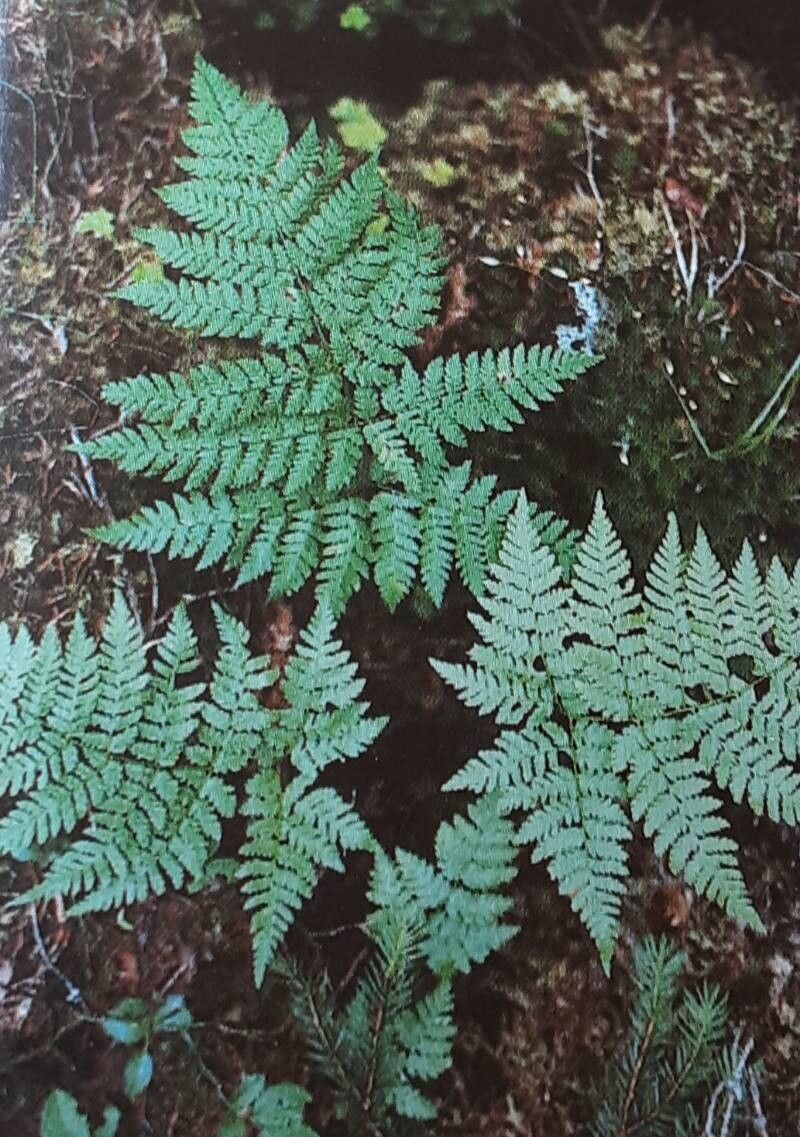
Hello, fellow garden lovers! I’m so excited to share a little secret with you today: how to bring more of the gorgeous Broadleaf Wood Fern, Dryopteris expansa, into your garden. If you love that lush, forest floor vibe, this fern is your friend. Its lacy fronds unfurl with such grace, adding a touch of wild beauty to shady spots. And the best part? Growing more of them yourself is incredibly satisfying. Honestly, I’d put Dryopteris expansa in the “moderately easy” category for propagation. A little patience goes a long way, and I’ll walk you through every step.
The Best Time to Start
For the highest chance of success with propagating Dryopteris expansa, I always recommend early spring. This is just as new growth is starting to emerge. You’ll see those tightly coiled fiddleheads beginning to unfurl, and that’s the ideal moment to get your hands dirty. You can also propagate through division later in the spring or even early fall, but the initial start is best with new growth.
Supplies You’ll Need
Gathering your tools beforehand makes the whole process much smoother. Here’s what I always have on hand:
- Sharp Pruning Shears or a Clean Knife: To make clean cuts and avoid damaging the parent plant.
- Well-Draining Potting Mix: A good blend of peat moss, perlite, and compost works wonders. You can also buy specific fern or orchid mixes.
- Small Pots or Seed Trays: Clean ones are key to preventing disease.
- Watering Can with a Fine Rose: For gentle watering.
- Plastic Bags or a Clear Dome: To create a humid environment.
- Rooting Hormone (Optional but helpful): Especially if you’re taking cuttings. Look for one formulated for woody plants or general propagation.
- Labels: So you don’t forget what you planted where!
- A Shady Spot: For your newly propagated ferns.
Propagation Methods
There are a couple of ways to go about this, but my favorite for Dryopteris expansa is division. It’s like giving your established fern a much-needed haircut and getting new plants in the process!
Method: Division
This is the most straightforward way to increase your Dryopteris expansa collection.
- Gently Unpot: In early spring, carefully dig up your established fern. You want to disturb the root ball as little as possible. If it’s a large clump, you might just lift it straight out of the ground or its pot.
- Inspect the Rhizomes: Look at the underground stems, called rhizomes. You’ll see where the fern has naturally grown outwards, forming new crowns. These are your division points.
- Divide Carefully: Using your hands or a clean knife, gently pull or cut the fern apart into sections. Make sure each section has at least one or two healthy fronds and a good amount of roots attached. Don’t be afraid to get a bit vigorous if needed, but always aim for clean breaks. If you’re struggling, a sharp spade can help but be cautious around the roots.
- Replant: Pot up each division into its own container filled with your well-draining potting mix. Ensure the crown (where the fronds emerge) is level with the soil surface.
- Water and Cover: Water gently but thoroughly. To help them establish, cover the pots with a plastic bag or a clear dome to maintain high humidity. Place them in a shady spot.
The “Secret Sauce” (Pro Tips)
Here are a few things I’ve learned over the years that make a real difference:
- Don’t Overwater After Division: While humidity is crucial, soggy soil is the enemy of new roots. Water deeply after planting, but then let the soil surface dry out slightly between waterings. You’re aiming for consistently moist, not soggy.
- Think “Forest Floor”: Ferns thrive in environments where leaves and organic matter decompose slowly. Using a mix that includes peat moss or coco coir really helps mimic this. It retains moisture without becoming waterlogged and provides a gentle welcome to new roots.
- Bottom Heat Can Be a Game Changer: For any propagation, especially cuttings (though less critical for division), a little gentle bottom heat can significantly speed up root development. A seedling heat mat placed under your pots can make a surprising difference.
Aftercare & Troubleshooting
Once your divisions are planted, keep them in a bright, indirect light location. Avoid direct sun, which will scorch those delicate new fronds. Maintain that high humidity by misting them occasionally or ensuring your dome is still in place.
The most common sign of trouble is rot. If you see fuzzy mold growing on the soil or the base of the fronds turning black and mushy, it’s likely due to overwatering. Pull back on the water immediately and ensure good air circulation if possible. Sometimes, if rot sets in severely, you might have to say goodbye to that particular division, but don’t get discouraged! Try again, adjusting your watering schedule.
Rooting will take time. Don’t panic if you don’t see new frond growth right away. You can gently tug on a frond; if there’s resistance, you’ve got roots! It can take anywhere from a few weeks to a couple of months.
Happy Fern Growing!
Propagating Dryopteris expansa is such a rewarding process. It’s a beautiful way to fill in those shady corners and share the magic of ferns with others. Be patient, observe your new plants regularly, and trust your gardening instincts. Happy growing, and may your garden be ever greener!
Resource: