Oh, hello there! Come on in, pull up a chair. I’ve got a fresh pot of coffee brewing, and I’m just itching to talk about one of my favorite, lesser-known gems in the garden: Atriplex longipes, or what I affectionately call Sea Purslane.
A Splash of Silver and Sustainability
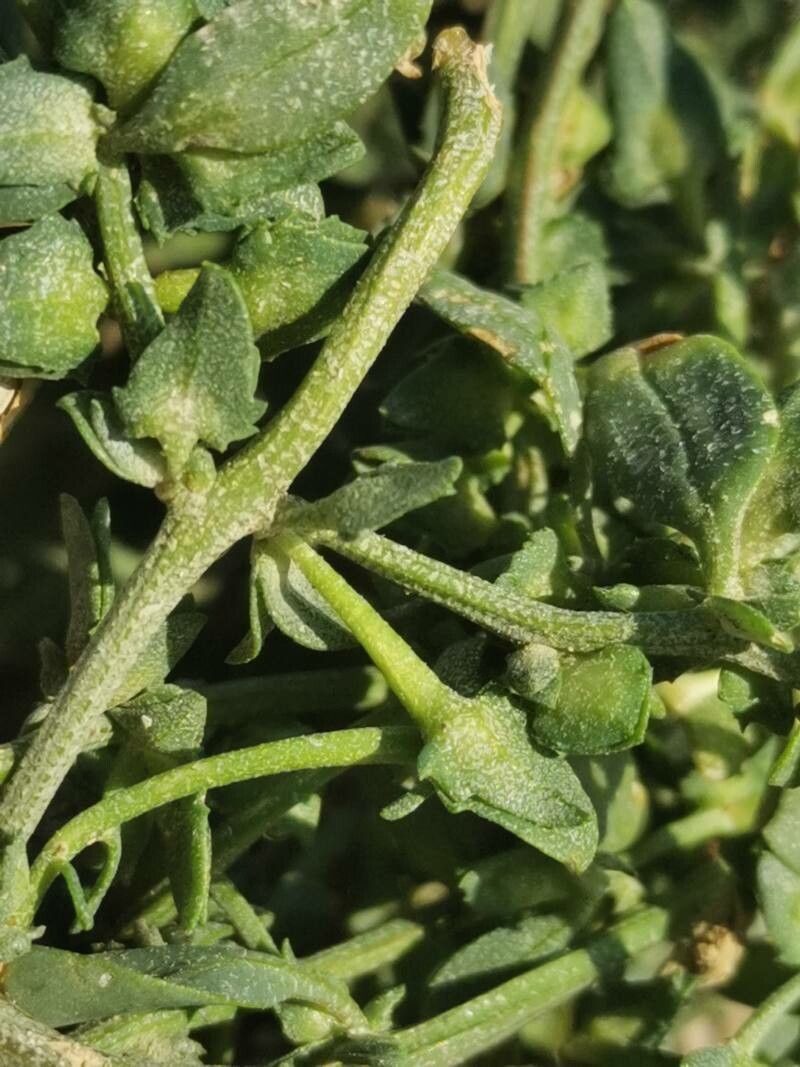
When you think of coastal plants, you might picture tough grasses or prickly seaborn. But Atriplex longipes offers a wonderfully soft, almost ethereal silver-green foliage that cascades beautifully. It’s tough, yes, but with a delicate charm that can really elevate a garden, especially in areas prone to salt spray or tough conditions. And propagating it? Well, it’s a fantastic way to expand your collection and share that unique beauty with friends. For beginners, I’d say it’s moderately easy. It’s not quite as foolproof as, say, a spider plant, but with a little attention, you’ll find success.
The Best Time to Start
Honestly, spring is your best bet for starting Atriplex longipes. Think April or May, when the plant is really waking up and starting active growth. You want to take cuttings from stems that are firm but not yet woody. They should be supple, like a young asparagus spear. Doing this in spring means your newly rooted plants will have a full growing season to establish themselves before winter.
Supplies You’ll Need
Gathering your supplies ahead of time makes the whole process so much smoother. Here’s what I always have on hand:
- Sharp, clean pruning shears or a sharp knife: Sterilize them with rubbing alcohol to prevent disease.
- A well-draining potting mix: I usually mix equal parts coarse sand, perlite, and a good quality, peat-free compost. Commercial seed starting mix works too.
- Rooting hormone powder (optional but helpful): Look for one with an indole-3-butyric acid (IBA) base.
- Small pots or trays: Clean ones, of course! Small plastic pots with drainage holes are perfect.
- A watering can with a fine rose attachment or a spray bottle: Gentle watering is key.
- A plastic bag or propagation dome: This helps maintain humidity.
- Labels and a marker: Don’t forget to label your cuttings!
Propagation Methods: Let’s Get Our Hands Dirty!
The most reliable way I’ve found to propagate Atriplex longipes is through stem cuttings. It’s straightforward and usually gives a great success rate.
- Take Your Cuttings: On a healthy, non-flowering stem, make a clean cut just below a leaf node – that little bump where a leaf attaches to the stem. You want cuttings that are about 3-4 inches long. Remove the lower leaves, leaving just the top couple of leaves. This prevents them from rotting when buried in the soil.
- Prepare the Cuttings: If you’re using rooting hormone, dip the cut end of the stem into it. Gently tap off any excess.
- Potting Up: Fill your small pots with your prepared potting mix. Make a small hole in the center of each pot with your finger or a pencil.
- Planting: Insert the cut end of your Atriplex longipes cutting into the hole, making sure the leaf nodes where you removed the leaves are covered by the soil. Gently firm the soil around the stem.
- Watering: Water the soil gently but thoroughly. You want it moist, but not waterlogged.
- Create a Humid Environment: This is crucial! Place the pots inside a plastic bag, a propagation dome, or under a cloche. This traps moisture and creates a mini-greenhouse effect. You can also simply place the pots in a tray and fill the tray with a little water, then cover the whole thing with a plastic bag.
The “Secret Sauce” (Pro Tips)
Now, here are a couple of tricks I’ve learned over the years that really give your cuttings a boost:
- The Bottom Heat Trick: This has been a game-changer for me, especially with fussier plants. Place your pots on a heated propagation mat. This little bit of warmth at the base encourages root development much faster and more consistently. You can find these online or at garden centers.
- Air Circulation is Key: While humidity is vital, you don’t want stagnant, damp air, which can lead to rot. Lift the plastic bag or open the dome for about 15-30 minutes each day. This allows for fresh air exchange and helps prevent fungal issues. You’ll get a feel for it. If you see condensation building up excessively, it’s definitely time for some ventilation.
Aftercare & Troubleshooting
Once your cuttings have settled in, keep the soil consistently lightly moist. Avoid letting them dry out completely, but also steer clear of soggy conditions. They don’t need direct, harsh sunlight at this stage. Bright, indirect light is perfect.
You’ll know your cuttings are rooting when you see new leaf growth. It usually takes anywhere from 4 to 8 weeks. Give them a gentle tug – if there’s resistance, your roots are developing! Once they have a good root system, you can carefully transplant them into slightly larger pots.
The most common problem you’ll encounter is rot. If a cutting turns black and mushy, it’s a sign of too much moisture or not enough air circulation. Unfortunately, there’s usually no bringing a rotten cutting back, so just discard it and start fresh. Another sign of trouble is wilting even though the soil is moist – this can indicate the cutting didn’t root or the roots rotted.
Keep Growing!
Don’t be discouraged if your first attempt isn’t perfect! Gardening is all about learning and experimenting. Celebrate every tiny bit of new growth. Be patient with your Atriplex longipes cuttings, give them good care, and enjoy the incredibly rewarding process of bringing new life into your garden. Happy propagating!
Resource:
https://identify.plantnet.org/k-world-flora/species/Atriplex%20longipes%20Drejer/data