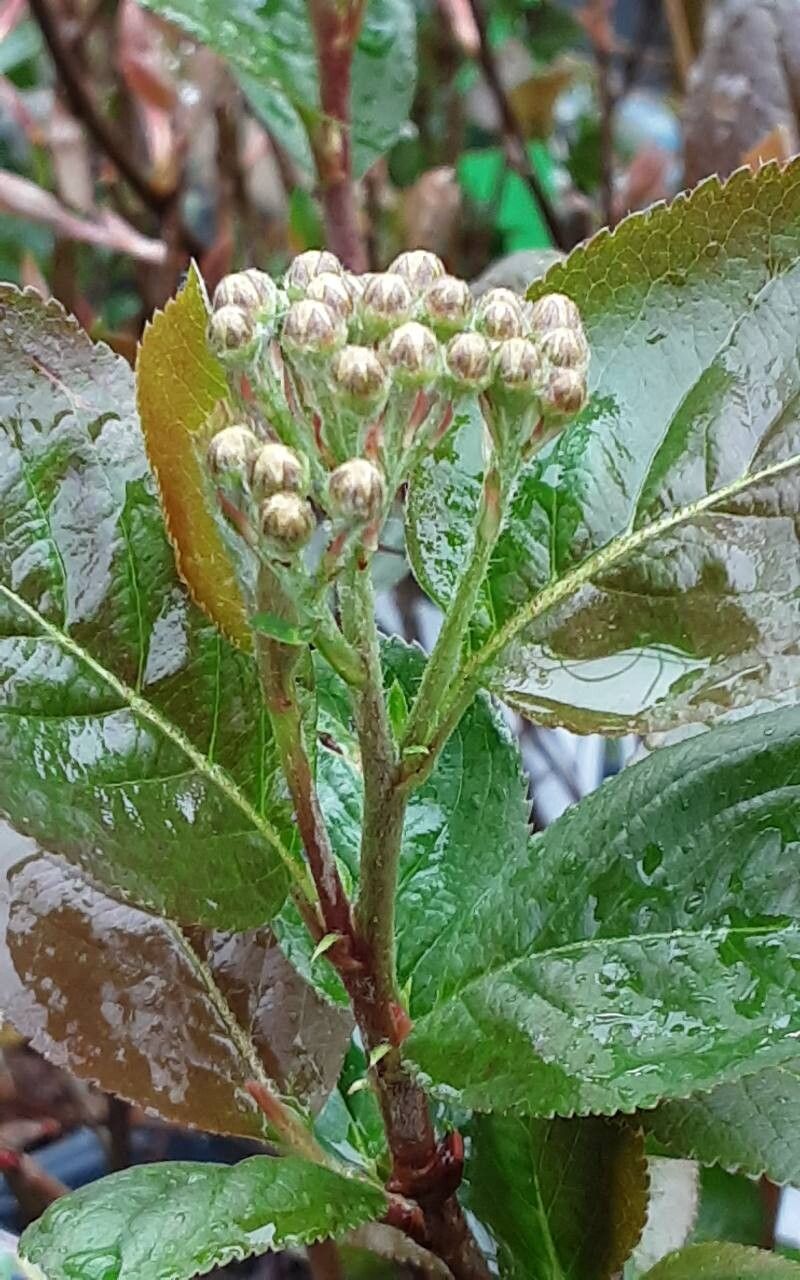
Oh, hello there! I’m so glad you’ve stumbled upon this little corner of the garden. Today, we’re diving into the wonderful world of propagating Lonicera caerulea, or more commonly known as Haskap or Honeyberry. If you’re anything like me, you’ve fallen for these delightful berries. They’re among the very first fruits to ripen, bursting with a unique tangy-sweet flavor that’s just divine. And the best part? You can easily grow your own little Haskap patch by propagating them yourself! It’s incredibly satisfying to nurture a new plant from a simple cutting. For beginners, I’d say Haskap propagation is moderately easy, especially with a few key pointers, and I’m here to share all my secrets with you.
The Best Time to Start
My favorite time to take cuttings from Haskap is in early to mid-summer. You’re looking for stems that are no longer brand new and soft, but also not old and woody. Think of it as the “firm but flexible” stage. These semi-hardwood cuttings have a good balance of stored energy and the ability to root quickly. If you miss this window, don’t fret! You can also try taking cuttings in the fall after the leaves have dropped, but summer cuttings generally have the highest success rate for me.
Supplies You’ll Need
To get your Haskap propagation journey off to a flying start, gather these handy items:
- Sharp Pruning Shears or a Craft Knife: Cleanliness is key for preventing disease. Sterilize them with rubbing alcohol!
- Rooting Hormone: This isn’t strictly mandatory, but it definitely gives your cuttings a helpful boost. Look for one formulated for stem cuttings.
- Small Pots or Seedling Trays: Make sure they have good drainage holes.
- A Well-Draining Potting Mix: I like to use a 1:1 mix of perlite and peat moss or a good quality seed-starting mix. This ensures moisture retention without waterlogging.
- Plastic Bags or Propagation Domes: These create a humid environment, which is crucial for cuttings.
- Water: For moistening your mix and for watering.
- Labels: It’s easy to forget what you planted where!
Propagation Methods
Let’s get our hands dirty with the most reliable ways to multiply your Haskap collection.
1. Stem Cuttings (My Go-To Method)
This is the most common and successful method for Haskap.
- Step 1: Take Your Cuttings. Using your clean shears, select healthy, current-season shoots. Cut stems that are about 4-6 inches long. Make your cut just below a leaf node (where a leaf meets the stem). Remove the leaves from the lower half of the cutting. You can even take cuttings in pairs, as I sometimes do.
- Step 2: Prepare the Cuttings. Dip the cut end of each stem into your rooting hormone, tapping off any excess.
- Step 3: Plant Your Cuttings. Fill your small pots or trays with your prepared potting mix. Make a small hole in the center with your finger or a pencil. Insert the cutting into the hole, gently firming the mix around it. Make sure at least one leaf node is buried in the soil.
- Step 4: Water and Cover. Give the soil a good watering until it’s evenly moist but not soggy. Then, cover the pots with a plastic bag (supported by stakes so it doesn’t touch the leaves) or place them in a propagator. This traps humidity.
2. Water Propagation (A Simpler Option)
While I prefer soil for Haskap, water propagation can work too.
- Step 1: Prepare Your Cuttings. Follow Step 1 from the stem cutting method (taking 4-6 inch cuttings below a node, and removing lower leaves).
- Step 2: Place in Water. Fill a clean jar or glass with water. Place the cuttings into the water, ensuring the lower leaf nodes are submerged but no leaves are touching the water.
- Step 3: Find a Good Spot. Place the jar in a bright location, but out of direct, scorching sunlight.
- Step 4: Monitor and Change Water. Change the water every few days to keep it fresh. You should see roots forming within a few weeks. Once the roots are about an inch long, you can carefully transplant them into pots filled with your potting mix.
The “Secret Sauce” (Pro Tips)
Here are a few little tricks I’ve learned over the years that really make a difference:
- Bottom Heat is Your Friend: If possible, place your pots on a heat mat designed for propagation. Haskap cuttings love a bit of warmth from below to encourage root development. This is especially helpful for fall cuttings.
- Don’t Over-Water: I know I mentioned watering well to start, but this is a delicate balance. The potting mix should be consistently moist, not soggy. Soggy soil is a fast track to rot, and nobody wants that!
- Location, Location, Location! Place your newly potted cuttings in a bright spot that receives indirect sunlight. Direct sun can scorch those tender new leaves before they’ve even had a chance to establish themselves.
Aftercare & Troubleshooting
Patience is key here!
Once you start seeing new leaf growth on your cuttings, that’s a fantastic sign that roots have formed. Gradually acclimate your new plants to ambient humidity by opening the plastic bag or propagator for increasingly longer periods each day over a week or two. Once they’re fully out of their humid enclosure, continue to keep the soil moist and bright.
What if things go wrong? Rot is the most common culprit. If you notice your cutting turning mushy and brown, or developing black spots on the stem, it’s likely too much moisture or not enough airflow causing fungal issues. Unfortunately, a rotten cutting is usually a goner. Try to identify what went wrong – was the soil too wet? Was it too cold? Learn from it and try again! Sometimes, cuttings just don’t take, and that’s okay too. Gardening is a continuous learning process.
A Encouraging Closing
Propagating Haskap can feel like a little bit of magic. Watching a tiny stem transform into a new plant ready to grace your garden is incredibly rewarding. Don’t be discouraged if your first attempts aren’t perfect. Each cutting offers a chance to learn and refine your technique. So, go ahead, grab your shears, and embrace the joy of growing more of these marvelous berries. Happy propagating!
Resource:
https://identify.plantnet.org/k-world-flora/species/Lonicera%20caerulea%20L./data