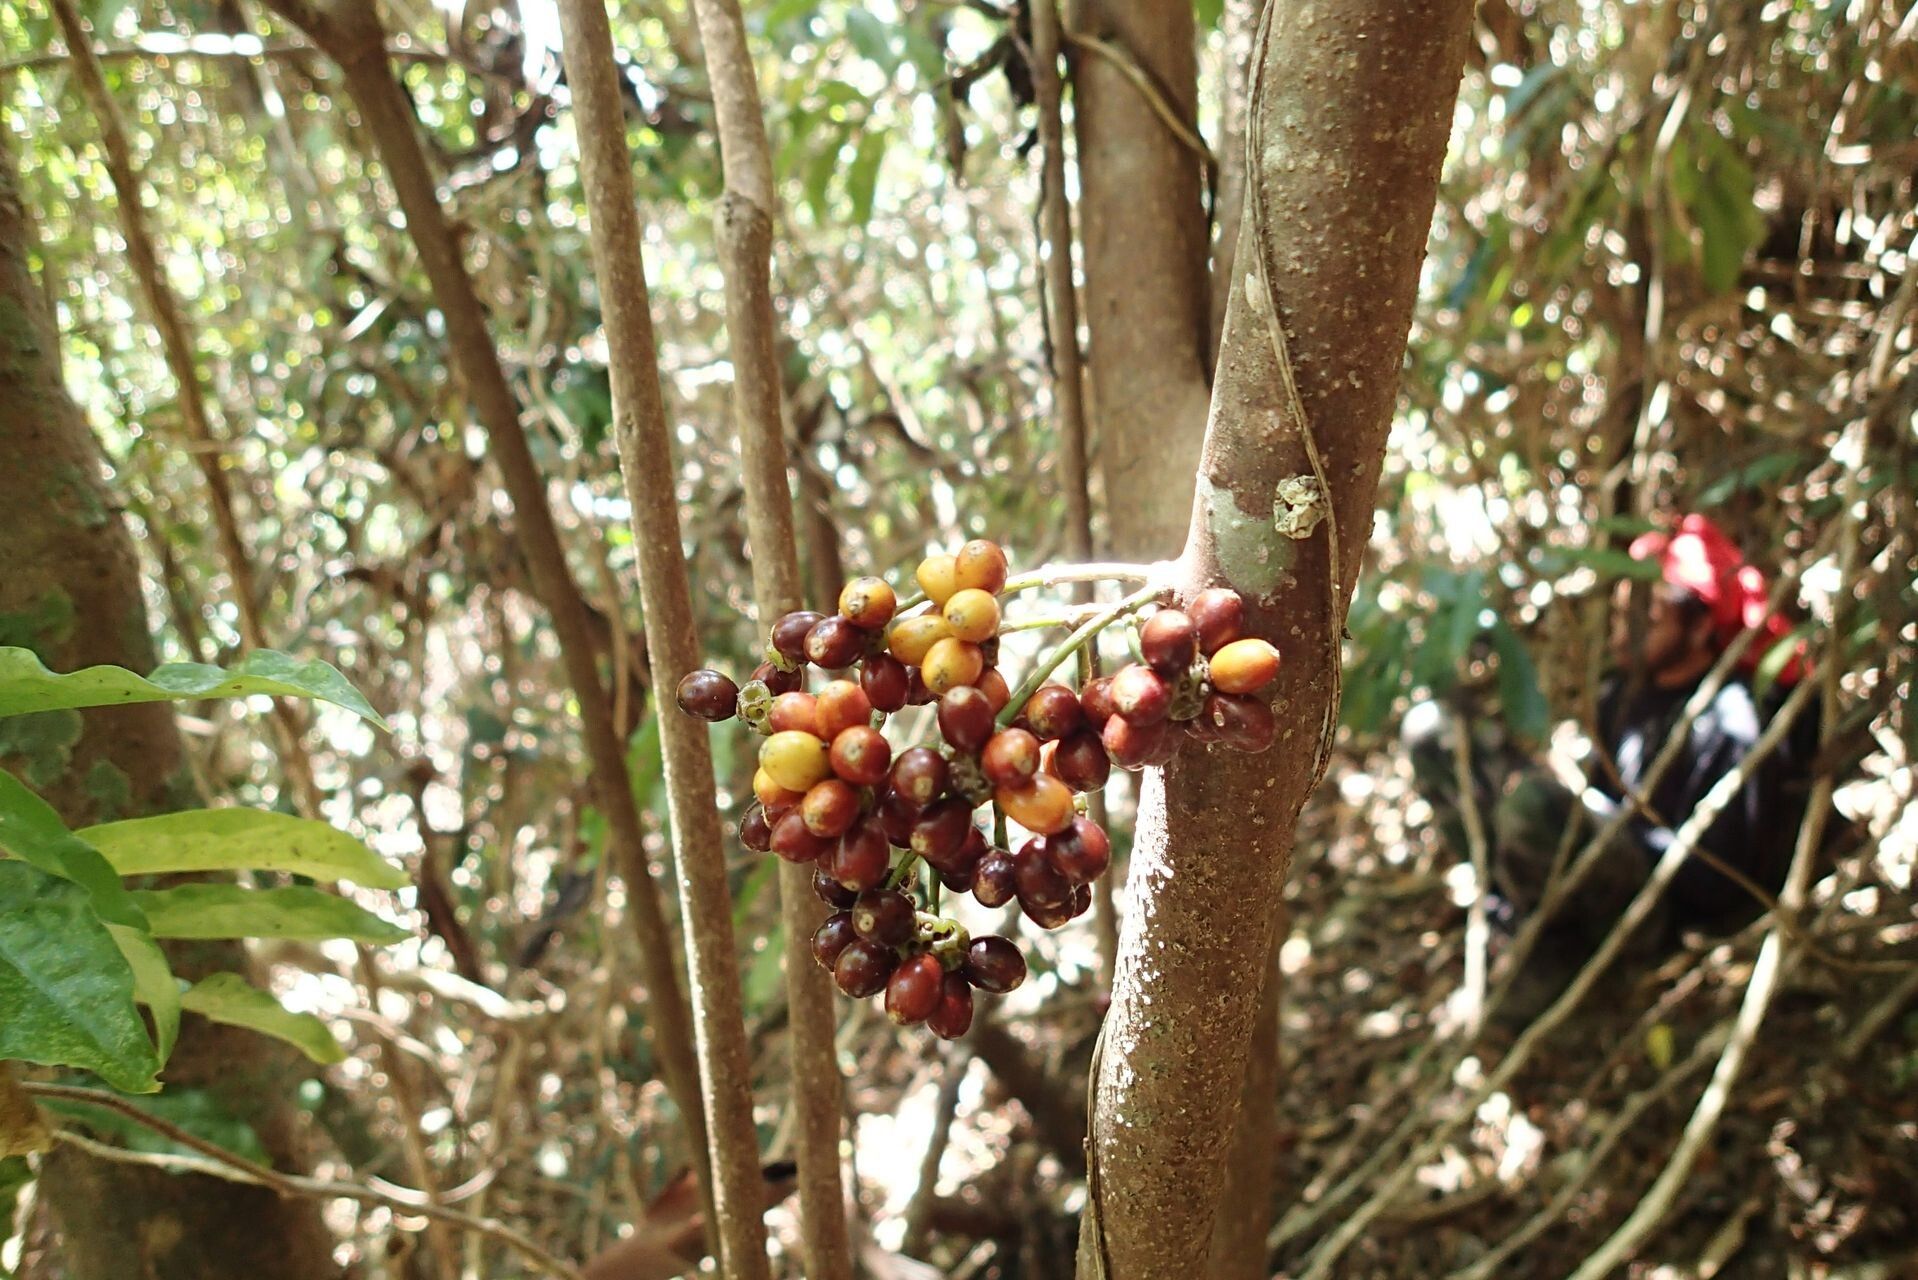
Oh, hello there! Come on in, pull up a chair. Let’s talk about a truly delightful Australian native, the beautiful Hedycarya engleriana, often called the native mulberry or possumwood. If you’ve ever admired its glossy, heart-shaped leaves and delicate creamy-white flowers that later give way to vibrant purple fruits, you might be wondering, “Can I grow more of these?” Well, you certainly can! And let me tell you, propagating these beauties is a wonderfully rewarding venture. For beginners, I’d say Hedycarya engleriana is moderately easy to propagate. It’s not quite as foolproof as some of the super-quick plants, but with a little patience and care, you’ll be well on your way to success.
The Best Time to Start
My very favorite time to take cuttings of Hedycarya engleriana is in the late spring or early summer. This is when the plant is actively growing after the coolness of winter. You’re looking for new, but slightly hardened-off wood. Think of it as flexible, but not brand new and sappy. Avoid taking cuttings from stems that are flowering or fruiting heavily. We want the plant’s energy to be focused on creating roots, not making more flowers!
Supplies You’ll Need
Before we get our hands dirty, let’s gather our tools. It’s always good to be prepared!
- Sharp, clean pruning shears or a sharp knife: For making clean cuts.
- Rooting hormone powder or gel: This is really helpful for encouraging root development.
- A well-draining potting mix: I like a blend of perlite, peat moss (or coir), and a little bit of compost. About a 2:1:1 ratio works wonders. You want it to hold moisture but drain freely.
- Small pots or propagating trays: Clean ones, please!
- A plastic bag or propagator lid: To create a humid environment.
- Watering can with a fine rose: For gentle watering.
- Labels and a permanent marker: To keep track of what you’ve propagated and when.
Propagation Methods
Let’s dive into the fun part! Stem cuttings are generally the most successful route for Hedycarya engleriana.
Stem Cuttings
- Select your stems: Look for healthy, non-flowering shoots that are about pencil-thick. They should ideally be new growth that has started to firm up.
- Take your cuttings: Using your clean shears, make a cut just below a leaf node. A leaf node is where a leaf attaches to the stem. This is where the magic happens for root formation.
- Prepare the cuttings: Your cutting should be about 10-15 cm long. Remove the lower leaves, leaving just two or three at the top. This reduces water loss and prevents leaves from rotting in the potting mix.
- Apply rooting hormone: Dip the cut end of the stem into your rooting hormone powder or gel. Tap off any excess.
- Potting up: Fill your clean pots with your prepared potting mix. Moisten the mix thoroughly and let it drain.
- Insert the cuttings: Make a small hole in the potting mix with a pencil or your finger. Gently insert the cutting into the hole, ensuring the nodes where you removed the leaves are buried. Firm the soil gently around the stem.
- Create humidity: Water the pot gently again. Then, place the pot inside a clear plastic bag, tying it loosely at the top, or cover it with a propagator lid. This creates a mini-greenhouse.
The “Secret Sauce” (Pro Tips)
Now, here are a couple of little tricks I’ve learned over the years that can really boost your success rate:
- Don’t let the leaves touch the water! If you’re ever doing water propagation (which can sometimes work for younger, softer shoots, though I prefer soil for Hedycarya), make sure the leaves are well above the water level. Any submerged leaves will rot and can take your whole cutting down with them.
- Bottom heat makes a world of difference. While not strictly essential, placing your pots on a gentle heat mat can significantly speed up root development. The warmth encourages the plant to send out roots from the nodes. Just keep it modest; we don’t want to cook them!
- Be patient with the trimming. When you take cuttings, don’t be tempted to give them a hard prune. Resist the urge to chop off more leaves than necessary. Those top leaves are crucial for photosynthesis, which feeds the nascent root system.
Aftercare & Troubleshooting
Once your cuttings are potted up, place them in a bright spot but out of direct, harsh sunlight. Keep the potting mix consistently moist but not waterlogged. This is a delicate balance, but that humid environment you created with the plastic bag will help immensely.
You’ll know your cuttings are rooting when you see new leaf growth a few weeks to a couple of months down the line. A gentle tug on the cutting will also reveal resistance if roots have formed. Once you see good signs of roots, you can gradually acclimate them to normal humidity by opening the plastic bag a little more each day over a week.
The most common issue you might encounter is rot. This usually happens when the potting mix is too wet and there isn’t enough air circulation. If you see brown, mushy stems or leaves, unfortunately, that cutting has probably succumbed. Don’t be disheartened! Just discard it and try again, perhaps with a slightly drier mix or better air flow.
A Encouraging Closing
Propagating Hedycarya engleriana is a journey of quiet observation and gentle care. There will be times when things don’t quite work out, and that’s perfectly normal. Every cutting you take is a learning experience. So, get your hands in the soil, embrace the process, and enjoy the immense satisfaction of nurturing new life. Happy gardening!
Resource:
https://identify.plantnet.org/k-world-flora/species/Hedycarya%20engleriana%20S.Moore/data