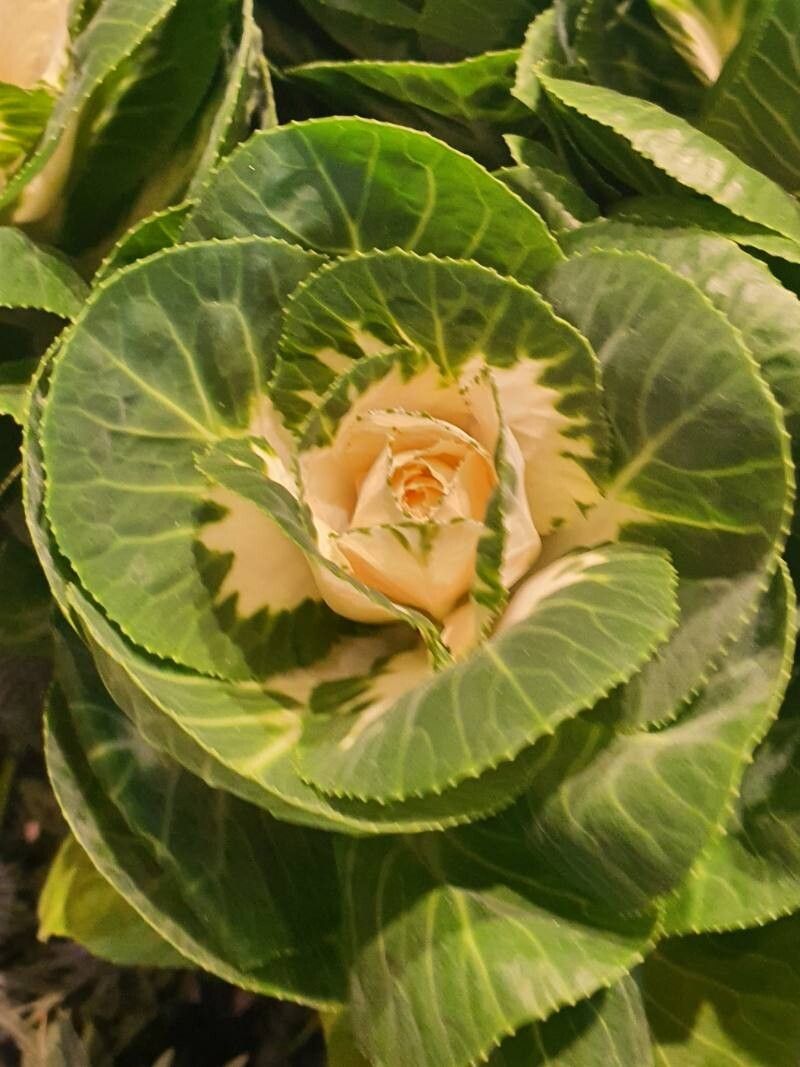
Hello green thumbs! Today, we’re diving into the wonderful world of propagating Brassica oleracea. If you’re a fan of kale, cabbage, broccoli, cauliflower, Brussels sprouts, or even those fun ornamental kales, then you’ve met this versatile plant before. There’s something so satisfying about taking a piece of your favorite plant and turning it into a whole new one. It’s like a little bit of garden magic!
Now, I’ll be honest, Brassica oleracea isn’t always the easiest plant to propagate for absolute beginners, but don’t let that scare you. With a little care and attention, you’ll be creating your own little brassica babies in no time. The reward of seeing those little roots emerge and watching your new plant thrive is truly worth it.
The Best Time to Start
For the highest success rate, I always recommend starting your propagation efforts in the late spring or early summer. This is when the plant is in its most vigorous growth phase, meaning it has plenty of energy to put into creating new roots. You’re looking for healthy, actively growing stems. Avoid trying to propagate from plants that are stressed, flowering heavily, or looking a bit tired.
Supplies You’ll Need
To get started with your Brassica oleracea propagation, gather these essentials:
- Sharp pruning shears or a clean, sharp knife: For making clean cuts.
- Small pots or seed trays: Clean ones are a must!
- A well-draining potting mix: A mix of peat moss (or coir), perlite, and a little bit of compost works wonders. You can also buy specific propagation mixes.
- Rooting hormone powder (optional but recommended): This can give your cuttings a real boost.
- A plastic bag or a clear dome: To create a humid environment.
- Water: For watering and, if you choose, water propagation.
- Labels: So you don’t forget what you’ve planted!
Propagation Methods
There are a couple of ways you can go about multiplying your Brassica oleracea plants. I find stem cuttings to be the most reliable.
Stem Cuttings: My Go-To Method
- Take a Cutting: Find a healthy, non-flowering stem on your established Brassica oleracea plant. Aim for a cutting about 4-6 inches long. Make a clean cut just below a leaf node (where a leaf attaches to the stem). This is where roots are most likely to form.
- Prepare the Cutting: Gently remove the lower leaves from the cutting, leaving just a few at the top. If the leaves are very large, you can even cut them in half to reduce water loss through transpiration.
- Apply Rooting Hormone (Optional): Dip the cut end of the stem into rooting hormone powder, tapping off any excess.
- Potting Up: Fill your small pots with your prepared potting mix. Make a small hole in the center of the soil with your finger or a pencil.
- Insert the Cutting: Gently insert the cut end of the stem into the hole. Firm the soil gently around the base of the cutting to ensure good contact.
- Water and Cover: Water the soil thoroughly until it’s moist but not soggy. Then, place the pot inside a plastic bag or cover it with a clear dome to create a mini-greenhouse effect. This humidity is crucial!
Water Propagation (A Simpler Option)
For some varieties, or if you’re just curious, you can try water propagation.
- Take and Prepare Cuttings: Follow steps 1 and 2 above for taking and preparing your stem cuttings.
- Place in Water: Fill a clean jar or glass with water and place your cuttings in it. Make sure no leaves are submerged in the water, as this can lead to rot.
- Find a Spot: Place the jar in a bright spot, but out of direct, harsh sunlight.
- Change Water Regularly: Change the water every few days to keep it fresh and prevent bacterial growth. You should see tiny roots starting to appear within a couple of weeks.
The “Secret Sauce” (Pro Tips)
Over the years, I’ve picked up a few tricks that really make a difference:
- Bottom Heat is Your Friend: If you have a heat mat designed for seedlings, placing your pots on it can significantly speed up root development. Brassica oleracea likes it a little warm from below.
- Don’t Overwater! This is probably the most common mistake. Constantly soggy soil is a recipe for root rot. Let the top inch of soil dry out slightly between waterings.
- Sterilize Everything: Before you start, make sure your tools, pots, and even your hands are clean. This prevents transferring any diseases to your precious cuttings.
Aftercare & Troubleshooting
Once you see new leaf growth emerging from your cuttings, that’s a fantastic sign that roots are forming! Gradually acclimate your new plant to normal room humidity by opening the plastic bag or dome a little each day over a week. Once it’s fully out of the cover, continue to water and provide bright, indirect light.
The biggest issue you might encounter is rot. If your cutting turns black and mushy or smells foul, sadly, it’s a goner. This usually happens from being too wet or not having good air circulation. If you notice the soil is consistently wet and there’s no new growth, don’t be afraid to gently pull the cutting out to check the stem. If it’s black and soft, try again with a fresh cutting and adjust your watering.
A Little Patience Goes a Long Way
Propagating plants takes time and a bit of trial and error. Don’t get discouraged if your first few attempts don’t work out perfectly. Every gardener has those moments! The key is to be patient, observe your plants, and keep learning. Enjoy the process of nurturing these new life forms. Happy propagating!
Resource:
https://identify.plantnet.org/k-world-flora/species/Brassica%20oleracea%20L./data