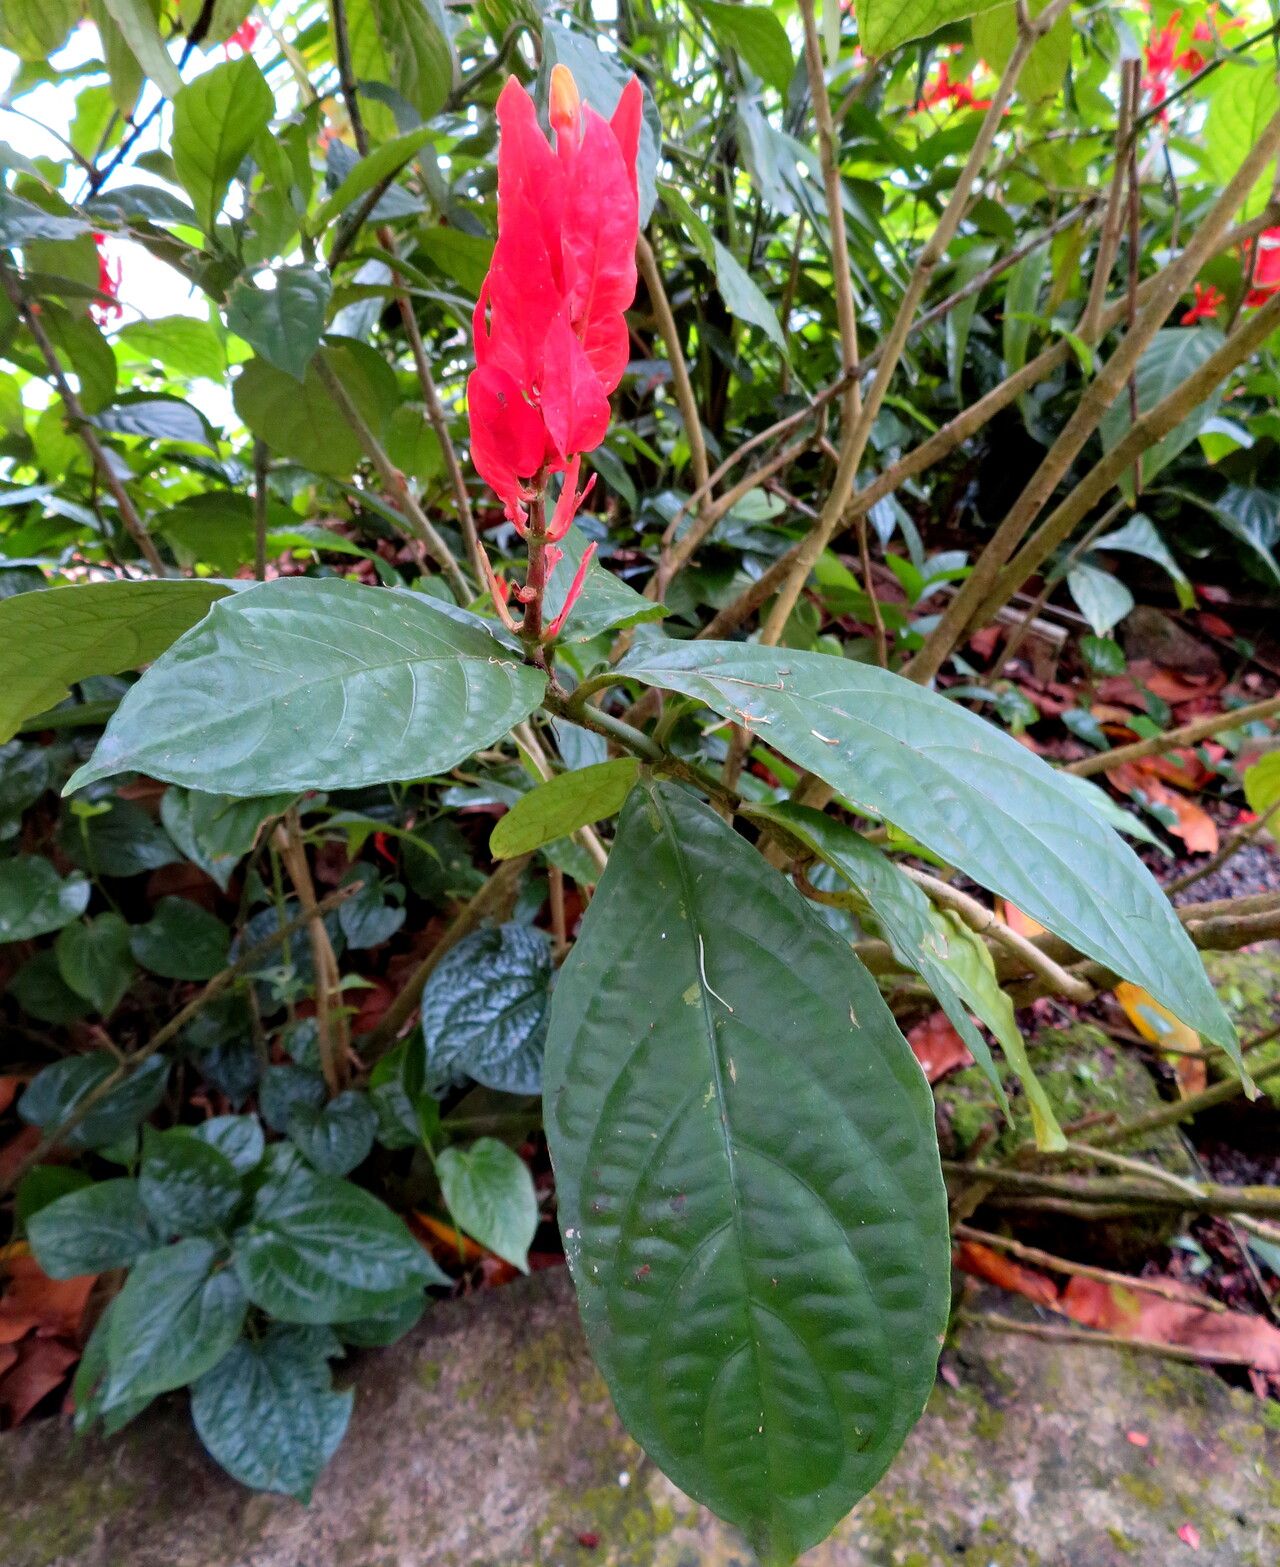
Oh, hello there! Come on in, pull up a chair. I’ve got my favorite mug warmed up for you. Today, we’re diving into the wonderful world of Ruellia chartacea, sometimes called Mexican Petunia, though it’s a bit more refined than some of its weedy cousins. These beauties, with their lovely trumpet-shaped flowers in shades of purple, pink, or white, truly bring a splash of cheerful color to any garden. And the best part? They’re surprisingly easy to share. Growing new plants from existing ones is such a rewarding feeling – it’s like magic, but with soil and sunshine! If you’re new to the gardening game, you’ll be happy to hear that propagating Ruellia is quite beginner-friendly.
When is the Best Time to Start?
For the highest chance of success with your Ruellia propagation, I always aim for the late spring or early summer. This is when the plant is actively growing and has plenty of energy to put into developing new roots. You’ll want to take cuttings from healthy, non-flowering shoots for the best results. Think of it as giving your new little plants the best possible start in life!
Supplies You’ll Need
Gathering your tools beforehand makes the whole process so much smoother. Here’s what I usually have on hand:
- Sharp Pruning Shears or a sharp knife: A clean cut is crucial to prevent disease.
- Rooting Hormone (optional but recommended): This powder or gel can give your cuttings a real boost.
- Well-draining Potting Mix: A good blend of peat moss or coco coir, perlite, and a bit of compost works wonderfully. You want something that won’t stay soggy.
- Small Pots or Seedling Trays: Whatever you have that can hold your cuttings and drainage holes are a must.
- Small Watering Can or Mister: To gently water your new cuttings without disturbing them.
- Plastic Bags or a Clear Dome: To create a humid environment for your cuttings.
Propagation Methods
Ruellia chartacea is a champ when it comes to propagation, and two methods really stand out: stem cuttings and water propagation.
Stem Cuttings: My Go-To
This is my favorite way, and it’s incredibly effective.
- Take Your Cuttings: Select a healthy stem that’s about 4-6 inches long. Look for a stem that has recently finished flowering or is in a vegetative growth phase. Make a clean cut just below a leaf node (where a leaf attaches to the stem).
- Prepare the Cutting: Gently remove the lower leaves, leaving just a couple at the very top. This prevents them from rotting in the soil. If you’re using rooting hormone, dip the cut end into the powder or gel now.
- Potting Up: Fill your small pots with your well-draining potting mix. Make a small hole in the center of the soil with your finger or a pencil.
- Plant the Cutting: Insert the cut end of the stem into the hole, ensuring the leaf node that was closest to the cut end is buried in the soil. Gently firm the soil around the base of the cutting.
- Water and Cover: Water the pot gently to settle the soil. Then, cover the pot with a clear plastic bag, a plastic dome, or place it in a propagation tray. This creates a mini-greenhouse!
Water Propagation: Simple and Satisfying
If you prefer to see the roots form, try this.
- Take Cuttings: Similar to above, take healthy 4-6 inch stem cuttings and remove the lower leaves.
- Place in Water: Fill a small jar or container with clean water. Place the cuttings in the water, making sure that no leaves are submerged. Leaves in the water will rot and can sicken the rest of the cutting.
- Find a Good Spot: Place the container in a bright spot, but out of direct, harsh sunlight.
- Change Water Regularly: Change the water every few days to keep it fresh and prevent stagnation. You’ll start to see tiny roots emerge from the leaf nodes within a week or two!
The “Secret Sauce” (Pro Tips)
Here are a few little tricks I’ve learned over the years that seem to make a difference:
- Don’t Let Leaves Touch the Water: I know I mentioned this for water propagation, but it’s crucial for stem cuttings in pots too. If any leaves touch damp soil for extended periods, they can turn mushy and invite mildew. Pinch them off if they’re getting too close.
- Bottom Heat is Your Friend: If you have a heated propagator mat, using it can significantly speed up root development. It mimics the warmth of spring soil and really gets those roots thinking about growing. I find it helps cuttings root about a week or two faster.
- Be Patient with the Hormone (If Using): Rooting hormone is great, but sometimes a cutting can take its sweet time. Don’t get discouraged if you don’t see immediate results. Sometimes it takes several weeks. Trust the process!
Aftercare & Troubleshooting
Once you see new growth appearing on your cuttings, it’s a good sign that roots have formed.
- Gradual Acclimation: If you used the plastic bag or dome method, gradually introduce your new seedling to open air. Start by lifting the cover for an hour or two each day, increasing the time until they are fully acclimated.
- Regular Watering: Keep the soil consistently moist but not waterlogged. Water when the top inch of soil feels dry to the touch.
- Transplanting: Once your new Ruellia has a good set of roots and a few sets of leaves, you can transplant it into a slightly larger pot with fresh potting mix.
The most common issue you might encounter is rot. This usually happens when the soil is too wet and there isn’t enough air circulation. If a cutting looks limp and mushy, it’s likely a goner. Don’t be too hard on yourself; sometimes it happens! Just clean your pot and try again with a fresh cutting.
Closing Thought
So there you have it! Propagating Ruellia chartacea is a wonderful way to fill your garden with these delightful blooms. Remember to be patient, enjoy the process of watching something grow from a tiny cutting, and don’t be afraid to experiment. Happy planting!
Resource:
https://identify.plantnet.org/k-world-flora/species/Ruellia%20chartacea%20(T.Anderson)%20Wassh./data