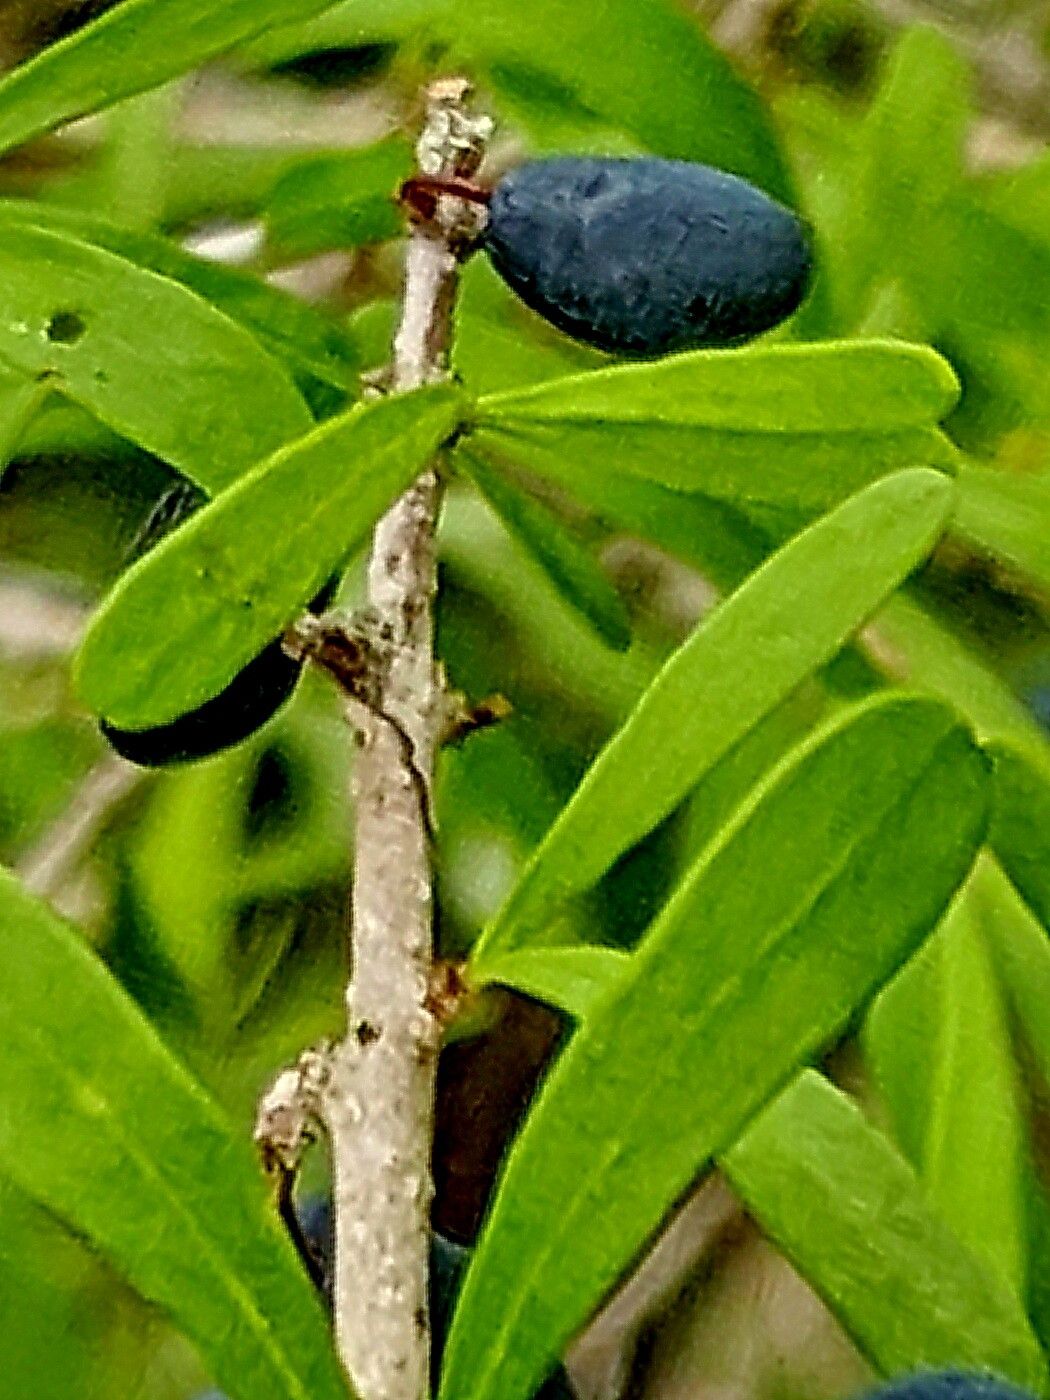
Hello, fellow plant lovers! If you’ve ever admired the graceful, shrubby beauty of Forestiera angustifolia, also known as Texas Privet or Narrowleaf Forestiera, you’re in for a treat. This California native unfurls into a lovely, airy shrub with glossy evergreen leaves and the occasional subtle bloom. It’s a fantastic plant for attracting pollinators and adds a touch of wild, natural elegance to any garden. And the best part? You can easily expand your collection by propagating it yourself!
Now, I’m not going to lie and say it’s as simple as sticking a leaf in water, but propagating Forestiera is absolutely achievable, even for those of you newer to the plant-parenting game. It’s a wonderfully rewarding process to watch a tiny cutting transform into a robust new plant.
The Best Time to Start
For Forestiera angustifolia, I find that late spring to early summer is your golden ticket. This is when the plant is actively growing, and you’ll be taking cuttings from what we call semi-hardwood. This means the stems are neither brand new and flimsy nor fully mature and woody. They have a bit of flexibility but are firm enough to stand up on their own.
Supplies You’ll Need
Gathering your supplies beforehand makes the whole process much smoother. Here’s a handy list:
- Sharp Pruning Shears or a Clean Knife: For making clean cuts.
- Rooting Hormone (Optional but Recommended): A powder or gel to encourage root development.
- Small Pots or Seed Trays: With good drainage holes.
- Potting Mix: A well-draining mix is key. I like to use a blend of peat moss, perlite, and a bit of compost. You can also find commercially available propagation mixes.
- Watering Can or Spray Bottle: For gentle watering.
- Plastic Bags or a Clear Dome: To create a humid environment.
- Labels: So you don’t forget what you’ve planted!
Propagation Methods
The most reliable way to propagate Forestiera angustifolia is through stem cuttings. It’s straightforward and yields great results.
Stem Cuttings:
- Select Your Cuttings: Head out to your Forestiera and find healthy, vigorous stems. Look for wood that snaps cleanly when bent slightly, not one that bends or tears. You want stems that are about 4-6 inches long.
- Make the Cut: Using your clean pruners or knife, make a straight cut just below a leaf node. A leaf node is where a leaf attaches to the stem. This is where the magic happens for root formation.
- Prepare the Cuttings: Gently remove the leaves from the bottom half of the cutting. You want to leave just a couple of leaves at the very top to help the cutting photosynthesize. If the remaining leaves are quite large, you can even snip them in half to reduce water loss.
- Apply Rooting Hormone: Dip the cut end of the stem into your rooting hormone, tapping off any excess. This step is like giving your cutting a little energy boost to get started.
- Plant Your Cuttings: Fill your small pots or trays with your prepared potting mix. Make a little hole in the center with your finger or a pencil.
- Insert the Cuttings: Gently place each cutting into the hole, ensuring that the leaf nodes are buried in the soil. Firm the soil gently around the base of each cutting.
- Water Gently: Water thoroughly but gently, making sure the soil is moist but not waterlogged. A spray bottle is great for this initial watering.
- Create a Humid Environment: This is crucial! Cover your pots loosely with a clear plastic bag or place them under a clear dome. This will trap humidity, which is essential for the cuttings to stay hydrated before they develop their own roots. Make sure the plastic doesn’t touch the leaves too much.
- Find a Suitable Spot: Place your pots in a bright but indirect light location. Avoid direct sun, which can scorch the delicate cuttings.
The “Secret Sauce” (Pro Tips)
Over the years, I’ve picked up a few tricks that really boost success rates.
- The Ice Cube Trick (Sort Of): While not literally ice cubes, what I do recommend is bottom heat. If you have a seedling heat mat, placing your pots on it can significantly speed up root development. The warmth encourages those roots to grow while the top stays cooler.
- Cleanliness is Next to Godliness: This bears repeating. Always use sterilized tools. A quick wipe with rubbing alcohol between cuts can prevent the spread of diseases that could kill your precious cuttings.
- Don’t Be Afraid to Pinch: Once your cuttings have started to root and you see some healthy top growth, pinch off the tip of the main stem. This encourages the plant to branch out, resulting in a bushier, fuller plant.
Aftercare & Troubleshooting
Once you start to see signs of new growth – new leaves emerging from the top – it’s a good indication that roots are forming! This usually takes several weeks.
- Gradual Acclimation: Once roots are established, gradually remove the plastic covering over a week or so to help the young plants adjust to normal humidity levels.
- Consistent Moisture: Continue to keep the soil consistently moist, but not soggy. Overwatering is the quickest way to invite trouble.
- Observe Closely: Keep an eye out for signs of rot. This often looks like blackening at the base of the stem or mushy leaves. If you see this, sadly, that cutting is likely lost. It’s usually a sign of too much moisture and not enough air circulation. The best course of action is usually to discard the affected cutting and try to keep the others drier. You might also see cuttings that simply shrivel up and turn brown – this often means they dried out too much before they could establish roots.
There you have it! Propagating Forestiera angustifolia is a journey of patience and observation. Don’t get discouraged if not every single cutting takes. Gardening is a continuous learning process, and each attempt teaches you something new. So gather your supplies, get your hands dirty, and enjoy the satisfaction of growing your own beautiful Texas Privet! Happy propagating!
Resource:
https://identify.plantnet.org/k-world-flora/species/Forestiera%20angustifolia%20Torr./data