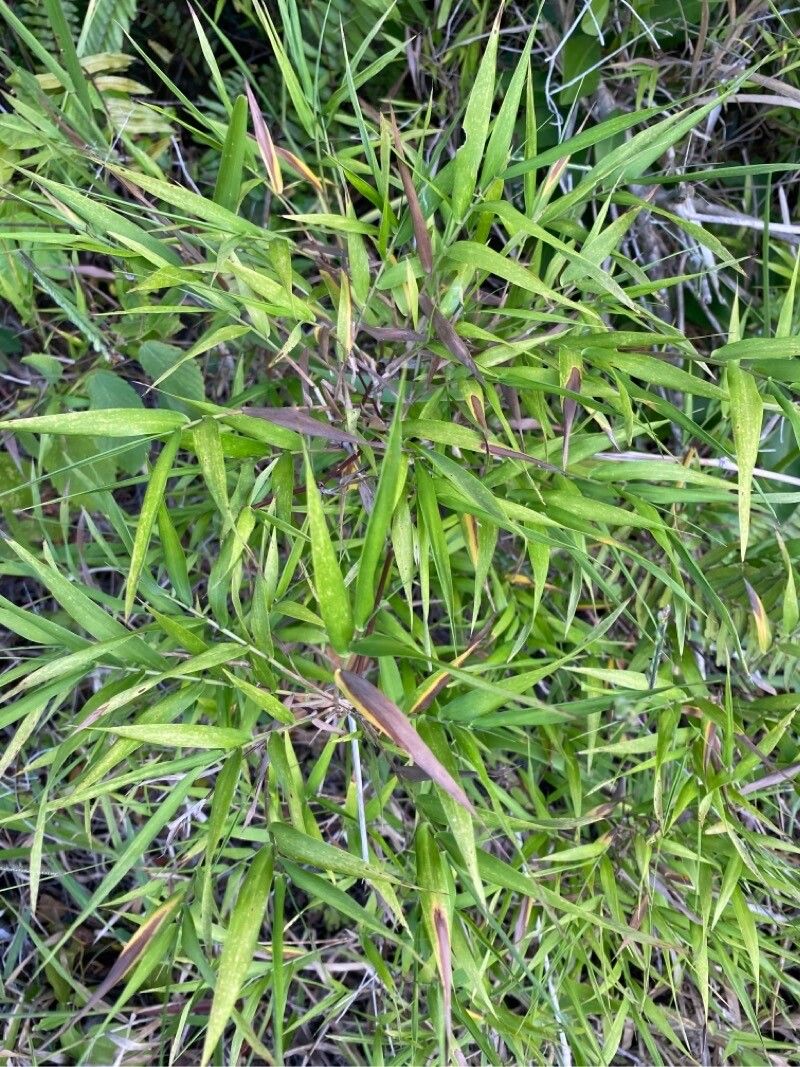
Hello, fellow garden enthusiasts! Today, we’re diving into a plant that brings a touch of graceful movement and lushness to any space: Lasiacis divaricata, often called spreading panic grass. I’ve spent years admiring its airy plumes and how it can transform a planting. If you’ve been captivated by its beauty, you’ll be delighted to know that propagating it is a truly rewarding experience. It’s not the absolute easiest plant for a complete beginner to start with, but with a little patience and the right approach, you can absolutely bring more of this lovely grass into your life!
The Best Time to Start
For the best chance of success, I find that late spring to early summer is the sweet spot for propagating Lasiacis divaricata. This is when the plant is actively growing and has plenty of vigor. You’ll want to focus on taking cuttings from healthy, new growth that is firm but not yet woody. Think of it as harvesting your materials when the plant is at its most energetic.
Supplies You’ll Need
Gathering your tools makes the whole process much smoother. Here’s what you’ll want to have on hand:
- Sharp Pruning Shears or a Blade: Cleanliness is key!
- Rooting Hormone (optional, but recommended): A powder or gel can give your cuttings a helpful boost.
- Potting Mix: A well-draining mix is crucial. I like a blend of peat moss, perlite, and a little bit of compost. You can also buy specific seed-starting or propagation mixes.
- Small Pots or Seed Trays: Ensure they have drainage holes.
- Plastic Bag or Dome: To create a humid environment.
- Watering Can or Mister: Gentle watering is important.
Propagation Methods
Let’s get our hands dirty with two reliable ways to clone your Lasiacis divaricata.
Stem Cuttings
This is my go-to method for most ornamental grasses, and Lasiacis divaricata responds wonderfully.
- Take Your Cuttings: Using your clean shears, select a healthy stem. Aim for cuttings that are 4-6 inches long. Make your cut just below a leaf node (where a leaf attaches to the stem). Remove any lower leaves, leaving just a few at the top.
- Apply Rooting Hormone (if using): Dip the cut end of the stem into your rooting hormone, tapping off any excess.
- Plant Your Cuttings: Fill your pots with the well-draining potting mix. Make a small hole with your finger or a pencil. Carefully insert the cut end of the stem into the hole, ensuring the leaf nodes are below the soil surface. Gently firm the soil around the cutting.
- Water Gently: Water the soil thoroughly but gently. You don’t want to disturb the cutting.
- Create Humidity: Cover the pot with a clear plastic bag or a propagator lid. This traps moisture and keeps the humidity high, which is vital for rooting. Poke a few small holes in the bag for air circulation. Place the pot in bright, indirect light – no direct sun, which can scorch the cuttings and dry out the soil too quickly.
Division
If your Lasiacis divaricata is already a mature clump, division is a fantastic and quick way to get new plants.
- Prepare to Dig: Water your established plant thoroughly a day or two before dividing. This helps reduce transplant shock.
- Unearth the Clump: Carefully dig up the entire plant. You may need a garden fork to gently loosen the soil around the root ball.
- Separate the Roots: Once the plant is out, you can see how the clump is naturally divided. Gently pull the sections apart with your hands. If they are stubborn, you can use a clean, sharp knife or spade to cut through the root ball. Aim for divisions that have plenty of roots and at least one or two shoots.
- Replant Immediately: Prepare new planting locations or pots with good soil. Plant your divisions, watering them in well.
The “Secret Sauce” (Pro Tips)
Here are a couple of tricks I’ve learned over the years that can make a big difference:
- Don’t Let Foliage Touch the Water (for stem cuttings): If your cutting is in water before planting, or if some leaves are submerged in the potting mix, they are more prone to rot. Trim off any leaves that would sit below the soil line or in the water.
- Consider Bottom Heat: While not strictly essential, placing your pots on a heated propagation mat can significantly speed up root development. The warmth encourages the plant to send out roots more enthusiastically. If you don’t have one, a warm spot in your house will still work, it just might take a little longer.
Aftercare & Troubleshooting
Once you see signs of new growth, it’s a great indication that roots are forming.
- Acclimatize: Gradually remove the plastic bag or lid over a week or two to let your new plants adjust to normal humidity levels.
- Watering: Keep the soil consistently moist but not waterlogged. Overwatering is the quickest way to invite trouble.
- Transplanting: Once your new plants have a well-developed root system (you can check by gently lifting a pot to see if roots are circling the bottom), you can transplant them into larger pots or their final garden location.
The most common problem you might encounter is rot. If your cuttings turn black and mushy, it’s likely due to too much moisture and not enough air circulation. If you see this, try to remove the affected cutting immediately and check your watering habits. Don’t get discouraged if a few don’t make it; it’s all part of the learning process!
Propagating Lasiacis divaricata is such a satisfying way to expand your garden. Be patient with your new plants – they take their time to establish. Enjoy the journey, the experimentation, and soon you’ll be surrounded by even more of this beautiful grass! Happy gardening!
Resource:
https://identify.plantnet.org/k-world-flora/species/Lasiacis%20divaricata%20(L.)%20Hitchc./data