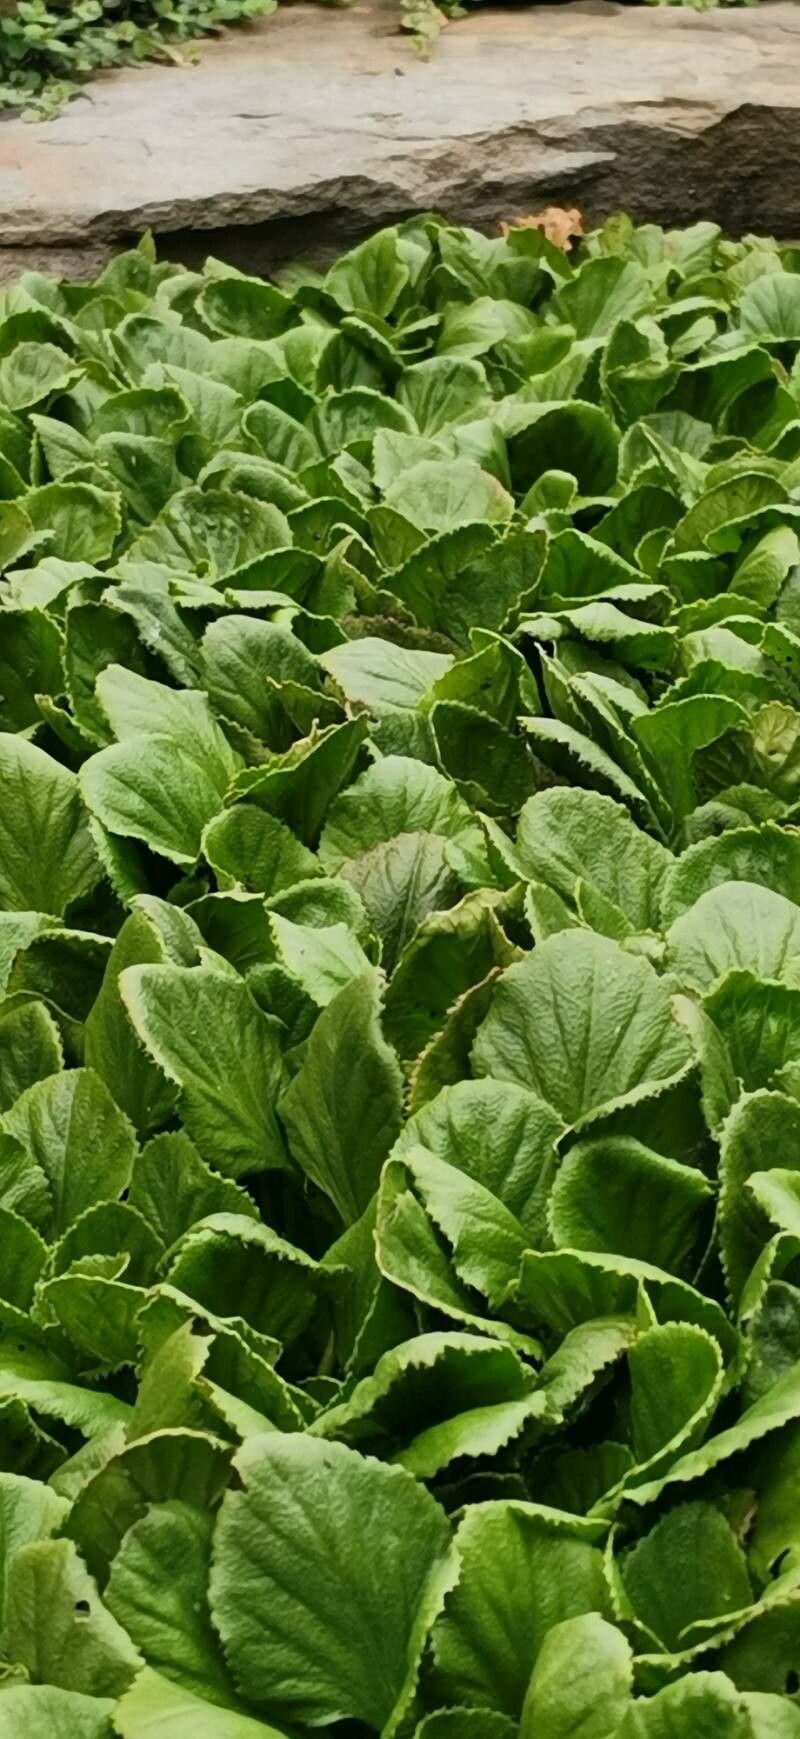
Oh, Gunnera cordifolia! What a magnificent plant. Its dramatic, paddle-shaped leaves can absolutely transform a garden, creating a truly prehistoric feel. If you’ve ever admired a specimen and thought, “I wish I had one of those!” – then propagating your own is an incredibly rewarding journey. And guess what? While they might look a bit intimidating, getting started with Gunnera propagation is surprisingly approachable.
The Best Time to Start
When it comes to multiplying your Gunnera, I’ve found the late spring or early summer is the sweet spot. This is when the plant is really hitting its stride, sending out new growth, and has ample energy to put into developing new roots. Waiting until after the danger of frost has passed is crucial, of course.
Supplies You’ll Need
So, let’s gather your tools! You won’t need a whole lot, and most of it you probably already have in your shed:
- Sharp pruning shears or a clean, sharp knife: For making nice, clean cuts.
- Well-draining potting mix: A good general-purpose mix with some added perlite or sand works wonders.
- Small pots or propagation trays: Whatever you have handy will do.
- Rooting hormone (optional but recommended): This gives those cuttings a real boost.
- Watering can or spray bottle: For keeping things moist.
- A plastic bag or propagator lid: To create a humid environment.
- A small label and marker: For remembering what you’ve planted!
Propagation Methods: Let’s Get Our Hands Dirty!
There are a couple of really effective ways to propagate Gunnera cordifolia. My favorite, and often the most successful for beginners, is stem cuttings.
- Select Your Cuttings: Look for healthy, vigorous stems coming from the main crown of your Gunnera. You want pieces that are about 4-6 inches long and have at least two or three leaf nodes. You can even take some with a bit of the older stem attached.
- Make the Cut: Using your sharp pruning shears or knife, make a clean cut just below a leaf node. Repeat this for as many cuttings as you want to try.
- Prepare the Cuttings: Gently remove the lower leaves from your cuttings, leaving just a couple of leaves at the top. If the leaves are very large, you can even cut them in half to reduce water loss.
- Apply Rooting Hormone (Optional): Dip the cut end of each stem into your rooting hormone, tapping off any excess. This step really does speed things up and increases your success rate.
- Pot Them Up: Fill your small pots with your well-draining potting mix. Make a small hole in the center of the soil and insert the cut end of your Gunnera stem.
- Firm the Soil: Gently firm the soil around the stem to ensure good contact.
- Water Gently: Water your cuttings thoroughly, but be careful not to waterlog them.
- Create a Humid Environment: Place your pots into a plastic bag or cover them with a propagator lid. This traps humidity, which is vital for cuttings to root.
- Find a Warm Spot: Place your pots in a bright location, but out of direct, hot sunlight. A greenhouse bench or a sunny windowsill that doesn’t bake is perfect.
Another method, if you’re feeling brave and have a mature plant, is division. This is best done in early spring just as new growth is emerging.
- Excavate Carefully: Gently dig around the base of your Gunnera, exposing its rhizomatous root system. Be mindful of its size!
- Divide the Rhizome: Using a sharp spade or trowel, carefully divide the main root ball into smaller sections. Each section should have at least one healthy growth bud.
- Replant Immediately: Plant each divided section directly into its new location in the garden or into a large container. Water well.
The “Secret Sauce”
Here are a couple of little tricks I’ve learned over the years that can make a big difference:
- Don’t Drown Them: When you water your potted cuttings, make sure the soil is moist, not soggy. If water is constantly pooling, you’re inviting rot. I sometimes use a spray bottle for the first week or so to keep the humidity high without waterlogging the soil.
- Bottom Heat is Your Friend: If you can, place your pots on a gentle heat mat. This warmth from below encourages root development much faster than warmth from above. It’s like giving them a cozy heated blanket.
Aftercare & Troubleshooting
Once you spot those little white roots starting to emerge from the drainage holes (this can take anywhere from a few weeks to a couple of months, so be patient!), it’s time to transition.
Gradually acclimate your new Gunnera to its new environment by opening the plastic bag or propagator lid a little more each day over a week. Once they’re looking perky and have a good root system, you can transplant them into slightly larger pots. Continue to keep the soil consistently moist but not waterlogged.
The most common issue you might encounter is rot. If you see your cuttings looking mushy or turning black at the base, it’s usually a sign of too much moisture and not enough air circulation. Sadly, once rot sets in, it’s hard to save them. Don’t be discouraged if you lose a few; it happens to all of us!
A Little More Patience
Propagating Gunnera cordifolia is a beautiful way to share this incredible plant. Don’t rush the process. Enjoy watching those little baby plants emerge and grow. Nature works on its own schedule, and with a little care and patience, you’ll soon have your own magnificent Gunnera to show off. Happy gardening!
Resource:
https://identify.plantnet.org/k-world-flora/species/Gunnera%20cordifolia%20(Hook.f.)%20Hook.f./data