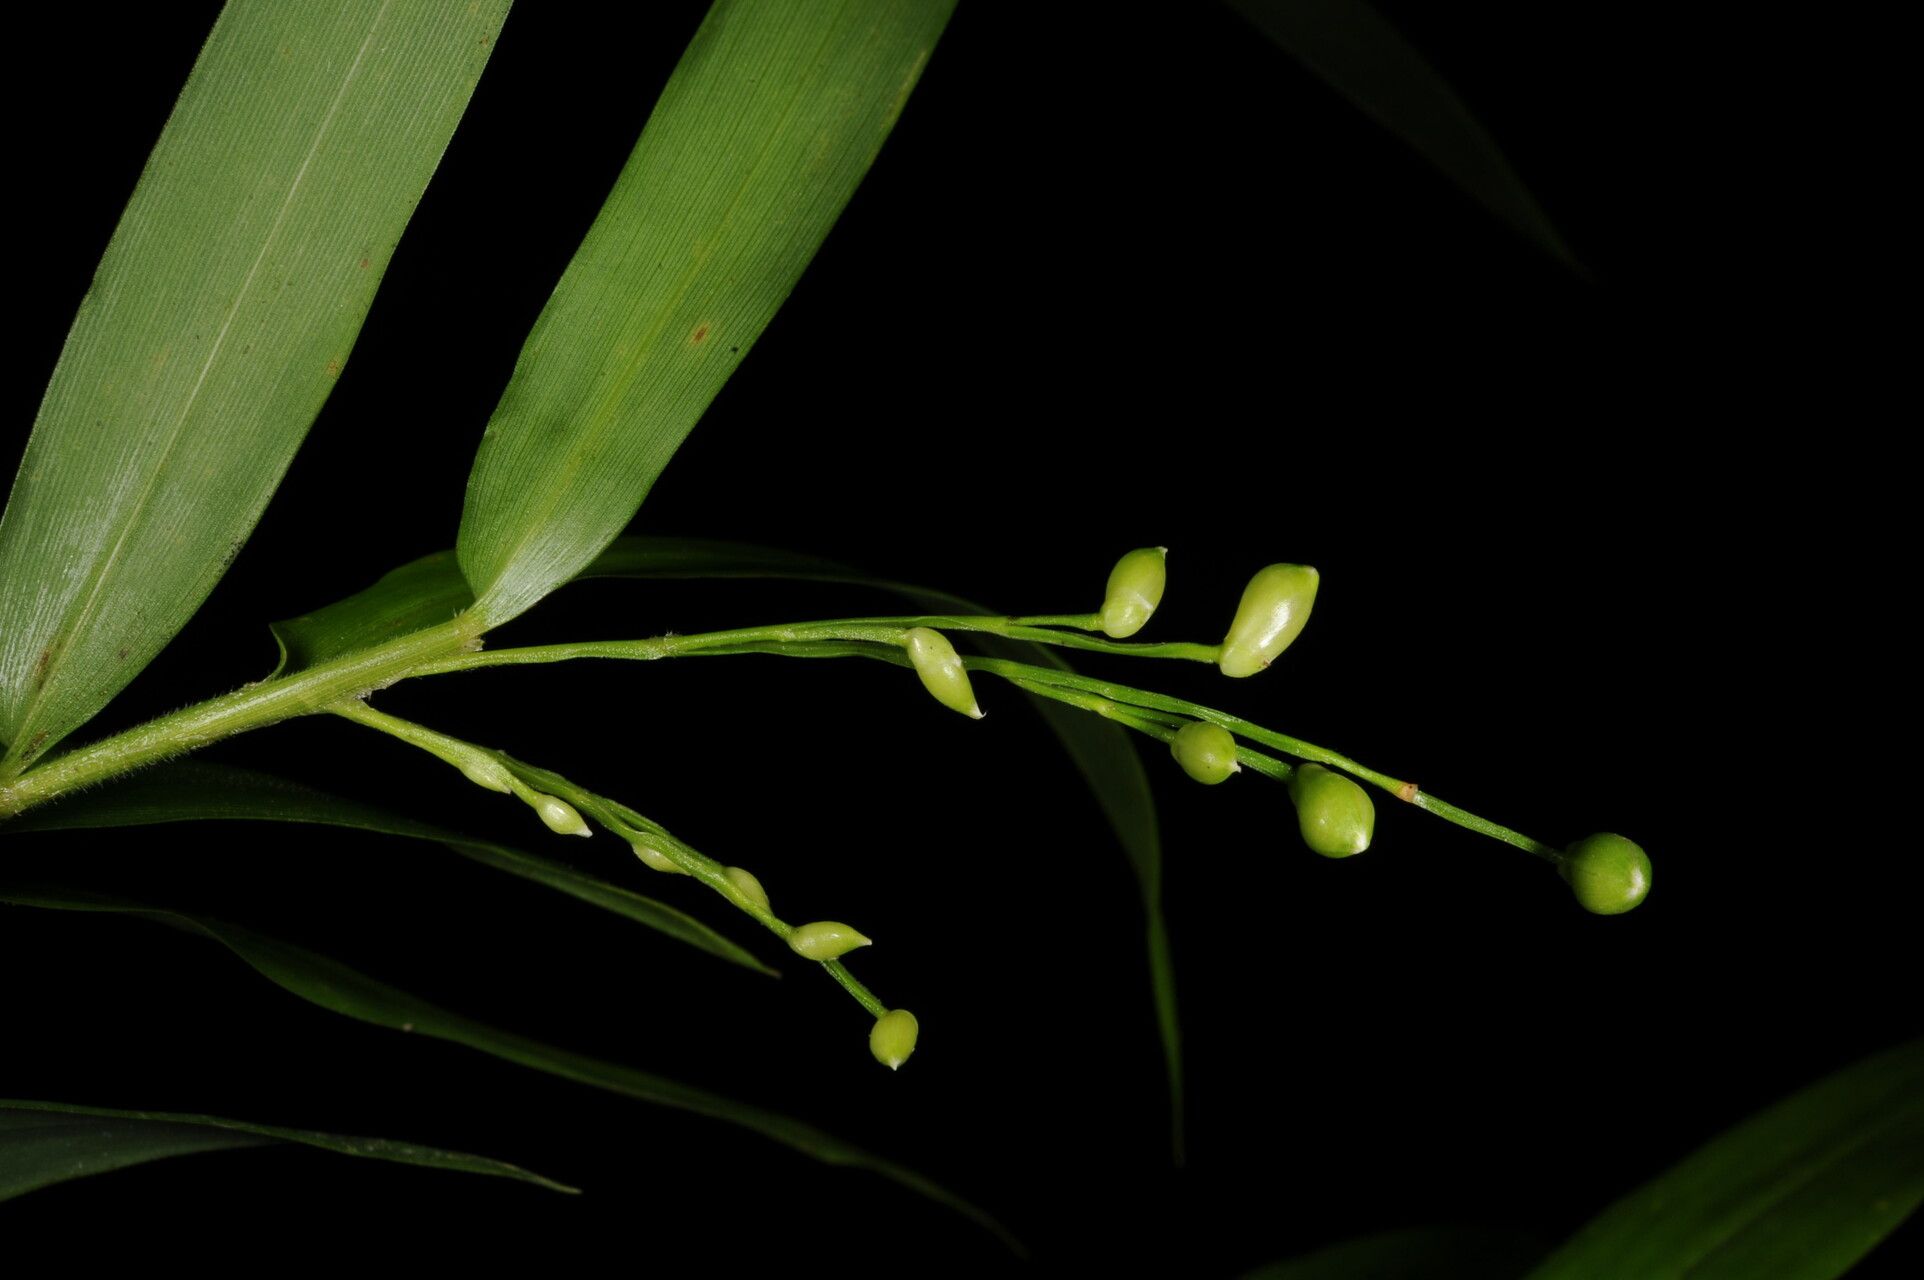
Hey there, fellow plant lovers! I’m so excited to chat with you today about a truly special grass. If you’re anything like me, you’ve probably admired Lasiacis rugelii, sometimes called Florida switchgrass or Rugel’s grass, for its striking architectural form and graceful, arching foliage. It brings such a unique texture to the garden, a bit wild and wonderfully tropical without demanding too much. And let me tell you, propagating this beauty is incredibly rewarding. Don’t let grasses intimidate you; while they have their quirks, Lasiacis rugelii is surprisingly amenable, even for those just dipping their toes into propagation waters.
The Best Time to Start
For the highest success rates with Lasiacis rugelii, I always aim for late spring or early summer. This is when the plant is actively growing, full of vigor. The warmth and increasing daylight hours give cuttings the best chance to establish themselves before the cooler weather sets in. You can also try in early fall, but you’ll need to be extra vigilant about winter conditions for any new starts.
Supplies You’ll Need
Gathering your tools beforehand makes the whole process smoother. Here’s what I usually have on hand:
- Sharp, clean pruning shears or a sharp knife: Cleanliness is paramount to prevent disease.
- Rooting hormone (optional but helpful): A powdery or gel form can boost rooting speed.
- Well-draining potting mix: A blend of perlite, coarse sand, and good-quality potting soil is ideal. You want it to drain like a sieve!
- Small pots or trays: Clean containers with drainage holes are a must.
- Plastic bags or a propagation dome: This helps maintain humidity around your cuttings.
- Watering can or spray bottle: For gentle watering.
- Labeling stakes: So you don’t forget what you planted where!
Propagation Methods
There are a couple of ways to get more Lasiacis rugelii, but my favorite for its reliability and ease is stem cuttings.
Stem Cuttings: My Go-To
-
Take Your Cuttings: In late spring or early summer, select healthy, vigorous stems. Look for new growth that’s semi-hardened – meaning it’s not brand new and floppy, but not old and woody either. Using your clean pruning shears, take cuttings about 4-6 inches long. Make your cut just below a leaf node (where a leaf attaches to the stem).
-
Prepare the Cuttings: Gently remove the lower leaves from the cutting, leaving just a few at the top. This prevents them from rotting when buried in the soil and reduces moisture loss. If the leaves are very large, you can even trim them in half.
-
Apply Rooting Hormone (Optional): If you’re using rooting hormone, dip the cut end of the stem into the powder or gel, tapping off any excess.
-
Plant Your Cuttings: Fill your small pots with your well-draining potting mix. Make a small hole in the center with your finger or a pencil. Insert the cut end of the Lasiacis rugelii cutting into the hole, ensuring the leaf nodes that were buried are now covered by soil. Gently firm the soil around the cutting.
-
Water Gently: Water the soil thoroughly but gently. You don’t want to dislodge your cuttings.
-
Create a Humid Environment: Cover the pots with a plastic bag or place them under a propagation dome. Make sure the leaves don’t touch the plastic if possible; this can encourage rot. Place the pots in a location that enjoys bright, indirect light. Avoid direct sun, which can scorch the young cuttings.
Division: For Established Plants
If you have a mature clump of Lasiacis rugelii, division is another excellent method, especially in early spring as growth begins.
-
Examine Your Plant: Carefully dig up the entire plant or a portion of it.
-
Separate the Roots: Gently pull the root ball apart. You can use your hands or a sharp trowel if the roots are dense. Aim to get sections that have both roots and healthy shoots.
-
Replant Immediately: Plant these divisions into your prepared, well-draining soil as you would a new plant. Water them in well.
The “Secret Sauce” (Pro Tips)
Here are a couple of things I’ve learned over the years that can really make a difference:
- Don’t be afraid of a little warmth: Bottom heat is a game-changer for rooting. Placing your pots on a heat mat specifically designed for propagation can significantly speed up root development. It mimics the warmth of the soil in nature. You’ll often see roots form much faster this way.
- Patience with the node: When planting cuttings, remember that roots often emerge from the leaf nodes. Make sure at least one or two nodes are buried beneath the soil surface. This is where the magic happens!
Aftercare & Troubleshooting
Once you see new growth emerging from your cuttings, it’s a good sign that roots are forming! Gradually acclimate your new plants to less humid conditions by opening the plastic bag or dome a little each day over a week or so. Continue to water them gently, keeping the soil consistently moist but not waterlogged.
The most common sign of trouble is rot. If your cuttings turn mushy and black, or if the soil stays constantly soggy, it’s often a sign of too much moisture or inadequate drainage. Pull out any affected cuttings, ensure your soil mix is sharp, and water less frequently. Brown, crispy leaves usually indicate the cutting has dried out too much; try to maintain that humidity a bit better.
A Warm Encouragement
Propagating Lasiacis rugelii is a wonderful journey of patience and observation. Don’t get discouraged if every single cutting doesn’t make it; that’s part of the learning process! Celebrate the successes, learn from the challenges, and most importantly, enjoy the satisfaction of growing your own beautiful grasses. Happy propagating!
Resource:
https://identify.plantnet.org/k-world-flora/species/Lasiacis%20rugelii%20(Griseb.)%20Hitchc./data