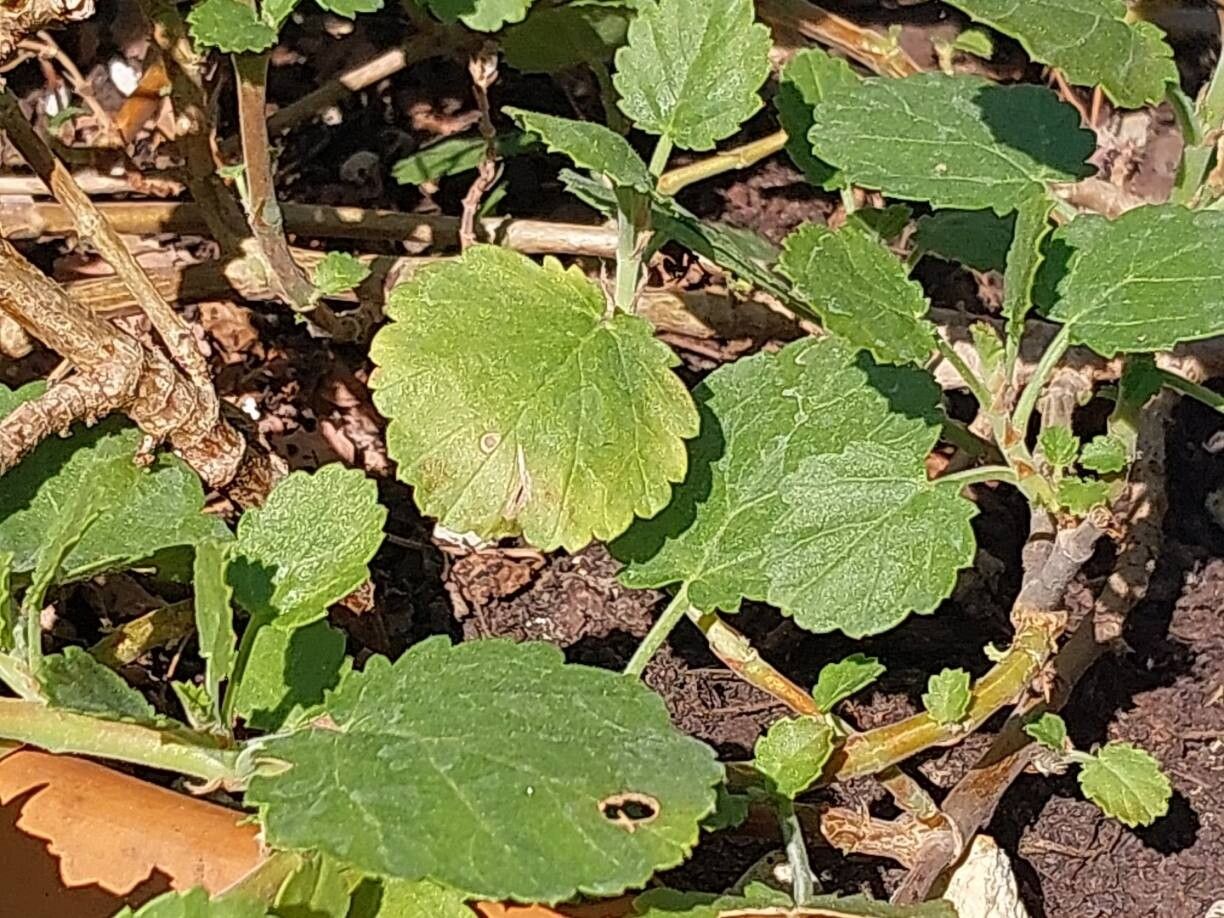
Hello, fellow green thumbs! Today, we’re diving into the wonderful world of Pelargonium betulinum, or as many of us affectionately call it, the Dwarf White Pelargonium. This charming shrub, with its delicate white flowers and deeply lobed, aromatic leaves, is a true delight in any garden or windowsill. And the best part? It’s surprisingly easy and incredibly rewarding to propagate! If you’re just starting your plant journey, you’re in luck. This little gem is quite forgiving, making it a fantastic choice for beginners eager to expand their collection.
The Best Time to Start
For the absolute highest success rate with Pelargonium betulinum, I always recommend propagating in late spring or early summer. This is when the plant is actively growing and has plenty of energy to put into developing new roots. You’ll want to take cuttings from healthy, non-flowering stems. Think of it as tapping into the plant’s vibrant spring and early summer energy!
Supplies You’ll Need
Gathering your tools beforehand makes the process so much smoother. Here’s what I always have on hand:
- Sharp, clean pruning shears or a sharp knife: To make clean cuts.
- Potting mix: A well-draining mix is crucial. I usually go for a blend of perlite and peat moss (about 50/50), or a good quality seed starting mix.
- Small pots or seedling trays: With good drainage holes, of course!
- Rooting hormone (optional but recommended): This can give your cuttings a helpful boost. Gel formulas are easy to use.
- Watering can or spray bottle: For gentle watering.
- A sunny spot: Where your new cuttings can receive bright, indirect light.
- A plastic bag or propagation dome (optional): To create a humid microclimate.
Propagation Methods
Pelargonium betulinum is a champion of stem cuttings. It’s straightforward and usually yields excellent results.
Stem Cuttings:
- Take the Cutting: Using your clean shears, snip a healthy, non-flowering stem from your parent plant. Aim for pieces that are about 4-6 inches long. Make your cut just below a leaf node (where a leaf attaches to the stem).
- Prepare the Cutting: Gently remove the lower leaves, leaving just a few at the top. This prevents them from rotting when you plant. If there are any flower buds starting to form, pinch those off too.
- Apply Rooting Hormone (Optional): Dip the cut end of the stem into your rooting hormone, tapping off any excess.
- Plant the Cutting: Fill your small pots with your chosen potting mix. Make a small hole with your finger or a pencil. Insert the cut end of the Pelargonium cutting into the hole, ensuring the leaf nodes are just covered by the soil. Gently firm the soil around the stem.
- Water Gently: Water the soil thoroughly but avoid waterlogging. You want the soil to be consistently moist, not soggy.
- Create a Humid Environment (Optional): If you have a propagation dome, place it over the pot. Alternatively, you can cover the pot with a clear plastic bag, making sure the leaves don’t touch the plastic. This helps to retain moisture.
- Provide Light: Place your pots in a bright location that receives indirect sunlight. Direct sun can scorch young cuttings.
The “Secret Sauce” (Pro Tips)
After years of whispering to my plants and observing their little quirks, a few things stand out for Pelargonium betulinum propagation:
- Let those cuttings “callus over” slightly: Before dipping in rooting hormone and planting, I like to let the cut end sit out in the air for a few hours, or even overnight. It helps the cut surface to toughen up a bit, which can reduce the risk of rot.
- Bottom heat is your friend: If you can, using a propagator with a heat mat can significantly speed up root development. Pelargoniums just love a bit of warmth from below! It mimics the conditions they’d find on a warm forest floor, encouraging those roots to push out.
- Don’t overwater, ever! This is probably the most common mistake. It’s better to have slightly dry soil that you can water than soggy soil that’s breeding rot. The goal is consistently moist, not wet.
Aftercare & Troubleshooting
Once your cuttings have developed roots – you’ll usually see new leaf growth or feel resistance when you gently tug on the stem – it’s time for continued care.
- Gradually Acclimate: If you used a plastic bag or dome, start by removing it for a few hours each day, then leave it off completely. This helps the new plant adjust to normal humidity.
- Move to Slightly Larger Pots: Once the roots are well-established, you can transplant them into slightly larger pots with fresh potting mix.
- Watering: Water when the top inch of soil feels dry to the touch.
- Troubleshooting: The most common issue is rot. If you see your cutting turning black and mushy, it’s usually a sign of too much moisture and not enough airflow. If this happens, pull out the offending cutting and try again, making sure your soil is well-draining and you’re not overwatering. Small, wilting leaves can also indicate underwatering, but don’t panic – a good watering usually perks them right up.
A Bit More Patience, A Lot More Joy
Propagating Pelargonium betulinum is a journey, and like any good journey, it takes a little patience. Don’t be discouraged if your first few attempts aren’t perfect. Each new plant you grow is a little victory, a testament to your care and attention. So grab those shears, enjoy the process, and get ready to welcome some beautiful new additions to your plant family! Happy growing!
Resource:
https://identify.plantnet.org/k-world-flora/species/Pelargonium%20betulinum%20(L.)%20L’Hér./data