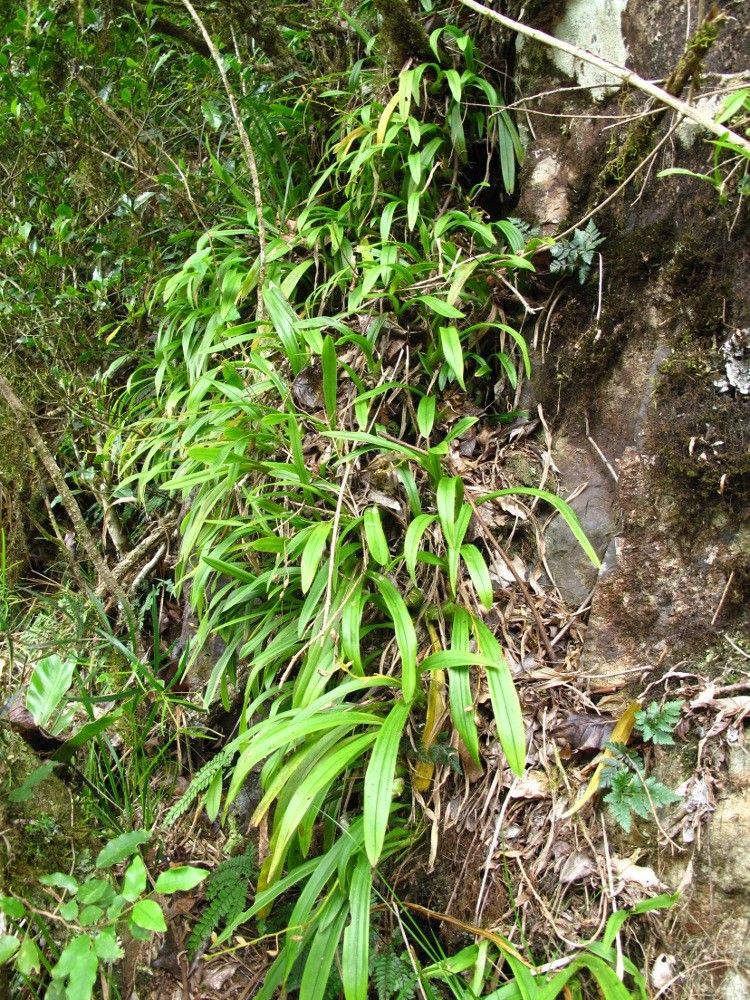
Hello, fellow plant lovers! I’m so excited to talk to you today about a little gem that’s been capturing my heart lately: Liparis phalacrocorax, often affectionately nicknamed the “Ghost Orchid” of its genus. Its ethereal white blooms and delicate, almost translucent leaves are truly something special. Propagating it can feel like a special kind of magic, and trust me, it’s a journey worth taking. Now, I’ll be honest, Liparis phalacrocorax isn’t the most straightforward plant for absolute beginners, but with a little patience and attention, you’ll absolutely get the hang of it.
The Best Time to Start
For this particular orchid, the sweetest spot to begin propagation is during its active growing season. This usually translates to spring and early summer. You’ll see the most vigorous new growth then, which gives your cuttings the best chance to establish themselves quickly. Avoid propagating when the plant is resting or actively flowering; it needs all its energy for growth and bloom, not for making new babies!
Supplies You’ll Need
Before we get our hands dirty, let’s gather our tools. You won’t need anything too exotic, just the usual suspects you’d find in a well-loved potting shed:
- Sharp, sterile pruning shears or a clean knife: Crucial for making clean cuts and preventing disease.
- Orchid bark mix (fine grade): A well-draining potting medium is absolutely vital. I like a mix that includes a good amount of fir bark and perlite.
- Small pots or propagation trays: Anything that can hold your bark mix and allow for good air circulation. Old yogurt containers with drainage holes poked in the bottom work in a pinch!
- Rooting hormone (optional but recommended): A little powdered or gel hormone can give your cuttings a significant boost.
- Clear plastic bag or propagation dome: To create a humid microclimate.
- Spray bottle: For misting.
- Sphagnum moss (long-fibered): This can be great for retaining a bit of moisture without waterlogging.
Propagation Methods
Liparis phalacrocorax is often propagated through division or by taking keikis. Keikis are essentially baby plants that form on the mother plant, and they are like little magic wands for propagation!
Method 1: Keiki Propagation
This is my absolute favorite way to multiply my Liparis beauties.
- Identify a Keiki: Look for a small plantlet with its own leaves and, ideally, tiny roots emerging from its base. These usually form near the base of the mother plant or sometimes along the stem.
- Prepare Your Tools: Make sure your pruning shears or knife are sterilized. This is non-negotiable!
- Carefully Detach: Gently slice the keiki away from the mother plant, making sure to get a clean cut that includes as much of its base as possible. If the keiki has several roots, you’re in for a treat! If it only has tiny nubbins or no visible roots yet, don’t despair.
- Pot It Up: Place the keiki in a small pot filled with your fine-grade orchid bark mix. If you’re using rooting hormone, dip the cut end of the keiki into it before potting.
- Create Humidity: Gently mist the bark mix and then place the pot inside a clear plastic bag or under a propagation dome. This creates that humid environment they love. Make sure the leaves don’t touch the sides or the top of the bag.
Method 2: Division (if your plant is mature and has multiple pseudobulbs)
If your Liparis has grown into a nice clump with several distinct pseudobulbs (those swollen stem bases), you can divide it.
- Gently Remove from Pot: Carefully take the entire plant out of its pot.
- Inspect the Roots: Gently tease apart the roots to see where the natural divisions occur. Look for sections with their own healthy pseudobulbs and roots.
- Make the Cut: Using your sterilized shears, carefully cut between the pseudobulbs, ensuring each section has at least one or two healthy pseudobulbs and plenty of roots.
- Pot Each Division: Pot each divided section into its own container with fresh orchid bark mix.
- Wait and Watch: After potting divisions, I like to give them a gentle watering and then let them settle in without too much disturbance for a few weeks before resuming regular care.
The “Secret Sauce” (Pro Tips)
Here are a few things I’ve learned over the years that seem to make all the difference:
- Don’t Drown Your Babies: When you’re misting inside the plastic bag or dome, be judicious. You want humidity, not soggy roots. Allow the bark mix to dry out slightly between mistings. Too much moisture is the fastest way to invite rot.
- Bottom Heat is Your Friend: If you have a seedling heat mat, placing your propagation tray or pots on it can work wonders. Gentle bottom heat encourages root development and speeds up the process significantly. Keep the temperature around 70-75°F (21-24°C).
- Patience is Key: Liparis can be a bit slow to show signs of new growth. Don’t be discouraged if you don’t see new leaves or roots for several weeks, or even a couple of months. Observe for subtle signs of life like tiny new roots peeking out or a slight plumpness in the pseudobulbs. Resist the urge to constantly dig them up to check!
Aftercare & Troubleshooting
Once you see signs of new roots or leaves emerging, you’re on your way! Continue to keep the environment humid and slowly acclimate the new plant to normal room humidity. You can gradually open the plastic bag or dome a little each day over a week or two.
The most common issue you’ll face is rot. If you see your cutting turning mushy, blackening, or becoming translucent and slimy, it’s likely rot. This is almost always a sign of too much moisture and/or poor air circulation. Unfortunately, if this happens, it’s usually best to discard the affected cutting to prevent it from spreading.
A Encouraging Closing
Propagating Liparis phalacrocorax is a wonderfully rewarding experience. It’s a chance to create more of these magical plants and to deepen your understanding of their needs. Be patient with yourself and with the plants. Observe, learn, and don’t be afraid to experiment a little. Happy growing, and may your Liparis thrive!
Resource:
https://identify.plantnet.org/k-world-flora/species/Liparis%20phalacrocorax%20N.Hallé/data