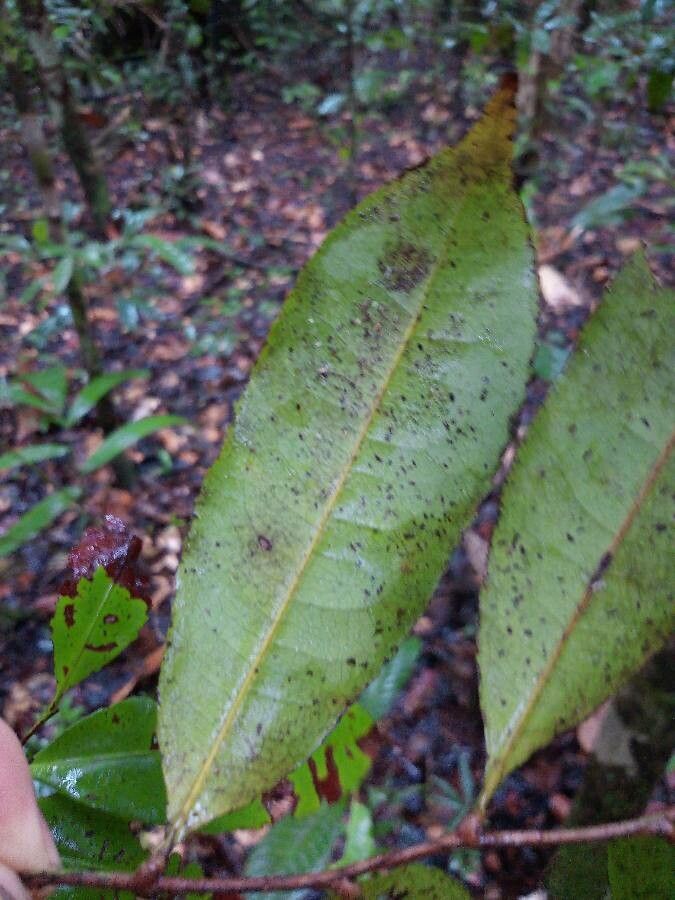
Hello fellow plant lovers! Today, I want to chat about a truly special plant: Sacoglottis cydonioides. If you’re looking for something a little unique, a plant that brings a striking architectural presence to your indoor jungle, then this might be the one for you. Its glossy, deep green leaves offer a wonderful contrast to softer foliage, and there’s a real satisfaction in coaxing a new life from an existing one.
Now, about propagation. Is it one of those plants you can just snap a piece off and have it grow? Well, it’s not quite that straightforward, but don’t let that deter you! With a little attention and the right approach, you can absolutely be successful. It’s a rewarding challenge, and I’m here to guide you through it.
The Best Time to Start
When it comes to our Sacoglottis, you’ll find the highest success rates when you propagate during its active growing season. For most of us, this means spring and early summer. The plant is bursting with energy then, and a cutting has a better chance of forming roots quickly before cooler, darker days set in. Aim for when the plant is actively producing new growth, but before it really starts to slow down for the year.
Supplies You’ll Need
Gathering your tools beforehand makes the whole process smoother. Here’s what I usually have on hand:
- Sharp Pruning Shears or a Clean Knife: Sterilize them with rubbing alcohol to prevent disease.
- Potting Mix: A well-draining mix is crucial. I like a blend of peat moss or coco coir, perlite, and a bit of orchid bark or coarse sand.
- Small Pots or Seed Starting Trays: Clean ones, of course!
- Rooting Hormone (Optional but Recommended): This can significantly boost your success, especially with slightly trickier cuttings.
- Small Pebbles or Perlite: To help with drainage in the pots.
- Clear Plastic Bag or Dome: To create a humid environment for your cuttings.
- Watering Can with a Fine Rose: For gentle watering.
Propagation Methods
Sacoglottis cydonioides is typically propagated through stem cuttings. It’s a reliable method that usually yields good results.
Stem Cuttings
- Select a Healthy Stem: Look for a semi-hardwood cutting, meaning a stem that isn’t brand new and soft, but also not old and woody. It should be firm but still bendable. Aim for cuttings that are about 4-6 inches long.
- Make the Cut: Using your sterilized shears or knife, make a clean cut just below a leaf node. A leaf node is where a leaf attaches to the stem, and it’s where roots are most likely to form.
- Prepare the Cutting: Gently remove the lower leaves from the stem, leaving just a few at the top. If the remaining leaves are very large, you can even cut them in half to reduce water loss through transpiration.
- Apply Rooting Hormone (If Using): Dip the cut end of the stem into the rooting hormone powder or gel, tapping off any excess.
- Plant the Cutting: Fill your small pot or tray with your well-draining potting mix. Make a small hole with your finger or a pencil. Gently insert the cut end of the stem into the hole, ensuring at least one leaf node is below the soil surface. Firm the soil gently around the stem.
- Water Gently: Water the soil lightly, just enough to moisten it thoroughly.
Water Propagation (Alternative)
While I prefer soil for Sacoglottis, you can try water propagation.
- Follow steps 1-3 above.
- Place the cuttings in a clean jar or vase filled with water.
- Ensure that no leaves are submerged below the waterline. This is crucial to prevent rot. Change the water every few days.
- Once roots have formed (they usually take a few weeks), you can then carefully transplant them into a well-draining potting mix.
The “Secret Sauce” (Pro Tips)
Here are a couple of tricks I’ve learned over the years that can make a real difference:
- Bottom Heat is Your Friend: If you have a heated propagator mat or can place your pots on top of a gently warmed surface (like a cable that’s not too hot), it can significantly speed up root development. These plants often appreciate a little extra warmth from below.
- Don’t Overwater! This is probably the most common pitfall. Cuttings don’t have established roots yet to take up a lot of water, so they are very susceptible to rot in soggy conditions. Let the top inch of soil dry out slightly between waterings. It’s better to underwater than overwater.
Aftercare & Troubleshooting
Once your cuttings are planted, the goal is to keep them consistently moist but not waterlogged. Mist the leaves occasionally if you notice them looking a bit droopy, and cover the pot with a clear plastic bag or dome to create that essential humid environment. Keep them in a bright spot, but out of direct sunlight, which can scorch the delicate cuttings.
You’ll know your cutting is happy when you see new leaf growth. This is a strong sign that roots have formed. Be patient – it can take anywhere from a few weeks to a couple of months depending on conditions.
The most common sign of trouble is rot, which will manifest as a mushy, black stem at the soil line. If you see this, unfortunately, that cutting is likely lost. Prevention is key here: ensure excellent drainage, don’t let the pot sit in water, and avoid overwatering. If a leaf turns yellow, it’s not necessarily a disaster; sometimes, the cutting sheds older leaves as it conserves energy for root growth.
A Little Patience Goes a Long Way
Seeing a new plant sprout from a piece of an old one is a truly magical experience. Don’t get discouraged if your first few attempts aren’t perfect. Every gardener has had their share of failures, and honestly, that’s where we learn the most! Keep at it, enjoy the process of nurturing these little green babies, and soon you’ll have even more of these beautiful Sacoglottis to admire. Happy propagating!
Resource:
https://identify.plantnet.org/k-world-flora/species/Sacoglottis%20cydonioides%20Cuatrec./data