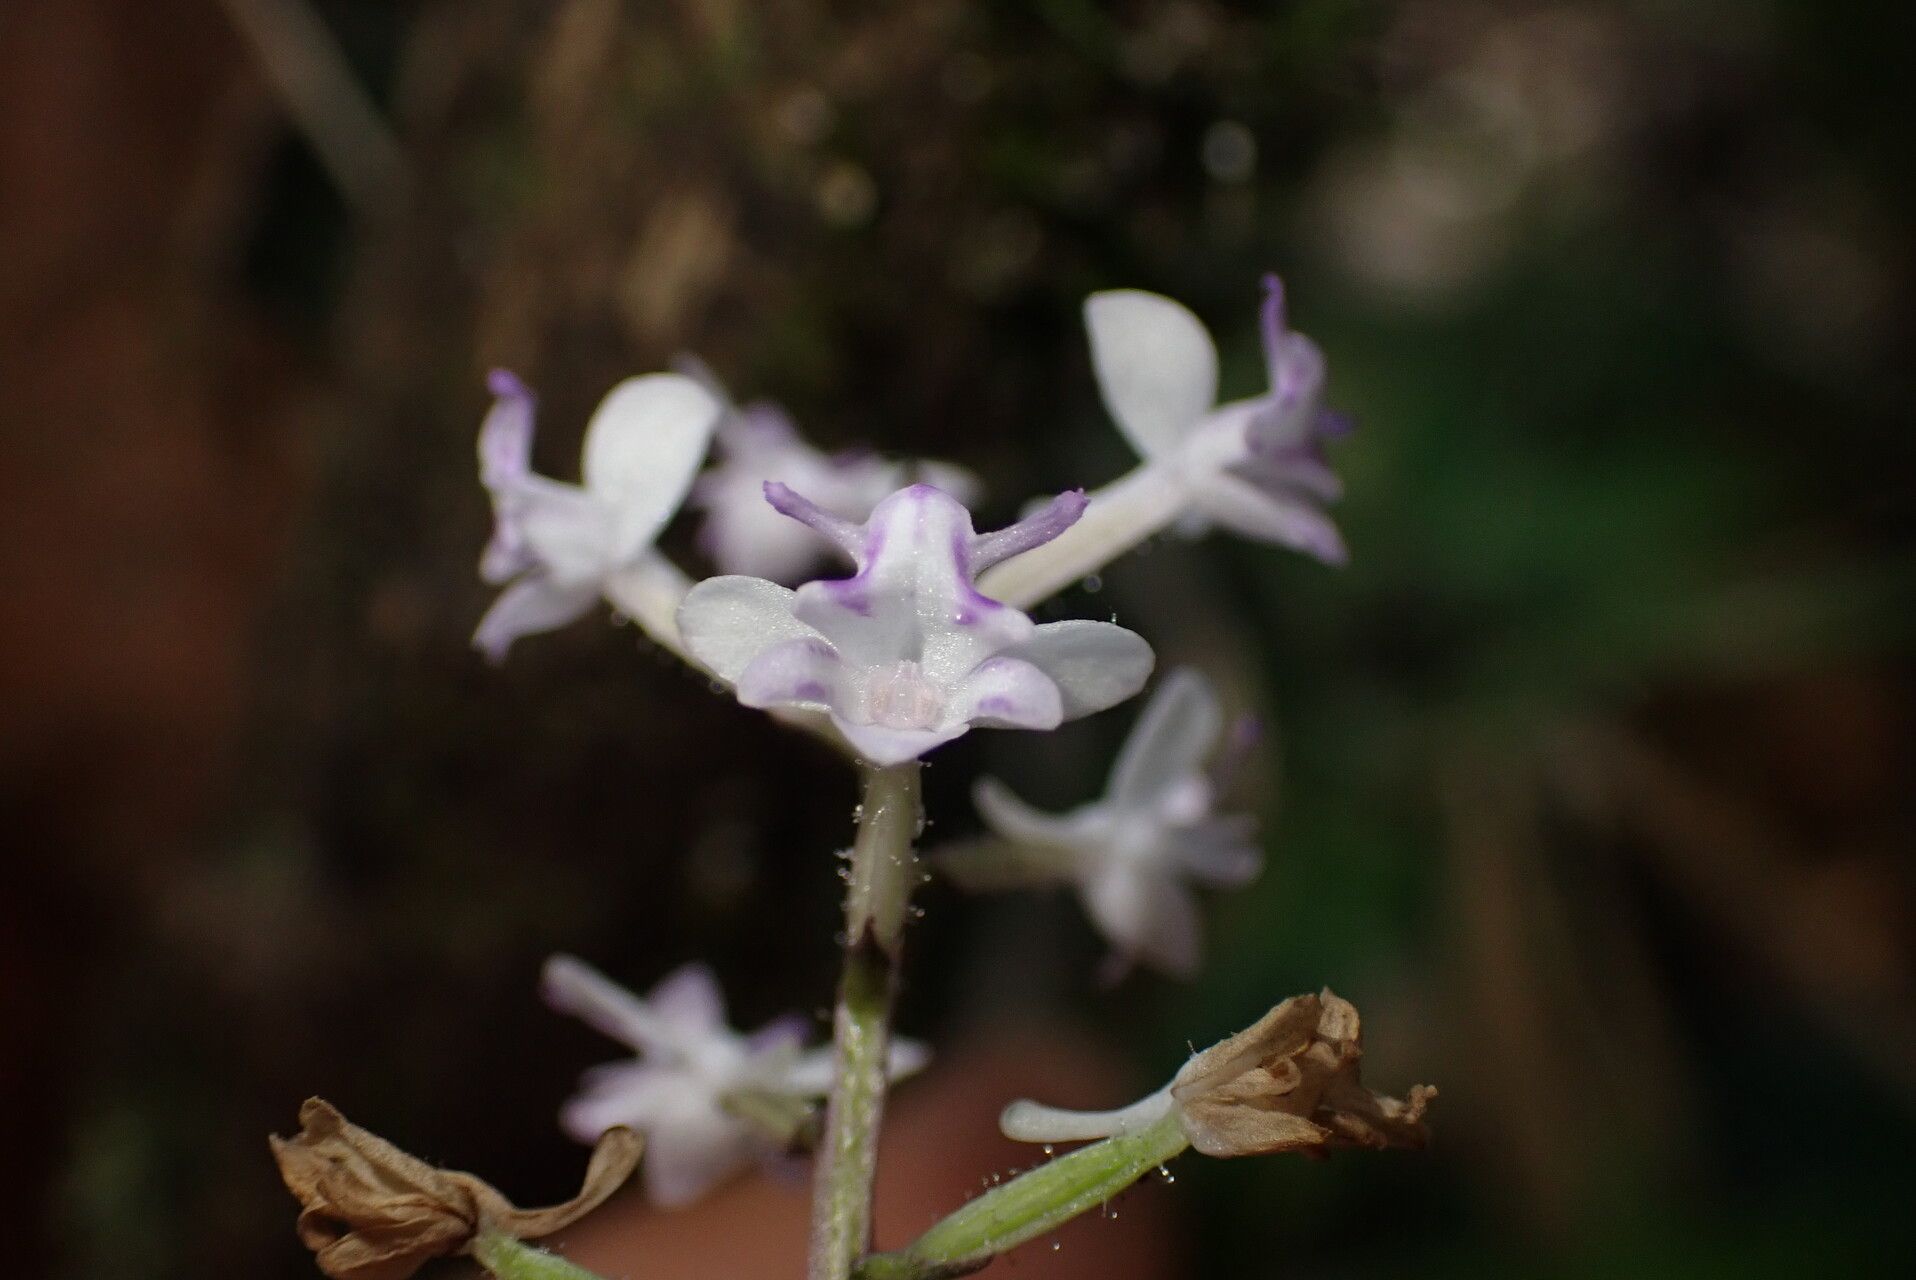
Oh, darling Cynorkis schlechteri! Isn’t she just a marvel? When those delicate, often vividly colored blooms unfurl, it’s like a little burst of joy in the garden. I’ve always been so taken with their exotic charm, and honestly, propagating them feels like unlocking a little bit of that magic for yourself. It’s a truly rewarding endeavor, though I’ll be upfront with you – Cynorkis schlechteri can lean towards the trickier side. Don’t let that deter you, though! With a little patience and the right approach, you can absolutely succeed.
The Best Time to Start
My absolute favorite time to begin propagating Cynorkis schlechteri is when they are in their active growth phase. For most of us, this means late spring or early summer. You’ll want to catch them when they’re showing new shoots or developing their leaves. This is when the plant has the most energy to push out new roots. Avoid trying to propagate from a plant that’s dormant or stressed; that’s just setting yourself up for disappointment.
Supplies You’ll Need
Gathering your equipment beforehand makes the whole process so much smoother. Here’s what I generally have on hand:
- Sterile potting mix: A blend of orchid bark, perlite, and a touch of sphagnum moss works beautifully. The key is excellent drainage.
- Sharp, sterilized pruning shears or a clean knife: For making those crucial cuts.
- Small pots or propagation trays: Clean ones, of course!
- Perlite or coarse sand: For improving drainage in your mix.
- Rooting hormone (optional, but recommended): A good quality rooting powder or gel can give you that extra boost.
- Misting bottle: For keeping things hydrated without waterlogging.
- Plastic bags or a propagation dome: To create a humid environment.
- Bottom heat (optional, but a game-changer): A seedling heat mat can significantly speed up root development.
Propagation Methods
For Cynorkis schlechteri, division is often my go-to method. These orchids tend to form clumps, and separating them gently is a great way to get multiple new plants.
Division:
- Gently remove the plant from its pot. You might need to carefully break away some of the old potting medium.
- Examine the root system and the base of the plant. Look for natural divisions – where new pseudobulbs or shoots are emerging from the main plant.
- Using your sterilized shears or knife, carefully cut through the rhizome or base to separate the divisions. Make sure each division has at least one healthy pseudobulb and some good roots.
- If the divisions look a bit wet or you’ve made a larger cut, you can let them air dry for a few hours to callous over. This helps prevent rot.
- Pot each division into its own small pot with your well-draining mix.
- Water them in lightly, and then hold off on watering for a few days to allow any minor nicks to heal.
While stem cuttings aren’t as common or successful for this particular orchid, division is usually what gets the best results.
The “Secret Sauce” (Pro Tips)
Here are a few little nuggets of wisdom I’ve picked up over the years:
- Don’t rush the cut: When dividing, aim to cut through the rhizome closer to the newer growth. The older parts are less likely to produce strong new plants.
- Bottom heat is your friend: Seriously, if you can invest in a small seedling heat mat, do it! Cynorkis schlechteri absolutely loves a bit of gentle warmth from below. It mimics their natural growing conditions and encourages roots to form much faster. I usually aim for a consistent temperature of around 70-75°F (21-24°C).
- Sterility is paramount: Orchids can be sensitive to fungal and bacterial infections. Make sure everything you use – your pots, tools, and even your hands – is as clean as can be. A quick wipe down with rubbing alcohol for your tools goes a long way.
Aftercare & Troubleshooting
Once your divisions are potted, the real work of nurturing them begins.
Keep them in a bright, indirect light location. Avoid direct sun, which can scorch delicate new growth. Maintain high humidity – that’s where your plastic bag or dome comes in handy. You’ll want to slightly open it up over time to increase air circulation.
Watering is a delicate balance. Water sparingly at first. You want the potting mix to be moist, not soggy. Overwatering is the quickest way to invite rot, which is probably the most common sign of failure. If you see your new division looking suddenly limp, mushy, or developing dark, soft spots, especially at the base, you’re likely dealing with rot. Sadly, if rot sets in deep, it can be very difficult to save. This is where excellent drainage and avoiding waterlogged conditions are your best defense. If you catch it early, you might be able to cut away the affected parts and repot in fresh, dry mix, but it’s a gamble.
A Encouraging Closing
Growing plants, especially those as special as Cynorkis schlechteri, is always a journey. There will be successes, and there might be a plant or two that doesn’t quite make it. The most important thing is to observe your plants, learn from each attempt, and most importantly, enjoy the process. Be patient with your new little orchids, give them good care, and soon you’ll be rewarded with your own beautiful blooms. Happy growing!
Resource:
https://identify.plantnet.org/k-world-flora/species/Cynorkis%20schlechteri%20H.Perrier/data