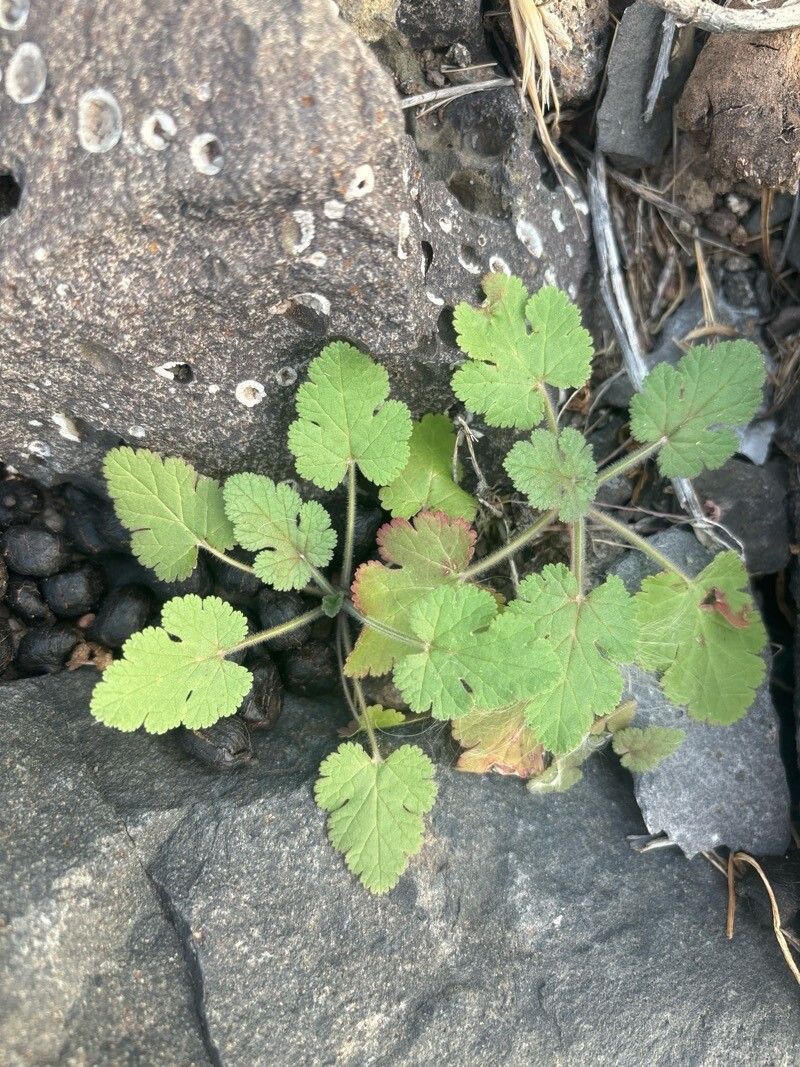
Hello, fellow garden enthusiasts! I’m so excited to talk to you today about a plant that has truly captured my heart over the years: Erodium neuradifolium. If you’re looking for a little gem that brings delicate charm and surprising resilience to your garden, this is it. Its intricate, grey-green foliage and cheerful pink to purplish flowers are simply delightful.
Propagating Erodium neuradifolium is a wonderfully rewarding endeavor. It allows you to expand your collection of this lovely plant without breaking the bank, and there’s a special kind of satisfaction in nurturing a new life from just a tiny piece of the parent. For many gardeners, this plant falls into the moderately easy category, making it a great option for those looking to stretch their propagation wings a bit.
The Best Time to Start Your Erodium Adventure
The sweet spot for propagating Erodium neuradifolium is generally in the late spring to early summer. This is when the plant is actively growing, boasting plenty of young, pliable stems that are eager to root. Waiting until after the main flush of blooming has passed, but before the intense heat of midsummer, will give you the best chance of success.
Supplies You’ll Need for Your Propagation Station
Before we dive in, let’s gather our tools. Having everything ready makes the process so much smoother.
- Sharp, clean pruners or secateurs: For taking neat cuttings.
- A rooting hormone powder or gel: This can significantly boost your success rate.
- A well-draining potting mix: I like to use a blend of 2 parts perlite to 1 part peat moss or coco coir. Some fine grit is also a good addition.
- Small pots or seed trays: Clean ones are crucial to prevent disease.
- A spray bottle: For gentle misting.
- A plastic bag or propagation dome: To help maintain humidity.
- A small trowel or dibber: For making holes to insert cuttings.
Propagation Methods: Your Path to New Erodiums
There are a couple of excellent ways to get more Erodium neuradifolium. I usually find stem cuttings to be the most reliable and straightforward for this particular plant.
Method 1: Stem Cuttings – The Go-To for Erodiums
This is my favorite method. Here’s how we do it:
- Select a healthy parent plant. Look for stems that are actively growing but not yet woody.
- Take your cuttings. Using your clean pruners, snip off sections of stem that are about 4-6 inches long. Make your cut just below a leaf node (where a leaf attaches to the stem). This is where the magic happens for rooting.
- Prepare the cuttings. Gently remove the lower leaves from the bottom half of each cutting. You want to expose the nodes along the stem.
- Apply rooting hormone. Dip the cut end of the stem into your rooting hormone powder or gel, coating the bottom inch or so. Tap off any excess.
- Plant your cuttings. Moisten your well-draining potting mix. Use your dibber to make small holes in the soil, then insert the prepared cuttings, ensuring the nodes are buried. Gently firm the soil around them.
- Water gently. Give them a light watering to settle the soil.
- Create a humid environment. Cover the pots or trays with a plastic bag or propagation dome, making sure the leaves don’t touch the plastic if possible. This keeps the humidity high, which is vital for cuttings.
Method 2: Division – For Established Clumps
If you have a mature, well-established Erodium neuradifolium clump, division is a wonderful way to get new plants and also rejuvenate the parent.
- Carefully dig up the plant. Do this when the soil is slightly moist, which makes it easier to work with.
- Gently tease apart the root ball. You want to separate the clump into smaller sections, each with its own set of roots and some healthy shoots. A sharp knife or trowel can help here if the roots are tangled.
- Replant immediately. Pot up the divisions into well-draining soil, watering them in gently.
The “Secret Sauce”: Insider Tips from My Greenhouse
Here are a few little tricks I’ve learned over the years that really make a difference:
- Don’t overwater the cuttings. This is probably the most common mistake! While they need moisture, waterlogged soil is a fast track to rot for Erodium cuttings. The goal is consistently moist, not soggy.
- Consider bottom heat. If you have it, placing your pots on a gentle heat mat can significantly speed up root development. This mimics the warmth of spring and signals the plant to get growing.
- Never use leaves in water propagation. For Erodium, I steer clear of water propagation for cuttings. While it works for some plants, the stems tend to rot in water before they develop roots. Stick to soil!
Aftercare & Troubleshooting: Nurturing Your New Sprouts
Once your cuttings have been planted, keep them in bright, indirect light. Mist them occasionally to maintain humidity, especially if you don’t have a dome.
You’ll know your cuttings have rooted when you see new leaf growth and they resist gently tugging when you try to pull them out of the soil. This can take anywhere from 3 to 6 weeks, or sometimes a bit longer.
What if things go wrong? The most common culprit is rot, which usually shows up as a dark, mushy stem base. This is almost always a sign of too much moisture and/or poor air circulation. If you see this, unfortunately, that cutting is likely lost. Take preventative measures for your remaining cuttings by ensuring excellent drainage and not overcrowding them.
Keep Growing!
Don’t be discouraged if you have a few failures along the way. Every gardener does! The beauty of propagation is that you get to learn and adapt. Be patient with your little Erodiums, give them the right conditions, and soon you’ll be rewarded with your own beautiful new plants. Happy gardening!
Resource: