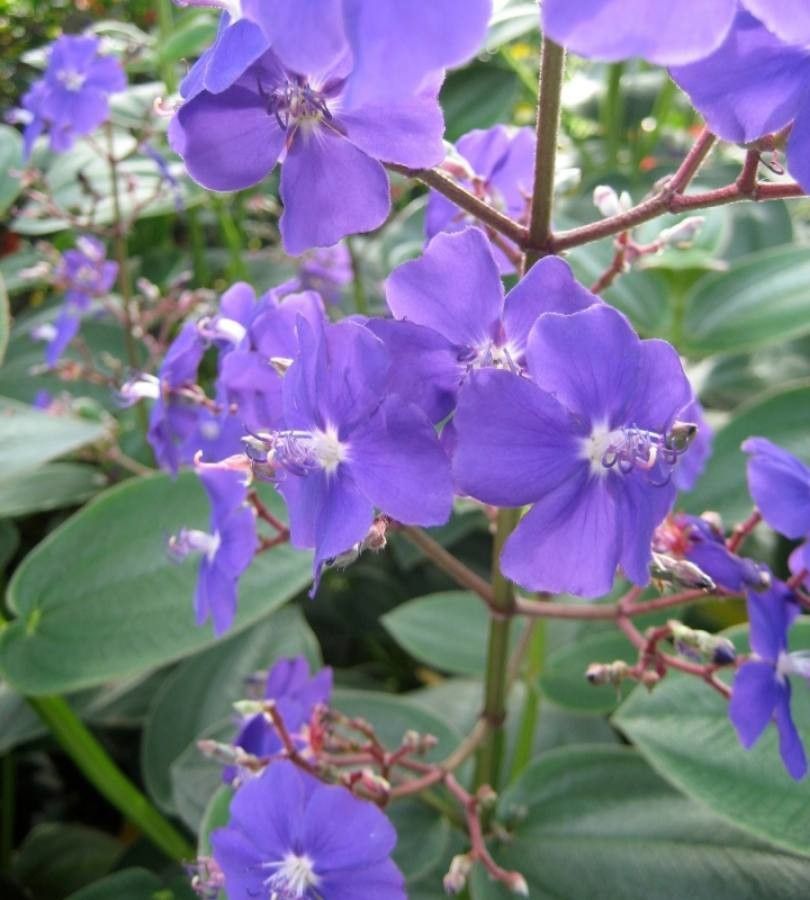
Oh, Pleroma elegans! If you’ve ever seen those vibrant, almost electric purple flowers splashed across a shrub, you know the pure joy this plant brings. It’s a real showstopper, isn’t it? And getting to grow your own from scratch? That’s a special kind of rewarding. Honestly, I’d say Pleroma elegans is moderately easy to propagate. It’s not as finicky as some of the super-delicate orchids, but it’s not quite as foolproof as a simple spider plant either. Still, with a little care and attention, you’ll be well on your way to more of those gorgeous blooms.
The Best Time to Start
For the most success, I always aim to propagate Pleroma elegans using stem cuttings in late spring to early summer. This is when the plant is actively growing, full of energy, and has plenty of healthy, semi-hardwood stems to work with. You want stems that have started to firm up a bit, but aren’t completely woody. Think of it as the plant’s prime time for growth and repair – perfect for making new babies!
Supplies You’ll Need
Here’s what I always have on hand when I’m ready to get propagating:
- Sharp, clean pruning shears or a sharp knife: Crucial for making clean cuts to prevent disease.
- Rooting hormone: A little sprinkle of this really gives your cuttings a boost. Gel or powder works great.
- A good potting mix: I like a blend of equal parts peat moss, perlite, and potting soil. This provides excellent drainage, which is key. You could also use a specialized seed-starting mix.
- Small pots or trays: Clean ones, of course! About 4-inch pots are usually a good size for cuttings.
- Plastic bags or a propagation dome: To create a humid environment.
- Watering can with a fine rose: For gentle watering.
- Labels and a permanent marker: Don’t forget to label what you’ve planted and when!
Propagation Methods
I’ve found stem cuttings to be the most reliable method for Pleroma elegans. Here’s how I do it:
- Select Your Cuttings: Head out to your Pleroma elegans plant. Look for healthy, non-flowering stems that are about 4 to 6 inches long. Gently feel the stem; it should be firm but with a little give – not floppy green, and not hard and woody.
- Make the Cut: Using your clean pruning shears or knife, make a cut just below a leaf node (that’s where a leaf attaches to the stem). This is often where rooting hormones work best.
- Prepare the Cutting: Carefully strip off the lower leaves from the bottom half of the cutting, leaving just a few leaves at the very top. This prevents leaves from rotting in the soil and reduces water loss. If the remaining leaves are quite large, I often trim them in half to further reduce moisture evaporation.
- Apply Rooting Hormone: Dip the cut end of the stem into your rooting hormone, tapping off any excess.
- Plant the Cuttings: Fill your clean pots with your well-draining potting mix. Make a little hole in the center with your finger or a pencil. Insert the cut end of the Pleroma elegans cutting into the hole, pressing the soil gently around it to ensure good contact.
- Water Gently: Water thoroughly after planting, using your fine-rose watering can. You want the soil to be moist but not waterlogged.
- Create Humidity: Pop a plastic bag over the pot (making sure the leaves don’t touch the plastic!) or place the pots inside a propagation dome. This creates that cozy, humid microclimate they love. Place the pots in a bright location out of direct sunlight.
The “Secret Sauce” (Pro Tips)
Here are a couple of things I’ve learned over the years that can really make a difference:
- Bottom Heat is Your Friend: If you have a seedling heat mat, using it is a game-changer. Many plants, including Pleroma elegans, will root much faster and more reliably with gentle bottom warmth. It mimics the condition of being in warmer soil in the summer.
- Don’t Disturb Too Soon: I know it’s tempting to peek and see how they’re doing, but try to resist the urge to tug on your cuttings. You want to give them time to establish a good root system. You’ll usually see new growth at the top as a sign that roots are forming.
Aftercare & Troubleshooting
Once you start to see signs of new growth – tiny leaves unfurling at the top – you’re likely on your way! Gradually remove the plastic bag or open the propagation dome a little each day over a week or so to acclimate your new Pleroma elegans to normal humidity. Continue to keep the soil consistently moist but not soggy.
The most common problem you might encounter is rot. If a cutting turns mushy, black, or just looks generally sad and dying, it’s likely due to too much moisture and not enough air circulation. This is why that well-draining mix and careful watering are so important. If you see rot starting, it’s usually best to discard the affected cutting to prevent it from spreading.
A Little Patience Goes a Long Way
Seeing those first tiny roots emerge is such a thrill! Propagation is a journey, and each plant you nurture from a cutting is a little victory. Be patient, enjoy the process of watching these new life begin, and soon you’ll be enjoying your very own Pleroma elegans to share. Happy gardening!
Resource:
https://identify.plantnet.org/k-world-flora/species/Pleroma%20elegans%20Gardner/data