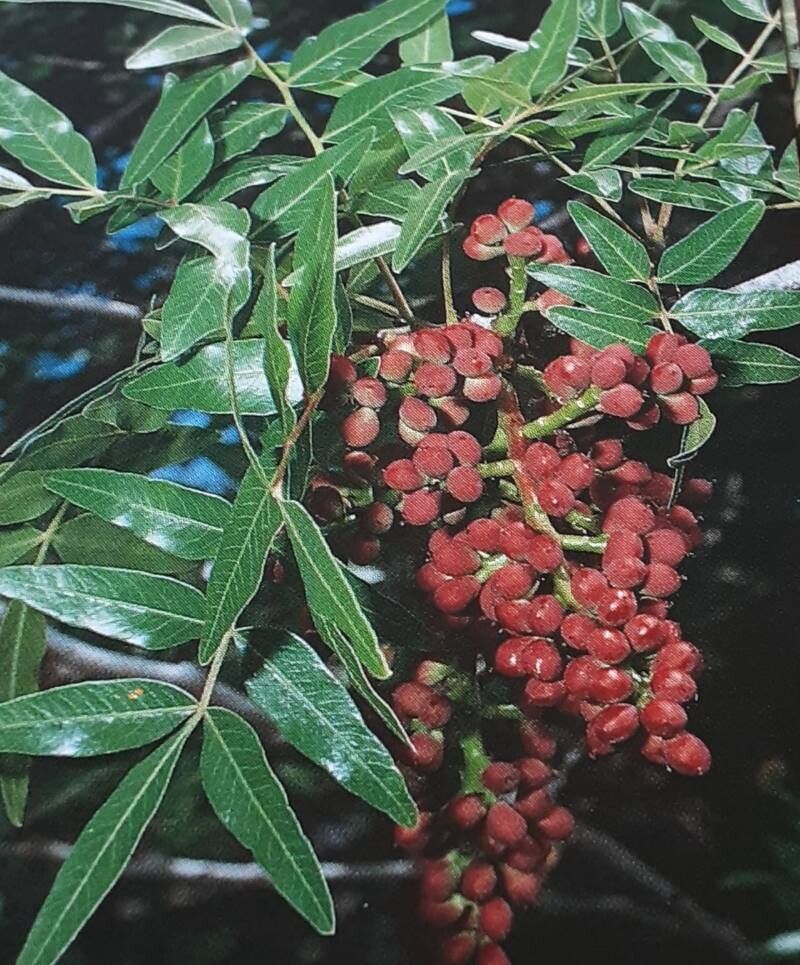
Hello there, fellow plant enthusiasts! It’s wonderful to connect with you today. I’m so excited to dive into the world of Pistacia atlantica, often known as the Mount Atlas mastic or the turpentine tree. This tree is a real gem, isn’t it? Its distinctive, aromatic foliage and rugged good looks make it a striking addition to any garden, especially for those who appreciate a bit of Mediterranean flair.
There’s a special kind of satisfaction in growing a plant from a tiny start. It’s like nurturing a little piece of magic, and with Pistacia atlantica, it’s a wonderfully rewarding journey. Now, if you’re a beginner wondering if this is a good plant to start with, I’ll be honest: while not impossible, propagating Pistacia atlantica can be a bit of a challenge. It requires a touch of patience and a good understanding of its needs. But don’t let that deter you! With a little know-how and the right approach, you’ll find success.
The Best Time to Start
For the highest success rate, late spring to early summer is your golden window for propagating Pistacia atlantica from cuttings. This is when the plant is actively growing, and its stems have had a chance to harden off a little after the initial flush of spring growth. You’re looking for semi-hardwood cuttings – they’ll snap cleanly when bent, but won’t be completely woody or too soft and green.
Supplies You’ll Need
Gathering your tools beforehand makes the whole process much smoother. Here’s what I always have on hand:
- Sharp, clean pruning shears or a sharp knife: Essential for making clean cuts, which helps prevent disease.
- Rooting hormone: A good quality rooting powder or gel will significantly boost your chances of success.
- Well-draining potting mix: I like a blend of equal parts peat moss, perlite, and coarse sand. You can also buy commercial succulent or cactus mixes.
- Small pots or seed trays: Clean pots are a must! Sterilize them if you’ve used them before.
- Plastic bags or a propagation dome: To maintain high humidity around your cuttings.
- Labels and a permanent marker: To keep track of what’s what and when you planted them.
- A small spray bottle: For misting.
Propagation Methods
While Pistacia atlantica can be from seed, it’s not always true to parent and can take years to establish. For quicker results and to maintain desirable traits, stem cuttings are usually the way to go.
Stem Cuttings
- Select your cutting: Head out to your Pistacia atlantica and look for those semi-hardwood stems. You want pieces that are about 4-6 inches long and have at least two to three sets of leaves.
- Make the cut: Using your sharp pruning shears or knife, make a clean cut just below a leaf node (where a leaf attaches to the stem).
- Prepare the cutting: Gently remove the lower leaves, leaving just the top two or three leaves intact. If the remaining leaves are large, you can snip them in half to reduce water loss.
- Apply rooting hormone: Dip the cut end of the stem into your rooting hormone, making sure it’s coated up to the point where you removed the lower leaves. Tap off any excess.
- Plant your cuttings: Fill your pots with the well-draining potting mix. Make a small hole with your finger or a pencil and insert the cutting. Gently firm the soil around the base to ensure good contact.
- Water and cover: Water the soil lightly. Then, place the pot inside a plastic bag, creating a mini-greenhouse, or cover it with a propagation dome. Make sure the leaves don’t touch the inside of the bag.
- Find a good spot: Place your potted cuttings in a bright location, but avoid direct sunlight, which can scorch them. A spot with indirect, filtered light is ideal.
The “Secret Sauce” (Pro Tips)
Here are a couple of things I’ve learned over the years that can really make a difference:
- Bottom Heat Power: Pistacia atlantica loves a bit of warmth from below. If you have a heating mat designed for seedlings, placing your pots on top of it can significantly speed up root development. It mimics the warmth of the soil in its natural habitat.
- The Art of Airflow: While you want to maintain high humidity, stale air can lead to fungal issues. Every few days, open the plastic bag or propagation dome for about 15-20 minutes to allow for some air circulation. This helps prevent rot and mildew.
- Patience is Virtue (with this one!): Pistacia atlantica can be notoriously slow to root. Don’t be discouraged if you don’t see signs of new growth for weeks, or even a couple of months. Resist the urge to constantly tug on your cuttings to check for roots; you might dislodge developing ones!
Aftercare & Troubleshooting
Once you start to see new leaf growth, that’s a good sign that roots are forming! Gently try to tug on a cutting; if you feel resistance, you likely have roots. You can then start to gradually acclimate your new plants to normal room humidity by opening the plastic bag or dome a little more each day over a week.
Keep the soil consistently moist, but not waterlogged. If you see wilting leaves, mold on the soil, or a mushy stem, these are signs of rot, often caused by overwatering or poor drainage. Sometimes, you can salvage a cutting by taking it out, trimming away any rotted parts, letting it dry for a day, and then repotting it in fresh, dry soil.
A Encouraging Closing
Propagating Pistacia atlantica is a journey that rewards patience. It might take a little time, and you might have a few failures along the way – that’s part of the learning curve for any gardener! But the satisfaction of watching those tiny cuttings develop into new life is truly unparalleled. So, gather your supplies, follow these steps, and enjoy the process of growing your own beautiful Pistacia atlantica. Happy gardening!
Resource:
https://identify.plantnet.org/k-world-flora/species/Pistacia%20atlantica%20Desf./data