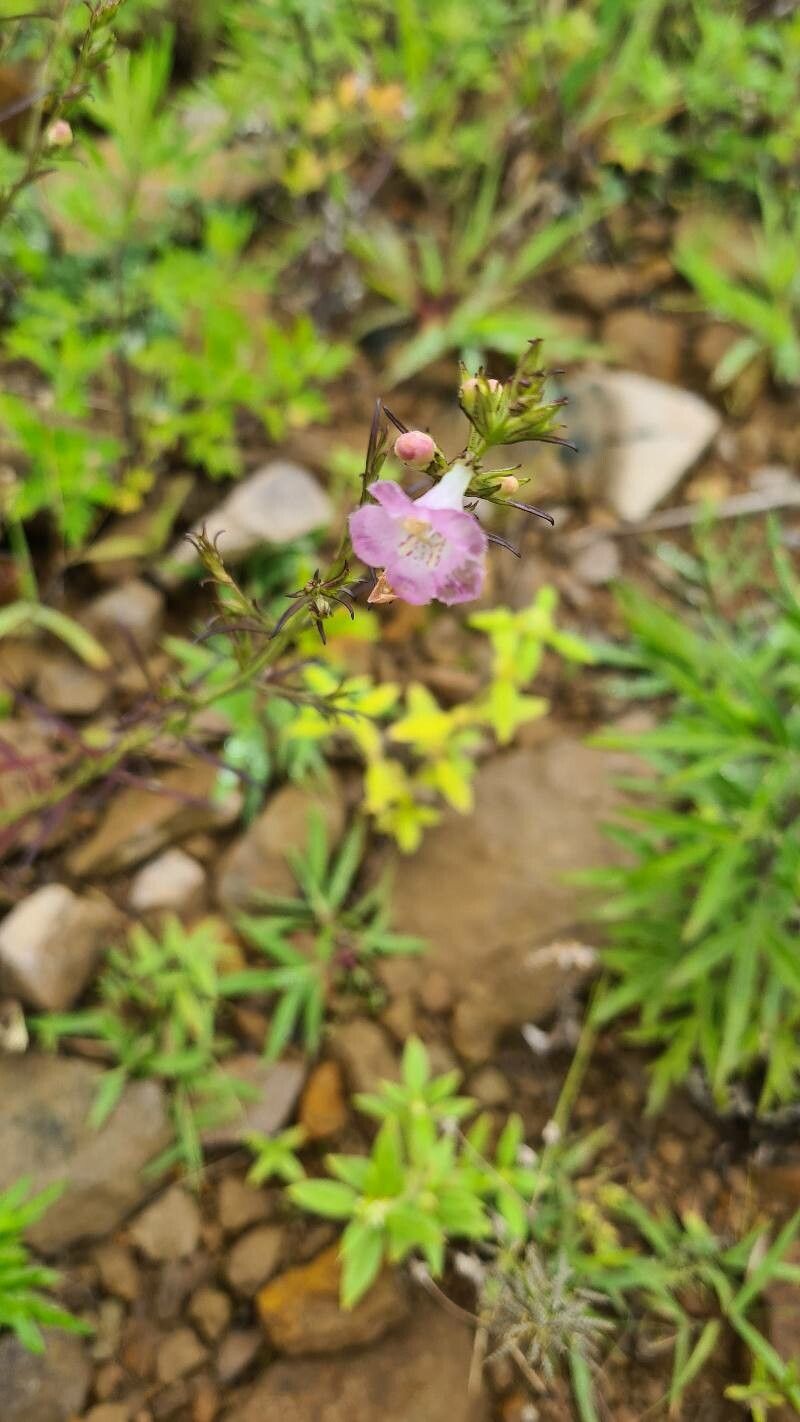
Bringing Home More Purple Giants: A Gardener’s Guide to Propagating Agalinis purpurea
Ah, Agalinis purpurea! Also known as the Purple Gerardia or Smallflower False Foxglove, this native beauty is just a delight. Its delicate, tubular purple flowers dangling from slender stems bring a touch of wild elegance to any garden. And the best part? It’s not as intimidating to propagate as some of its more finicky garden cousins. If you’re looking to expand your collection or share these beauties with friends, you’re in for a rewarding experience. It’s generally considered one of the more accessible plants to propagate, making it a lovely project for both seasoned gardeners and enthusiastic beginners.
When to Get Your Hands Dirty
The sweet spot for propagating Agalinis purpurea is usually late spring to early summer. This is when the plant is actively growing and has plenty of energy to put into developing new roots. Look for stems that are somewhat firm but not yet woody. You want that perfect balance – flexible enough to root but not so soft they’ll just languish.
Your Propagation Toolkit
Here’s what you’ll want to have on hand to make your propagation efforts a success:
- Sharp Pruning Shears or a Craft Knife: For clean cuts, which are crucial.
- A Well-Draining Potting Mix: I often use a blend of perlite, peat moss, and coarse sand. A commercially available seed-starting mix can also work well.
- Rooting Hormone (Optional but Recommended): A willow-bark-based or commercially produced powder or gel can give your cuttings a nice boost.
- Small Pots or Propagation Trays: Clean containers are a must to prevent disease.
- A Spray Bottle: For keeping your cuttings moist.
- Clear Plastic Bags or Domes: To create a humid environment.
- Bottom Heat Source (Optional): A heating mat can significantly speed up root development.
Bringing New Life: Propagation Methods
Agalinis purpurea can be propagated in a couple of ways, but I find stem cuttings to be the most reliable and rewarding.
Method: Stem Cuttings
- Select Your Stems: Choose healthy, non-flowering stems from a mature plant. Aim for pieces about 3-6 inches long.
- Make the Cut: Using your clean shears or knife, make a clean cut just below a leaf node. A leaf node is where a leaf attaches to the stem, and it’s where roots are most likely to form.
- Prepare the Cutting: Gently remove the lower leaves from the cutting, leaving just a couple of sets of leaves at the top. This reduces water loss and prevents leaves from rotting in the soil.
- Apply Rooting Hormone (Optional): Dip the cut end of the stem into your rooting hormone powder or gel. Tap off any excess.
- Planting: Stick the prepared end of the cutting about an inch deep into your moistened potting mix. You can plant several cuttings in one pot, ensuring they don’t touch each other.
- Create Humidity: Water the potting mix gently so it’s moist but not soaking. Then, cover the pot with a clear plastic bag or a propagation dome. This traps humidity, which is vital for cuttings to root.
- Placement: Place the pots in a location with bright, indirect light. Avoid direct sun, which can scorch the delicate cuttings. If you’re using a heating mat, place the pots on top of it.
The “Secret Sauce”: My Insider Tips
- Don’t Drown Your Dreams: While humidity is key, ensure the leaves never touch the water that might collect in the bottom of your container. This is a sure way to invite rot. If you’re using a bag, make sure it doesn’t sag down onto the leaves.
- The Subtle Art of the Slip: When taking cuttings, try to find stems that are slightly firm but still bendy. If you snap a stem and it breaks cleanly without much flexibility, it might be too woody to root easily. If it’s super floppy, it’s likely too immature.
- Bottom Heat is Your Best Friend: Seriously, if you can swing a heating mat, do it! I’ve found it shaves weeks off the rooting time for many plants, including Agalinis purpurea. It provides consistent warmth at the root zone, encouraging those little root cells to get moving.
Nurturing Your New Sprouts & What to Watch For
Once your cuttings have taken root (you’ll know when you see new growth or gently tug and feel resistance), it’s time for a little extra care.
- Gradual Acclimation: Slowly remove the plastic bag or dome over a week or two. You want to let your new plants get used to the drier air.
- Consistent Light Watering: Keep the soil consistently moist but not waterlogged. Overwatering is the most common culprit for failure. Let the top inch of soil dry out slightly between waterings.
- Transplanting: Once your new plants have a decent root system and have been acclimated, you can gently transplant them into their own small pots.
Troubleshooting: Signs of Trouble
- Yellowing Leaves: This can be a sign of overwatering or poor drainage.
- Wilting and Soft Stems: Often indicates rot. If the stem turns mushy and brown at the base, sadly, it’s time to try again with a new cutting.
- No Growth Whatsoever: This can happen if the conditions aren’t quite right – too cold, not enough light, or a failed cutting. Don’t get discouraged; propagation is a process of learning.
Happy Rooting!
Propagating Agalinis purpurea is a wonderful way to connect with the plant world and bring more of that lovely purple magic into your garden. Be patient, observe your cuttings, and celebrate every tiny sign of success – a new leaf, a tiny root peeking out. You’ve got this!
Resource:
https://identify.plantnet.org/k-world-flora/species/Agalinis%20purpurea%20(L.)%20Pennell/data