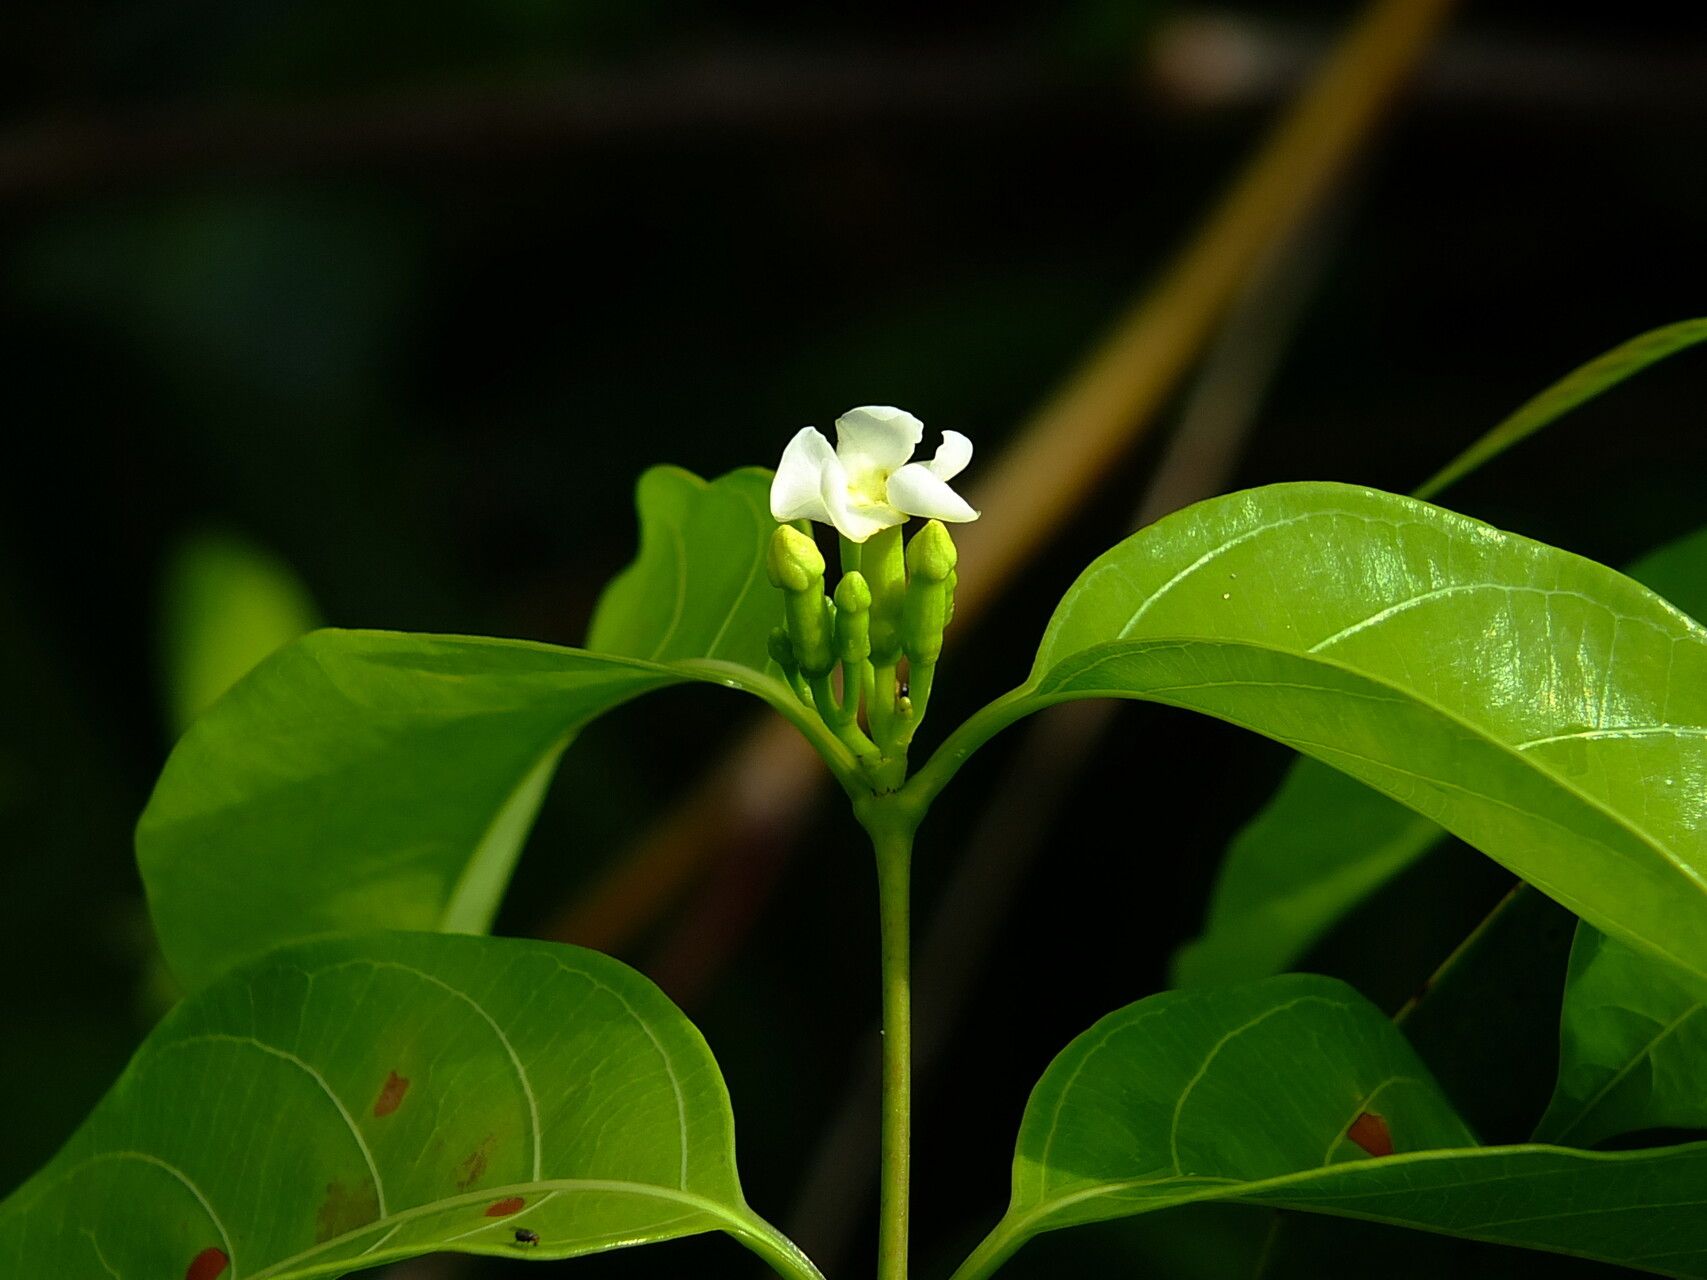
Oh, hello there! Come on in, grab a cuppa. I hear you’re curious about propagating Secondatia densiflora. Wonderful choice! That plant has such a stunning presence, with those vibrant blooms adding a real pop to any space. And there’s something incredibly satisfying about creating a whole new plant from a little piece of an existing one. It’s a little like magic, really. As for beginners, I’d say Secondatia densiflora is a moderately easy plant to propagate. It gives you a bit of a challenge to learn from, but the rewards are definitely worth it.
The Best Time to Start
For Secondatia densiflora, the sweet spot is typically in late spring to early summer. This is when the plant is actively growing and has plenty of young, pliable stems that will root most readily. You want to choose stems that aren’t flowering or too woody. Think of it as capturing its youthful energy!
Supplies You’ll Need
Here’s what you’ll want to have ready before you get started:
- Sharp Pruning Shears or a Clean Knife: For making clean cuts. Dull tools can damage the stems.
- Rooting Hormone (Optional but Recommended): This can give your cuttings a good head start. Look for a powder or gel.
- Well-Draining Potting Mix: A blend of peat moss or coco coir, perlite, and a little compost works wonderfully. You want it to be light and airy.
- Small Pots or Seedling Trays: Clean ones, of course! Tiny terracotta pots are lovely for this.
- Plastic Bag or Humidity Dome: To keep the humidity high around your cuttings.
- Gloves (Optional): If you have sensitive skin or just prefer to keep your hands clean.
- Watering Can with a Fine Rose: For gentle watering.
Propagation Methods
Let’s get our hands dirty! For Secondatia densiflora, stem cuttings are usually the most successful route.
Stem Cuttings:
- Select Your Stems: Find a few healthy, non-flowering stems on your mature plant. Look for ones that are about 4-6 inches long.
- Make the Cut: Using your sharp shears or knife, make a clean cut just below a leaf node. A leaf node is that little bump where a leaf attaches to the stem.
- Prepare the Cutting: Gently remove the lower leaves from the bottom half of the cutting. You want to expose the nodes, as this is where roots will form. Leave a few leaves at the top to help the cutting photosynthesize.
- Apply Rooting Hormone (If Using): Dip the cut end of the stem into your rooting hormone, tapping off any excess.
- Plant Your Cuttings: Fill your clean pots with your prepared potting mix. Make a small hole in the center of the soil with your finger or a pencil. Insert the stem cutting into the hole, making sure the leaf nodes are buried. Gently firm the soil around the base.
- Water Gently: Give the soil a light watering until it’s evenly moist but not waterlogged.
- Create a Humid Environment: Place the pot inside a clear plastic bag, or cover it with a humidity dome. Make sure the leaves don’t touch the sides of the bag, as this can encourage rot. Poke a few small holes in the bag if it looks too steamy.
The “Secret Sauce”
Here are a couple of things I’ve learned over the years that really make a difference:
- Don’t Let the Leaves Touch the Water (Even in the Pot): If you’re trying water propagation instead of soil, make sure only the bare stem end is submerged. Any leaves below the water line will rot and can take the whole cutting down with them. For soil cuttings, this
Resource:
https://identify.plantnet.org/k-world-flora/species/Secondatia%20densiflora%20A.DC./data