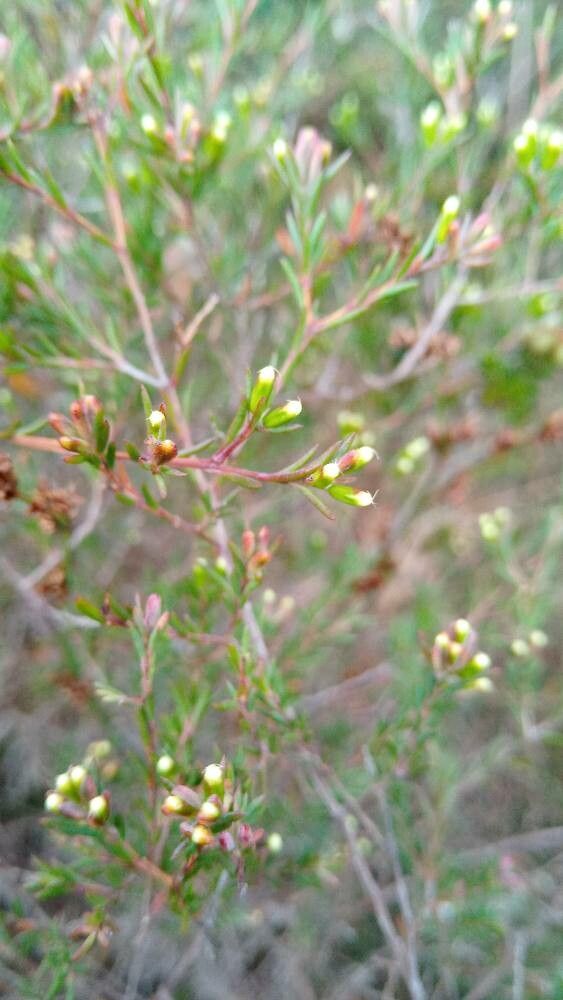
Hello fellow garden enthusiasts! I’m so excited to chat with you today about a truly special plant: Homoranthus virgatus. You might know it for its delicate, daisy-like flowers and the wonderful fragrance that fills the air when it blooms. It’s a beauty, isn’t it? I’ve spent many years with this charming shrub in my garden and in my nursery, and let me tell you, propagating it is a incredibly rewarding endeavor. While it’s not quite a “stick it in the ground and forget it” kind of plant, with a little care and attention, even beginners can achieve success. It’s a fantastic way to get more of these delightful plants for yourself or to share with friends.
The Best Time to Start
For Homoranthus virgatus, like many woody plants, the sweet spot for propagation is late spring to early summer, just as the plant is in its active growing phase. You want to take cuttings from stems that are developing but haven’t yet hardened off completely. Think of stems that are flexible but not floppy. This is when they have the most energy to root.
Supplies You’ll Need
Here’s what you’ll want to have on hand:
- Sharp pruning shears or a clean, sharp knife: Essential for taking clean cuts.
- Rooting hormone (powder or gel): This encourages faster and stronger root development.
- A well-draining potting mix: A blend of coarse sand, perlite, and peat moss (about 1:1:1 ratio) works beautifully. You can also find specialized seedling or cutting mixes.
- Small pots or trays: Clean pots are a must to prevent disease.
- Plastic bags or a propagator: To create a humid environment.
- Labels and a marker: Keep track of what you’ve potted!
- Watering can with a fine rose: For gentle watering.
Propagation Methods
The most reliable way I’ve found to propagate Homoranthus virgatus is through stem cuttings. Here’s how to do it:
- Select and take your cuttings: Choose healthy, vigorous stems that are about 10-15 cm (4-6 inches) long. Make a clean cut just below a leaf node (where a leaf attaches to the stem). Remove the lower leaves from the cutting.
- Prepare the cuttings: Dip the cut end into rooting hormone, tapping off any excess. This step is crucial for encouraging root formation.
- Pot up the cuttings: Fill your clean pots with the prepared well-draining potting mix. Make a small hole in the center of the mix with a pencil or your finger. Gently insert the cutting into the hole, ensuring the leaf nodes are covered by the soil. Firm the soil around the base of the cutting.
- Water gently: Water the pots thoroughly but carefully, making sure not to dislodge the cuttings.
- Create a humid environment: Cover the pots with a clear plastic bag or place them inside a propagator. This helps maintain the high humidity cuttings need to prevent wilting before they develop roots. If using a bag, prop it up with stakes so it doesn’t touch the leaves.
The “Secret Sauce” (Pro Tips)
Now for those little tricks that make all the difference!
- My absolute favorite tip is to avoid letting the leaves touch the water if you ever try propagating in water (though I find stem cuttings in soil far more successful for Homoranthus). Drowning leaves invite rot, and we want healthy roots, not a soggy demise!
- For truly stubborn cuttings, or if you have a cooler propagation spot, consider using bottom heat. A heated propagation mat placed under the pots can significantly speed up the rooting process. It gives those roots a cozy little nudge to get going.
- And here’s one that often gets overlooked: don’t be afraid to experiment with slightly different stem types. While semi-hardwood cuttings are ideal, sometimes a slightly softer or slightly harder stem can surprise you by rooting when you least expect it!
Aftercare & Troubleshooting
Once your cuttings have been potted, place them in a bright spot out of direct sunlight. Keep the soil consistently moist, but not waterlogged. You should start to see signs of rooting within 4-8 weeks, which you might notice by new leaf growth or by gently tugging on a stem (if it resists, it’s rooting!).
The most common sign of failure is rot. If your cuttings turn black and mushy, it’s usually a sign of too much moisture and poor air circulation. In this case, unfortunately, they’re unlikely to recover. If you see signs of wilting and the soil is dry, try increasing humidity or watering. Sometimes, yes, some cuttings just don’t make it. It’s part of the process!
A Bit of Encouragement
Propagating plants is a journey, and each new little sprout is a victory. Be patient, be observant, and enjoy the magic of watching life begin. The satisfaction of growing your own Homoranthus virgatus from a simple cutting is immense. Happy gardening!
Resource: