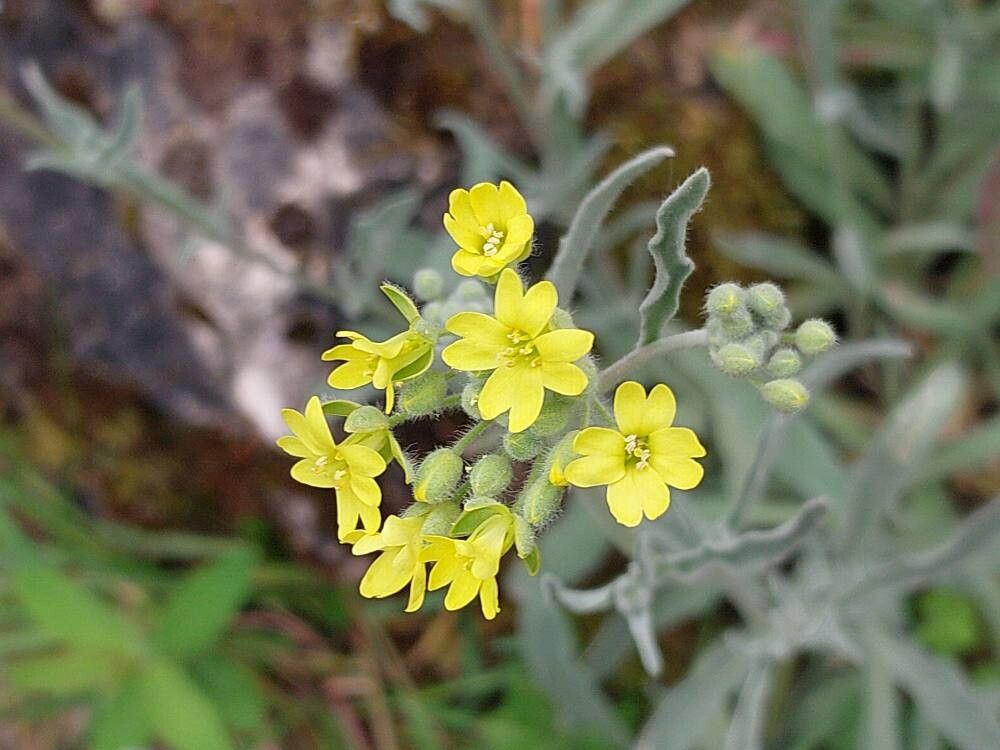
Oh, hello there! Come on in, pull up a chair. It’s always a treat to chat about plants, isn’t it? Today, we’re diving into the lovely world of Aurinia sinuata, often called Mountain Alyssum. If you’re looking for a darling, low-growing groundcover that’s just bursting with tiny, fragrant white flowers, you’ll adore this one. Its silvery foliage is a delight too, adding texture even when it’s not in bloom. And the best part? Propagating it is surprisingly rewarding, and not at all as daunting as you might think, even for those just dipping their toes into the gardening waters.
The Best Time to Start
My favorite time to get busy with Aurinia sinuata propagation is in late spring or early summer, right after it’s finished its main flush of blooming. You’re looking for new, semi-hardened growth. Think of it like this: the stems are still a bit flexible, not woody and brittle, but they’ve moved past that super-soft, floppy stage. This gives them a good chance to develop strong roots before the heat of mid-summer or the cold of autumn really sets in.
Supplies You’ll Need
Gathering your tools makes the whole process so much smoother. You won’t need anything too fancy. Here’s what I’ve found works best:
- Sharp pruning shears or clean scissors: For making those clean cuts.
- Rooting hormone powder or gel: This really boosts your success rate.
- A well-draining potting mix: I like to use a standard potting mix with extra perlite or coarse sand added for aeration. A good succulent or cactus mix works wonders too!
- Small pots or trays: Clean ones are key to preventing disease.
- Plastic bags or a propagation dome: To create a humid environment.
- A spray bottle: For misting.
- A small label and marker: To keep track of your new babies!
Propagation Methods
Now, let’s get our hands dirty! For Aurinia sinuata, I find stem cuttings to be the most reliable and satisfying method.
- Take Your Cuttings: On a bright morning, carefully select healthy stems that are about 3-4 inches long. Using your sharp shears, make a clean cut just below a leaf node (where a leaf attaches to the stem). Remove the lower leaves, leaving just a few at the top.
- Dip in Rooting Hormone: Lightly moisten the cut end of the stem. Then, dip it into your rooting hormone powder or gel, tapping off any excess. This isn’t mandatory, but it really does give those roots a helping hand.
- Plant Your Cuttings: Fill your small pots with the well-draining potting mix. Make a small hole in the center of the soil with your finger or a pencil. Gently insert the cut end of the stem into the hole, making sure the treated part is covered. Firm the soil around the base of the cutting.
- Create a Humid Environment: Water the soil lightly. Then, cover the pot with a plastic bag or place it under a propagation dome. You want to create a mini greenhouse effect to keep the humidity high. Remove the bag or dome for about an hour each day to allow for air circulation and prevent fungal issues.
The “Secret Sauce” (Pro Tips)
Here are a couple of tricks I’ve learned over the years that make a big difference for these little beauties:
- Don’t Let Leaves Touch the Water (if you choose water propagation): While I find stem cuttings in soil best for Aurinia sinuata, if you were to try water propagation with a different plant, always ensure the bottom leaves are above the water line. Any leaves submerged will rot and introduce disease to your cutting.
- Bottom Heat is Your Friend: If you have a heat mat designed for seedlings, placing your pots on it can significantly speed up the rooting process. It mimics the warmth of spring and encourages those roots to get going. Just be sure not to dry out your cuttings too quickly if you’re using heat.
Aftercare & Troubleshooting
Once your cuttings are planted, keep the soil consistently moist but not soggy. Misting the foliage occasionally can also help keep things happy. You’ll know they’re rooting when you see new growth appearing at the top or feel a gentle resistance when you tug lightly on the stem. This usually takes 3-6 weeks, depending on your conditions.
The most common issue you’ll face is rot. If a cutting looks mushy, turns black, or fails to perk up, it’s likely succumbed to rot. This is often due to overly wet soil or poor air circulation. If you see rot, remove the affected cutting immediately to prevent it from spreading. Don’t be discouraged if a few don’t make it; it’s all part of the learning curve! Once your cuttings have a good root system, you can transplant them into slightly larger pots or their permanent garden spot.
A Encouraging Closing
See? Not so scary, is it? Propagation is truly one of gardening’s greatest joys. It’s about patience, observation, and the sheer wonder of life. Give it a try with your Aurinia sinuata, and enjoy the process of watching your garden grow. Happy propagating!
Resource:
https://identify.plantnet.org/k-world-flora/species/Aurinia%20sinuata%20(L.)%20Griseb./data