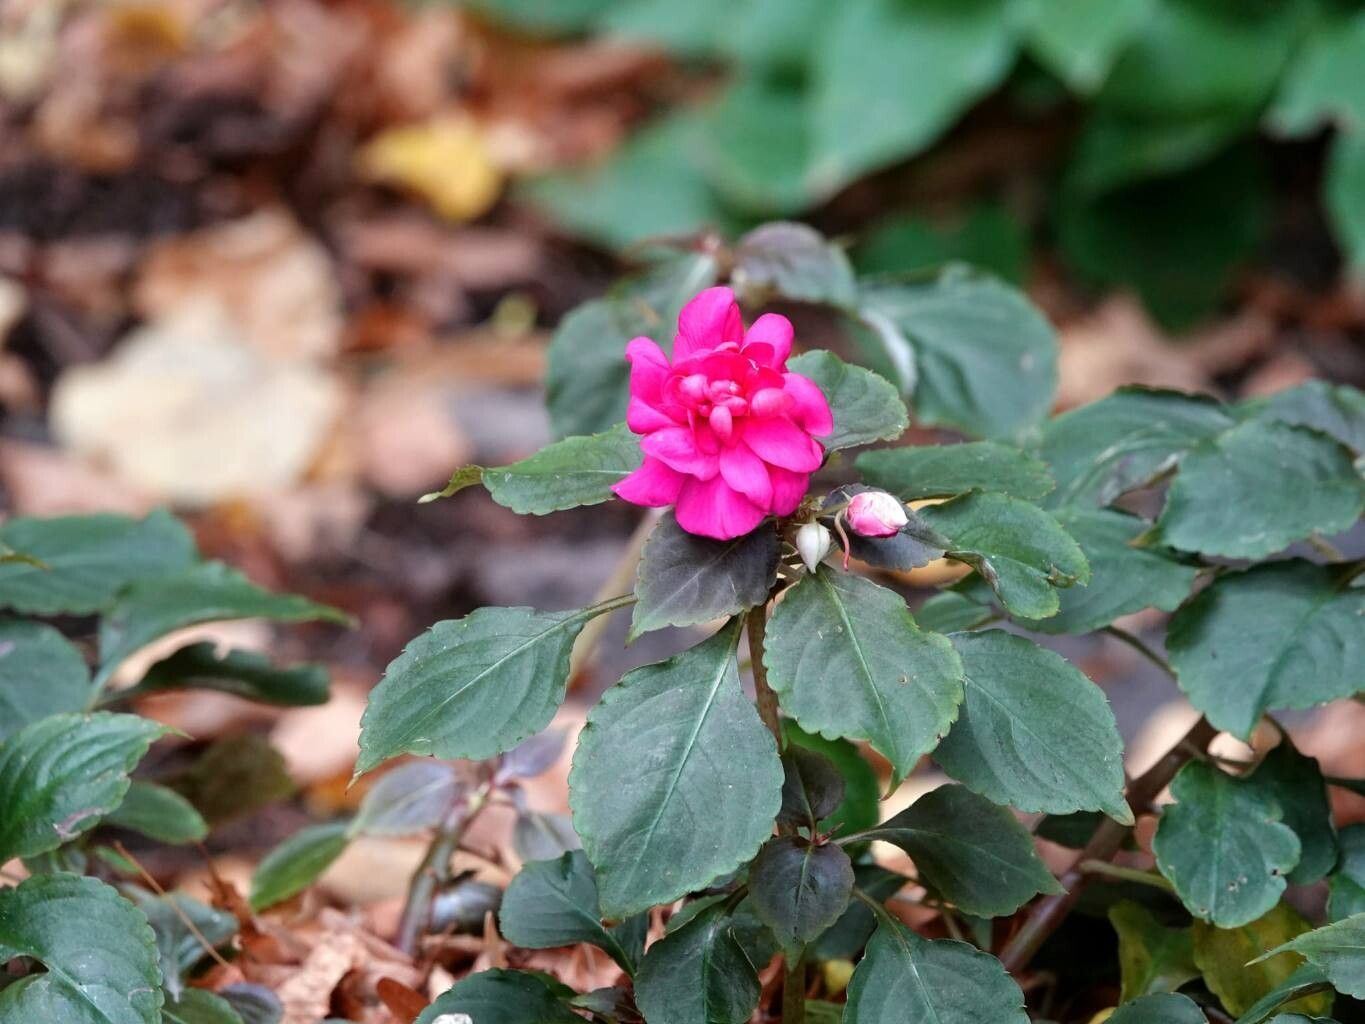
Hello, fellow gardeners! Today, we’re going to talk about one of my absolute favorite spring-blooming beauties: Impatiens flaccida. You might know them by their graceful, trailing stems and masses of delicate, orchid-like flowers in shades of white and pale pink. They have this lovely, almost whimsical way of softening any garden bed or container, cascading over the edges like a gentle waterfall.
Propagating Impatiens flaccida is such a joyful process. It’s incredibly rewarding to take a piece of a plant you love and nurture it into its own new life. And I’m thrilled to tell you, this particular impatiens is quite forgiving, making it a fantastic choice, even if you’re just starting out on your propagation journey. You’ll be surprised how many new plants you can coax from just one!
The Best Time to Start
When is the magic window for propagating Impatiens flaccida? Generally, I find the spring and early summer months to be your best bet. This is when the plant is actively growing and full of vigor. Starting from cuttings after the main flush of spring blooms, or in early summer before the heat really kicks in, will give your new babies the longest possible growing season to establish themselves.
Supplies You’ll Need
Before we get our hands dirty, let’s gather our tools. Having everything ready makes the process so much smoother.
- Sharp Pruning Shears or a Craft Knife: Clean cuts are essential for healthy root development.
- Rooting Hormone (Optional, but Recommended): A good quality rooting powder or gel can significantly speed things up.
- Small Pots or Seed Trays: Whatever you have handy will work, just ensure they have drainage holes.
- Well-Draining Potting Mix: A blend specifically for cuttings or a mix of peat moss or coco coir with perlite (about a 50/50 ratio) is ideal.
- A Spray Bottle: For misting.
- Plastic Bags or a Propagator: To create a humid environment.
- Labels: Don’t forget to label your creations!
Propagation Methods
Impatiens flaccida is a champion of propagation, and you have a couple of really easy ways to multiply your plants.
Stem Cuttings: My Go-To Method
This is where the real magic happens, in my opinion. It’s so satisfying to see those tiny roots emerge.
- Take Your Cuttings: On a healthy, non-flowering stem, find a piece that’s about 4-6 inches long. Use your sharp shears to make a clean cut just below a leaf node (where a leaf attaches to the stem). Remove the lower leaves, leaving just two or three at the top. If the cutting has any flowers or flower buds, pinch them off.
- Prepare the Cutting: Dip the cut end into rooting hormone, tapping off any excess.
- Pot Them Up: Fill your small pots with your prepared potting mix. Make a hole with your finger or a pencil and gently insert the cutting, ensuring the leaf nodes are below the soil surface. Firm the soil gently around the stem.
- Water and Cover: Water thoroughly but gently. Then, place the pot inside a plastic bag or propagator, sealing it to maintain humidity. You can also make small holes in the bag for a bit of air circulation.
Water Propagation: Simple and Visual
If you love watching roots form, this is for you!
- Prepare the Cuttings: Follow steps 1 and 2 above – take healthy cuttings, remove lower leaves, and pinch off flowers.
- Place in Water: Fill a small jar or glass with fresh water. Place the cuttings in the water, making sure no leaves are submerged. If they are, gently trim them off.
- Find a Spot: Place the jar in a bright spot, but out of direct, scorching sunlight.
- Change Water Regularly: Change the water every few days to keep it fresh and prevent rot. You’ll start seeing roots in a few weeks.
- Pot Up: Once the roots are about an inch long, carefully transplant them into pots filled with your well-draining potting mix.
The “Secret Sauce” (Pro Tips)
Over the years, I’ve picked up a few little tricks that can make all the difference.
First, when taking stem cuttings, always use a clean, sharp tool. A dull tool will crush the stem, making it harder for the plant to heal and root. Think of it as giving the plant a clean surgical incision.
Second, if you’re using the water propagation method, don’t let the leaves touch the water. Submerged leaves will rot quickly and can take your whole cutting down with them. Keep only the stem in the water.
Third, for stem cuttings, using a bit of bottom heat can really speed things up. A simple seedling heat mat placed under your pots provides warmth that encourages root formation from below. Your new plant babies will thank you!
Aftercare & Troubleshooting
Once your cuttings have developed roots—you can gently tug on them to feel resistance, or if using the water method, you’ll see them—it’s time for a little more care.
For cuttings potted in soil, slowly acclimate them to the outside air by opening the plastic bag or propagator gradually over a few days. Continue to keep them slightly moist but not waterlogged. They might look a little droopy at first; this is normal as they adjust.
When it comes to troubleshooting, the most common issue you’ll face is rot. This usually happens when the soil is too wet and there isn’t enough air circulation. If you see a cutting turning black and mushy, unfortunately, it’s time to discard it. Prevention is key here: good drainage, not overwatering, and adequate airflow are your best friends. Another sign of a struggling cutting is yellowing leaves that aren’t due to lack of nutrients but rather a general lack of vigor. This could indicate poor rooting or too much stress.
Happy Propagating!
See? Not so daunting, is it? Propagating Impatiens flaccida is a wonderfully engaging way to connect with your garden and nurture new life. Be patient with your cuttings, provide them with the right conditions, and enjoy the process. Happy gardening, everyone!
Resource:
https://identify.plantnet.org/k-world-flora/species/Impatiens%20flaccida%20Arn./data