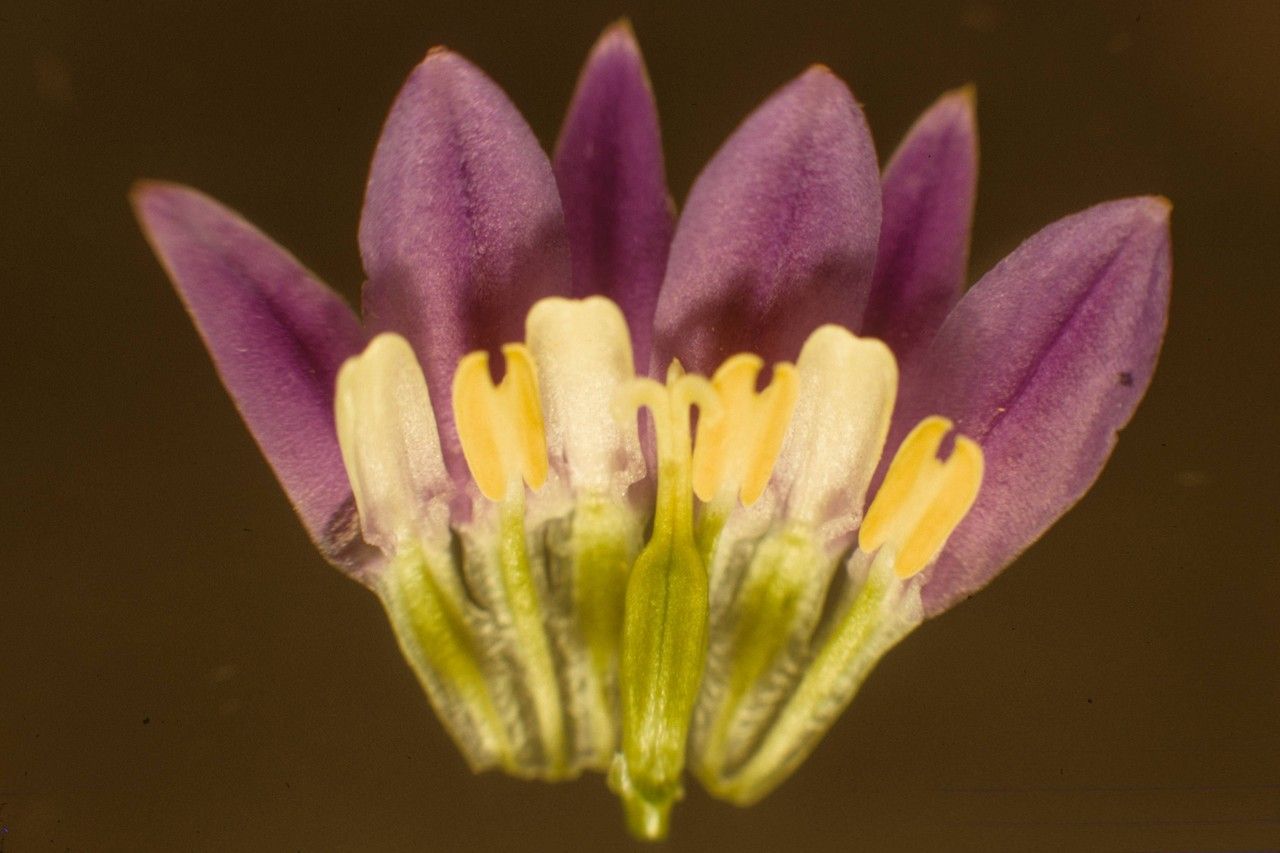
Oh, you’re interested in Brodiaea stellaris! That’s wonderful. This little geophyte, with its star-shaped blooms, is such a delight in the garden. They bring a touch of wild elegance, don’t they? And the joy of nurturing a new plant from scratch – well, there’s nothing quite like it. I can tell you, propagating them is a truly rewarding journey.
For beginners, I’d say Brodiaea stellaris is moderately easy. It’s not quite as foolproof as some of the super-vigorous succulents, but with a little patience and attention, you’ll be well on your way to success.
The Best Time to Start
The ideal time to propagate Brodiaea stellaris is right after they finish their blooming cycle and their foliage starts to yellow and die back. This usually happens in late spring to early summer. This period signifies that the plant is entering its dormant or semi-dormant phase, and its energy is conserved in the corms, making them the prime candidates for propagation. Trying to divide them when they are actively growing is just too disruptive.
Supplies You’ll Need
To get your Brodiaea stellaris propagation off to a good start, gather these essentials:
- A trowel or small hand spade: For gently excavating the corms.
- Sharp, clean pruning shears or a knife: To ensure clean cuts if separating corms.
- Well-draining potting mix: I prefer a blend of equal parts potting soil, coco coir, and perlite or coarse sand. This is crucial to prevent rot.
- Shallow trays or pots: For replanting the divisions.
- Labels and a waterproof marker: So you don’t forget what you planted where!
- Optional: A dilute all-purpose liquid fertilizer: For feeding established new plants.
- Optional: A fungicide: As a preventative measure if you’ve had issues with rot in the past.
Propagation Methods: Division is Key
For Brodiaea stellaris, the primary and most successful method of propagation is division of the corms. These little underground bulbs are the key to creating more plants.
- Timing is Everything: Remember, wait until the foliage has completely died back. Gently dig around the base of the plant with your trowel or spade. You’re aiming to lift the entire clump of corms.
- Gentle Excavation: Carefully ease the clump out of the ground. You might see a cluster of corms, some mature and some smaller offsets.
- Separating the Corms: This is where your clean pruning shears or knife come in. Gently separate the mature corms from each other. You’ll see where new corms are attached or have formed at the base of existing ones. Don’t be afraid to make a clean cut if they are tightly bound; make sure each viable piece has at least a bit of basal plate attached where roots will emerge. Discard any dried-out, mushy, or obviously diseased corms.
- Planting Your Divisions: Prepare your shallow trays or pots with your well-draining mix. Plant each corm about 1-2 inches deep, with the pointed end (or what you assume is the top) facing upwards. Don’t overcrowd them; give them a little breathing room.
- Initial Watering: Water gently after planting. You want the soil to be moist but not waterlogged.
The “Secret Sauce” (Pro Tips)
Here are a few tricks I’ve learned over the years that can really give your propagation efforts a boost:
- Let Them “Cure”: After separating the corms, I often let them sit in a dry, airy place for a day or two. This helps any cut surfaces to callus over, which significantly reduces the risk of fungal infections and rot once planted. It’s like giving their wounds a chance to heal before they’re put back in the soil.
- Think About Drainage, Then Double It: Seriously, for corms like Brodiaea, this cannot be stressed enough. If your potting mix feels a bit dense, add more perlite or sand. If the pot you’re using doesn’t have good drainage holes, drill a few more! When in doubt, err on the side of better drainage.
- Don’t Be in a Rush to Water Again: After that initial watering, let the soil surface dry out a bit between waterings. Especially during their dormant period, overwatering is the quickest way to lose your precious new plants. They are much more forgiving of being a little dry than too wet when they’re settling in.
Aftercare & Troubleshooting
Once your Brodiaea stellaris corms are planted, it’s all about patience. Keep the pots in a cool, dry, well-ventilated spot during their dormant period over summer. You’ll know your propagation is successful when you start to see new green shoots emerge in the autumn.
Water them moderately as they begin to grow, ensuring the soil drains well. As they establish, you can start feeding with a dilute liquid fertilizer every few weeks during their active growing season.
The most common sign of failure is rot. If you notice your corms are mushy, black, and smell unpleasant, they’ve likely succumbed to rot. This is almost always due to too much moisture and poor drainage. Unfortunately, once rot sets in, it’s very difficult to save them. Another sign is simply no growth. If you’ve waited until autumn and there’s still nothing, check the corms; they might have dried out completely if not kept consistently, but not overly, moist.
A Green-Thumb Closing
Propagating Brodiaea stellaris is a wonderful way to expand your collection and share these beautiful blooms. Remember to be patient; these little ones take their time. Enjoy the process, and celebrate each new sprout you find. Happy gardening!
Resource:
https://identify.plantnet.org/k-world-flora/species/Brodiaea%20stellaris%20S.Watson/data