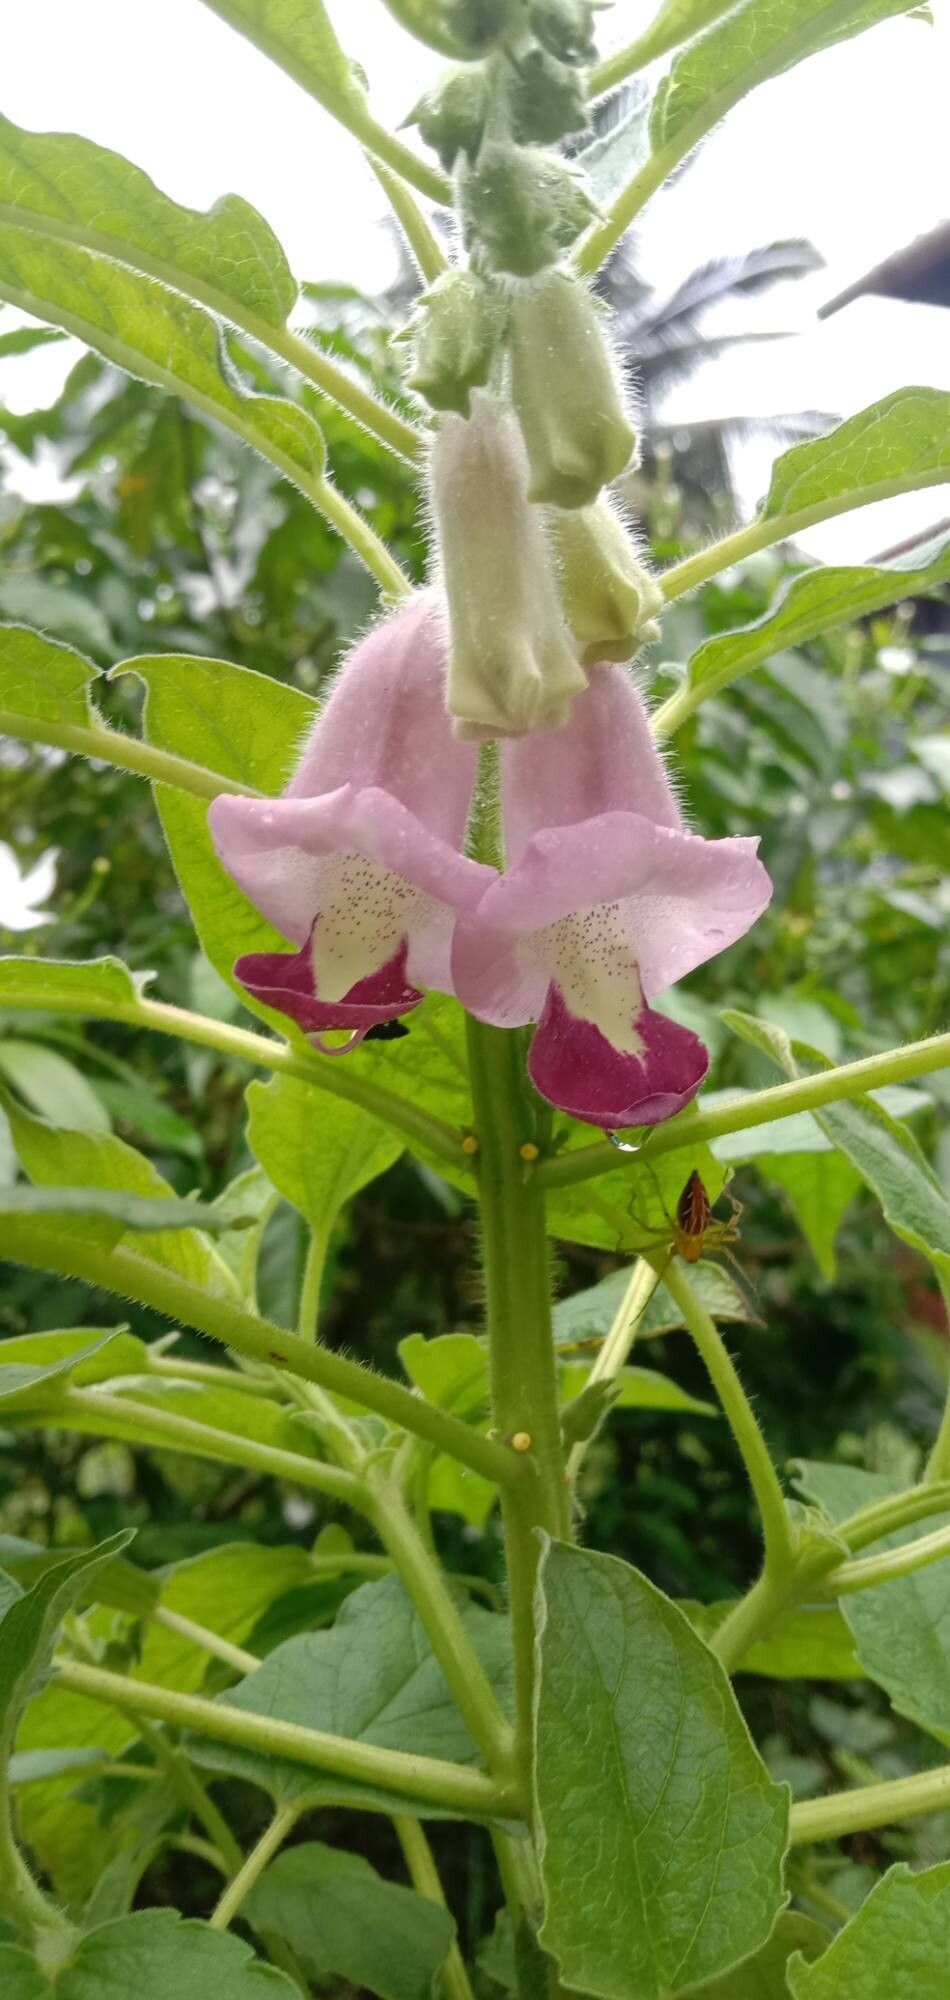
Oh, sesame! That beautiful, drought-tolerant plant with its delightful little seed pods, just begging to be harvested. I’ve been growing and talking about plants for two decades now, and I’ll tell you, propagating sesame is one of those little gardening triumphs that just feels right. It’s not a super fussy plant, so even if you’re just dipping your toes into propagation, you’ll likely find success here. Watching a tiny cutting transform into a robust new plant is pure magic, and with sesame, you get the bonus of those lovely edible seeds later on.
When to Get Your Hands Dirty
The sweet spot for propagating sesame is really late spring or early summer. This is when the plant is actively growing and has plenty of energy to put into developing new roots. You’re looking for healthy, non-flowering stems. Think of it like this: the plant is full steam ahead, ready to make more of itself.
Gear Up for Success
Before you dive in, let’s make sure you have your toolkit ready. A little preparation goes a long way!
- Sharp Pruning Shears or a Craft Knife: Clean cuts are crucial for healthy root development.
- Rooting Hormone (Optional but Recommended): This gives those cuttings a little boost. I like the powder form.
- Well-Draining Potting Mix: A blend of equal parts peat moss, perlite, and a bit of coir works wonders. You want to avoid anything that holds too much water.
- Small Pots or Seed Trays: Clean, with drainage holes, of course!
- Plastic Bag or Humidity Dome: To keep things nice and moist.
- Watering Can or Spray Bottle: For gentle watering.
Let’s Propagate! Stem Cuttings are Your Friend
For sesame, stem cuttings are my go-to method. It’s straightforward and very effective.
- Take the Cutting: On a healthy, vigorous sesame plant, select a stem that’s about 4-6 inches long. Use your sharp shears or knife to make a clean cut just below a leaf node (where a leaf emerges from the stem). It’s important to get this cut clean so disease doesn’t have a way in.
- Prepare the Cutting: Gently remove the lower leaves from the cutting, leaving just a few at the top. This prevents them from rotting in the soil. If you’re using rooting hormone, dip the cut end into it now, gently tapping off any excess.
- Planting Time: Fill your small pots or trays with your well-draining potting mix. Make a small hole in the center of each pot with your finger or a pencil.
- Insert the Cutting: Place the cut end of the sesame stem into the hole and gently firm the soil around it. Make sure at least one leaf node is buried beneath the soil surface; that’s where the roots will form.
- Water Gently: Water the soil thoroughly but gently. You want it moist, not soggy.
My Little Secrets for Extra Oomph
Over the years, I’ve picked up a few tricks that seem to make a real difference.
- Bottom Heat is a Game Changer: If you can, place your pots on a heat mat. This gentle warmth from below encourages root formation like nothing else. Many a stubborn cutting has been coaxed to life this way!
- Don’t Let Those Leaves Dangle: If you’re using water propagation (which I occasionally do with sesame, but prefer soil), make absolutely sure no leaves are submerged in the water. Any leaf touching water is an invitation for rot. Keep them high and dry!
- Patience, Grasshopper: Some people get anxious and keep fiddling. Resist the urge! Leave those cuttings alone to do their work. I usually don’t even peek for at least two to three weeks.
The Waiting Game and What to Watch For
Once your cuttings are planted, it’s time for a little TLC.
Aftercare:
- Keep it Humid: Cover your pots with a plastic bag or a humidity dome. This creates a greenhouse effect, keeping the humidity high, which is vital for cuttings that haven’t developed roots yet. You might need to open the bag for a few minutes daily to allow for some air circulation and prevent mold.
- Bright, Indirect Light: Place your pots in a location that gets bright, indirect sunlight. Direct sun can scorch those delicate new cuttings.
- Water Sparingly: Keep the soil consistently moist but never waterlogged. Feel the top inch of soil; if it feels dry, it’s time to water. I like to use a spray bottle to mist the soil and the inside of the plastic bag.
Troubleshooting:
The most common issue you’ll face is rot. If you see your cutting turning mushy or black, it’s usually a sign of too much moisture and not enough air circulation. Sadly, a rotted cutting is usually beyond saving. Another sign of failure is if the cutting simply wilts and never seems to perk up. This can happen if it’s too dry, not enough humidity, or just not a viable cutting. Don’t get discouraged if a few don’t make it; it happens to everyone!
Happy Rooting!
See? It’s really not too intimidating, is it? Propagating sesame is a wonderful way to multiply your garden treasures and gain a deeper understanding of how plants grow. Be patient, enjoy the process, and before you know it, you’ll have a whole new generation of lovely sesame plants to nurture. Happy gardening!
Resource:
https://identify.plantnet.org/k-world-flora/species/Sesamum%20indicum%20L./data