Hey there, fellow plant lovers! Today, we’re going to dive into the wonderful world of propagating Justicia brenesii. If you’ve ever admired its vibrant foliage and beautiful blooms, you’re in for a treat. Growing new plants from cuttings is incredibly satisfying, and honestly, it’s one of my favorite ways to expand my collection without breaking the bank.
The Joy of Growing More Justicia brenesii
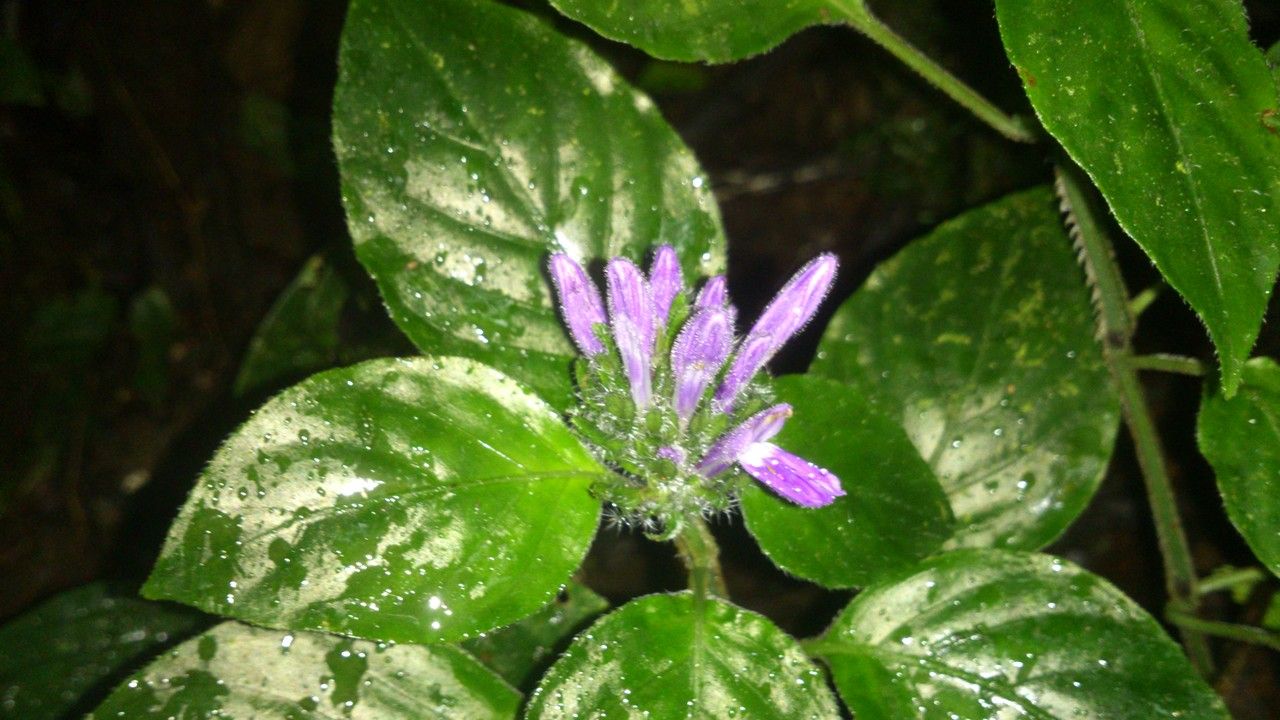
Justicia brenesii is a real showstopper. Its deep green, leathery leaves are often edged with a striking creamy or white variegation, and when it blesses you with its blooms, it’s pure magic. Propagating this beauty is not only a practical way to get more of them, but it’s also wonderfully rewarding. Watching a tiny cutting transform into a healthy, established plant is a little miracle right before your eyes! For a beginner? I’d say Justicia brenesii is moderately easy to propagate, especially with a few key tips.
When is the Best Time to Start?
The absolute best time to propagate Justicia brenesii is when the plant is actively growing. Think late spring through summer. This is when the stems are full of vigor and hormones, making them prime candidates for rooting. You’re looking for healthy, new growth. Avoid trying to propagate from woody old stems or when the plant is stressed from heat or drought.
Your Propagation Toolkit
Before we get our hands dirty, let’s gather our supplies. Having everything ready makes the process so much smoother!
- Pruning shears or sharp knife: Clean and sharp is key for a clean cut.
- Potting mix: A well-draining mix is crucial. I like a blend of equal parts potting soil, perlite, and peat moss.
- Small pots or propagation trays: Whatever you have available, just make sure they have drainage holes.
- Rooting hormone (optional, but recommended): This can give your cuttings a helpful boost.
- Clear plastic bag or dome: To create a humid environment.
- Water: For misting.
- Soft brush (optional): To gently remove excess soil from leaves, if needed.
Let’s Get Propagating!
Stem cuttings are the most reliable way to go with Justicia brenesii. Here’s how I do it:
- Find the right stem: Look for a healthy, non-flowering stem that is at least 4-6 inches long. You want new growth, but not the super soft, floppy tips. A stem that’s firm but still flexible is ideal.
- Make the cut: Using your clean pruning shears or knife, make a clean cut just below a leaf node. A leaf node is that little bump where a leaf attaches to the stem. This is where the magic happens for root formation.
- Prepare your cutting: Gently remove the lower leaves from the cutting. You want to leave about two to four leaves at the top. This reduces water loss and prevents leaves from rotting when buried.
- Dip in rooting hormone (if using): If you’re using rooting hormone, dip the cut end into the powder or gel. Tap off any excess.
- Plant your cutting: Fill your small pot with your prepared potting mix. Make a hole in the center with your finger or a pencil and insert the cut end of your Justicia brenesii cutting. Gently firm the soil around the stem to ensure good contact.
The “Secret Sauce” from an Old Gardener’s Hands
Here are a few tricks I’ve learned over the years that make a surprising difference:
- Bottom heat is your friend: If you can, place your pots on a gentle heat mat. This little bit of warmth encourages faster root development. It’s like giving your cuttings a cozy, warm bed to grow in.
- Don’t drown your leaves: When you water your cuttings initially, make sure no leaves are touching the soil surface. If they are, especially after watering, they’re much more prone to rot. If a leaf accidentally dips in, gently brush it clean.
- The humidity tent is key: After planting, gently water the soil until it’s evenly moist. Then, cover the pot with a clear plastic bag or a propagation dome. Poke a couple of small holes in the bag for air circulation. This creates that vital humid microclimate where your cuttings will thrive.
Aftercare and What to Watch For
Once your cuttings are planted and covered, keep them in a spot with bright, indirect light. Avoid direct sun, which can scorch those tender new leaves. Now, the waiting game begins!
Check your cuttings regularly. The soil should remain consistently moist but not waterlogged. Mist the leaves occasionally if they look a bit droopy, but focus on keeping the soil humid.
You’ll know your cutting is rooting when you feel a gentle tug when you lightly pull on it. Another sign is seeing new leaf growth! This usually takes anywhere from 3-8 weeks, depending on the conditions.
What if things go wrong? The most common issue is rot. If you notice your cutting turning black and mushy, it’s likely rotted. This usually happens from too much moisture or poor air circulation. Don’t be discouraged! Just toss the rotted cutting and try again, perhaps with a bit less water next time or ensured airflow from those tiny holes in your bag.
Happy Growing!
Propagating Justicia brenesii is a journey of patience and observation. Don’t be afraid to get your hands dirty and experiment. Each cutting is a chance to learn and grow, just like the plant itself. Take a deep breath, be gentle, and enjoy the magic of creating new life in your garden. Happy propagating!
Resource: